Nintendo Switch Right Joy-Con Shell Replacement
ID: 130386
Description: After heavy use or excessive force, the...
Steps:
- Remove the 4 tri-point screws on the back of the Joy-Con.
- These are the only tri-point screws on the Joy-Con. All other screws require a Phillips head screwdriver.
- These screws are incredibly easy to strip. Apply constant downward pressure while unscrewing them.
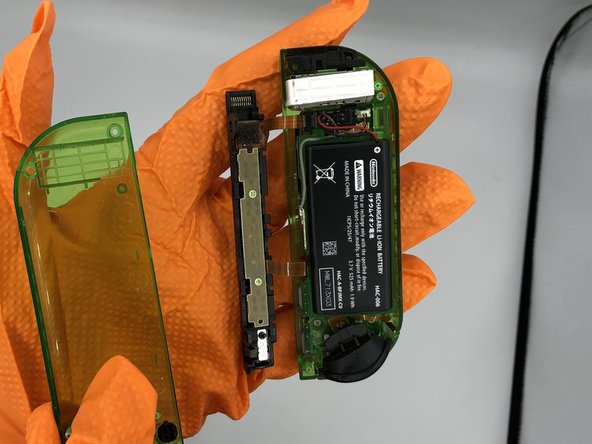
- Flip open the back shell to expose the battery.
- Remove the screw connecting the rail to the back shell.
- Remove the battery and disconnect it from the motherboard. You may use tweezers or your hands to pull connections from the motherboard.
- The battery may be difficult to remove due to adhesive. A spudger may help to detach it from the casing.
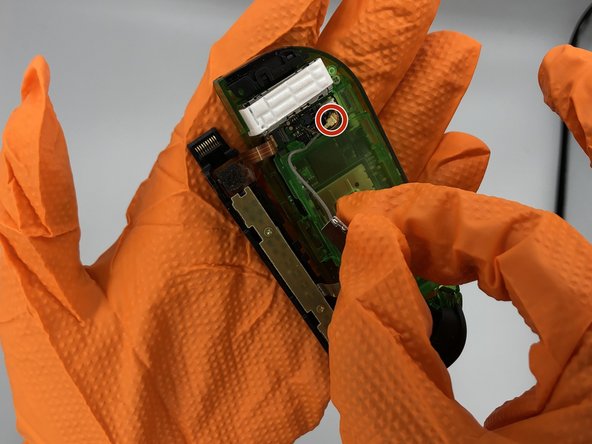
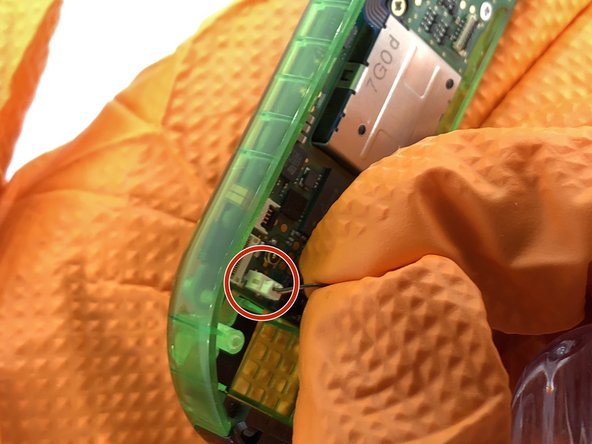
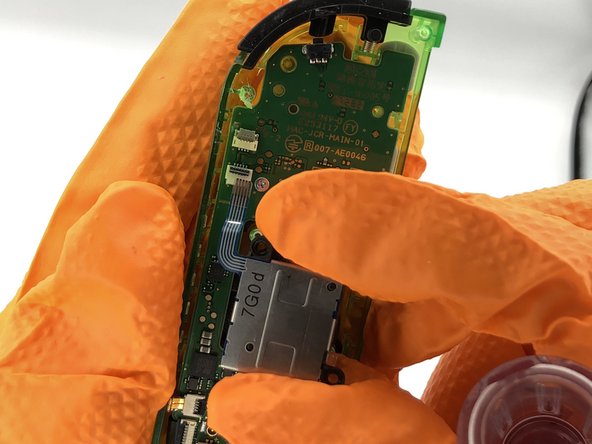
- Before performing the next step, take note of how the antenna cable is seated for proper reassembly.
- Remove the small antenna chip (shown in second picture) and disconnect it from the motherboard.
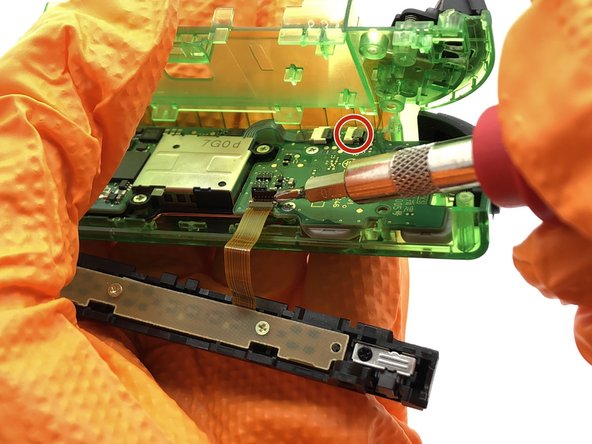
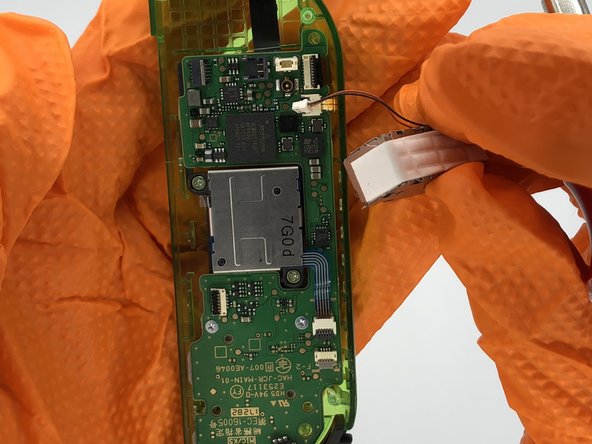
- Remove the 3 screws holding the battery casing in the shell.
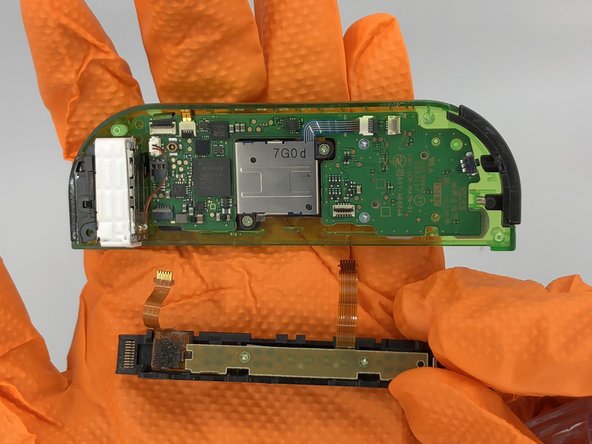
- Remove the ribbon cables connecting the rail and battery casing to the motherboard. Unlock the cables by flipping the connector upwards with a spudger, then pull the cable out of the connector.
- You may even choose to leave the rail connected, though it will be unwieldy.
- Be careful not to lift the connectors in the wrong direction. The connection nearest to the shoulder buttons lifts up away from the rail (the black part), and the connection nearest to the rumble motor lifts in the opposite direction, up toward the rail (the thin grey part.)
- Remove the rumble motor by disconnecting the white 2-pin connector.
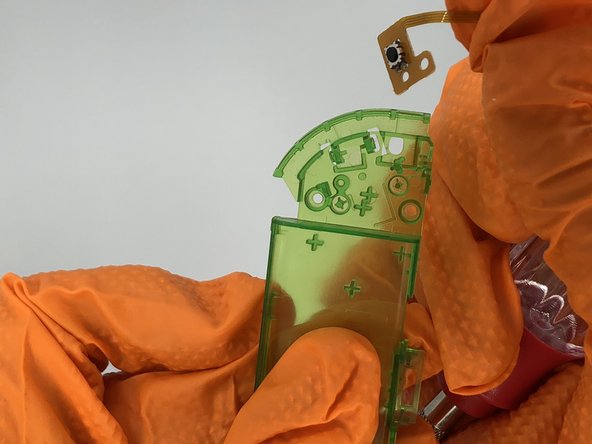
- Remove the black ZR button from the battery casing.
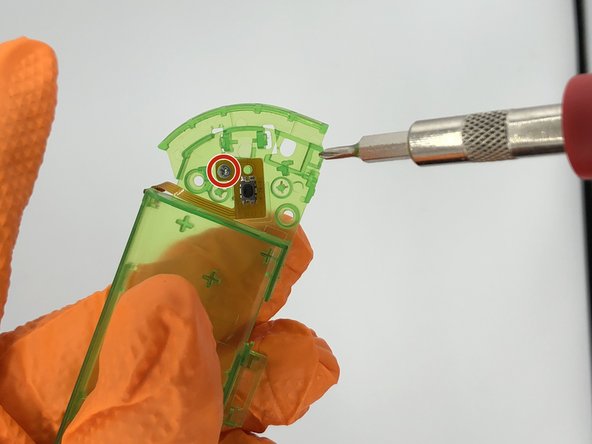
- Remove the button sensor by unscrewing it from the battery casing.
- Remove the two Phillips screws holding the joystick to the motherboard.
- Disconnect the joystick ribbon cable from the motherboard.
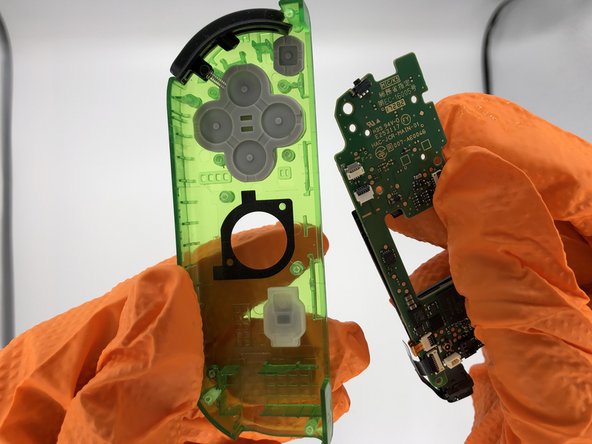
- Remove the two screws anchoring the motherboard to the shell.
- Transfer all buttons to the replacement shell.
- If any silicone button covers are missing, they may be stuck to the back of the motherboard.