How to Remove Carbon Buildup In A 2012 Volkswagon CC
ID: 130411
Description: This guide will show you how to remove a carbon...
Steps:
- Start the engine.
- Let the engine warm up to operating temperature.
- Shut the engine off.
- Locate the hood latch lever under the left side of the dash on the driver side of the vehicle.
- Pull the hood latch lever towards the rear of the vehicle to unlock the hood.
- Apply upward pressure on the front of the hood and pull up on the plastic lever that is under the front center section of the hood.
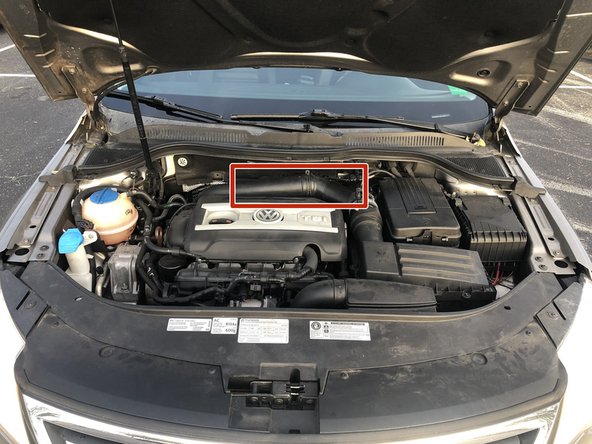
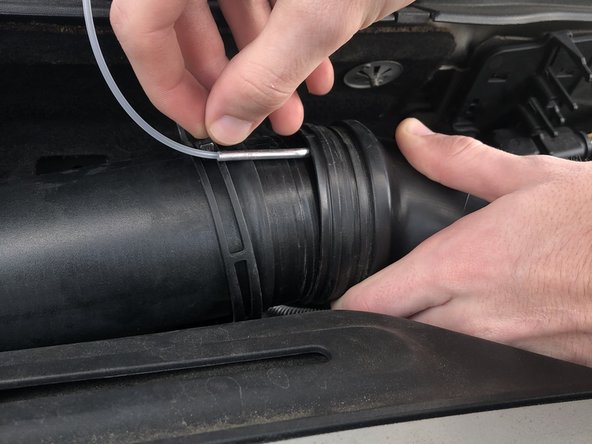
- Find the engine air intake hose near the top rear of the engine bay.
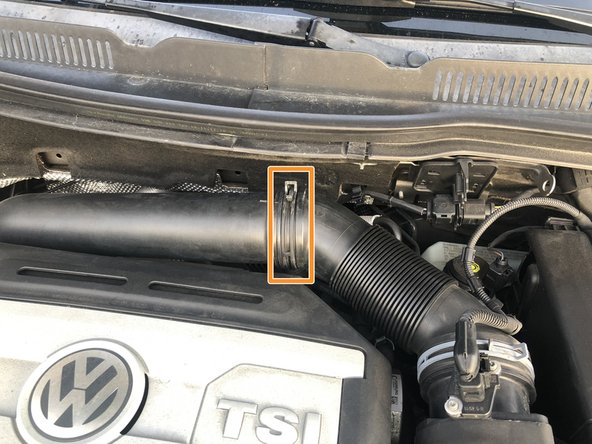
- The opening clip can be found near the joint of the intake hose.
- Make sure this clip is located after the Mass Airflow Sensor in order to avoid a check engine light.
- The engine may be hot to the touch.
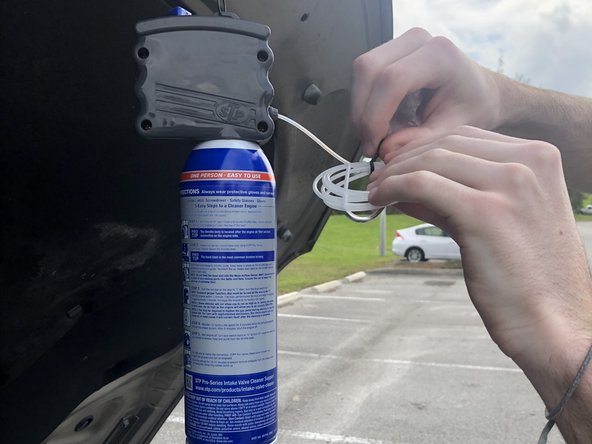
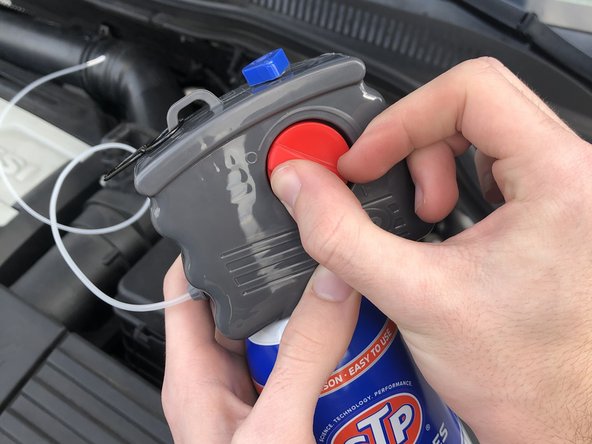
- Hang the intake cleaner can in the engine bay for easy access and use in the future steps.
- Remove the line from the packaging.
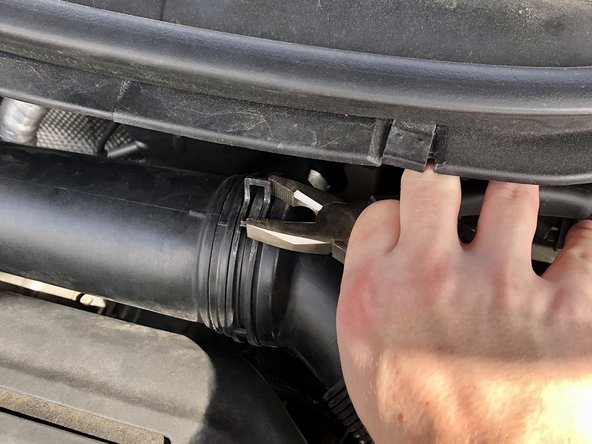
- Apply pressure on the tabs of the metal clip with the pliers to release the pressure from the intake hose.
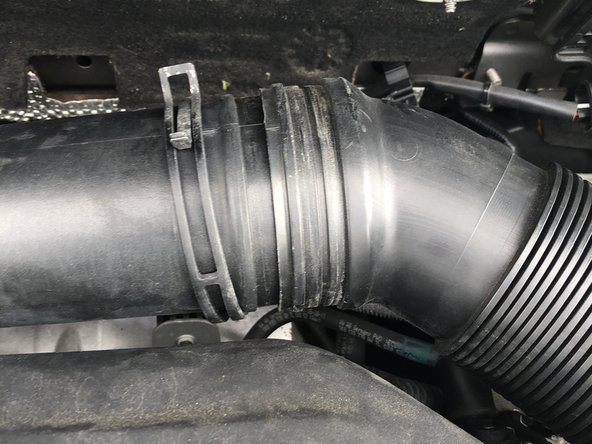
- Slide the clip to the left so that it does not cover the joint.
- The clip is very strong, so a large amount of force may be required.
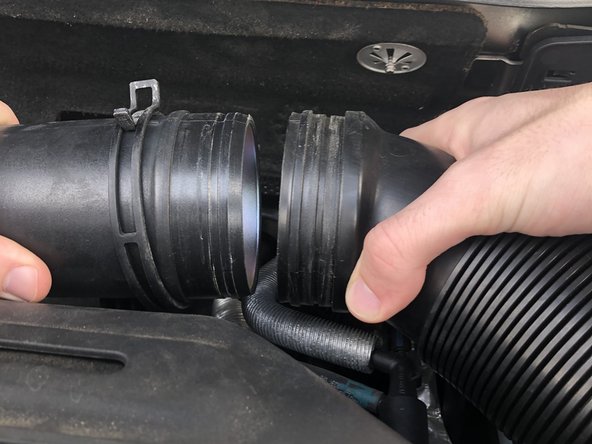
- Separate the hose connection by applying a twisting and pulling force simultaneously on both ends of the connection.
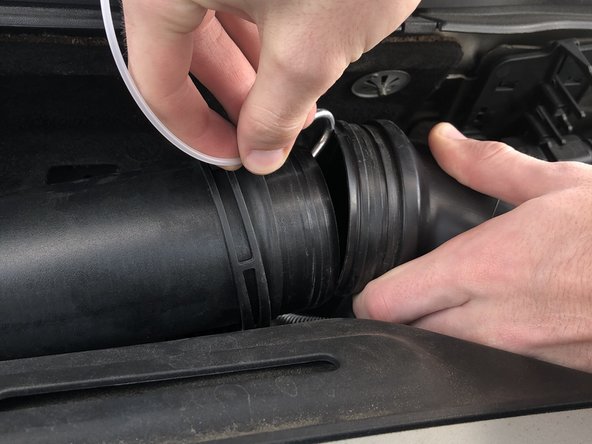
- Insert the metal hook at the end of the valve cleaner line into hose opening.
- Close the intake hose over the hook being sure not to pinch the part of the line that is not covered by the hook.
- Secure the intake hose so that a moderately tight seal keeps the valve cleaner line secure.
- Guide the extra cleaner line through the metal hook so that it extends into the intake hose.
- Turn the red dial for the cleaner timer from the "O" to the “I” position.
- This step will start the timer on the can. You will have 1 minute before the can starts dispensing the cleaner. Be ready to complete step 11 and start step 12 in this time frame.
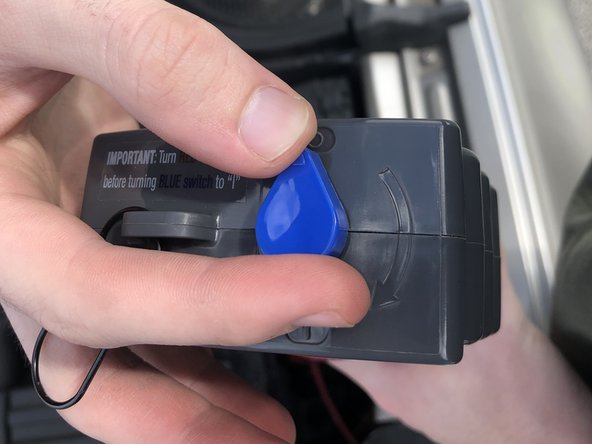
- Arm the spring in the can by turning the blue dial from "O" to “I".
- Assure the can is secure so that it will not interfere with the engine or fall off the hanger.
- Return to the interior of the vehicle.
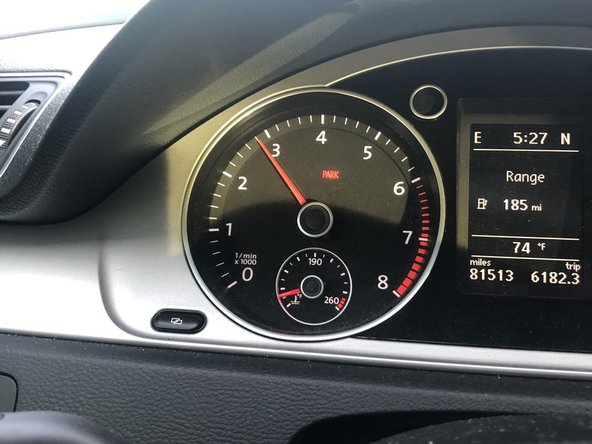
- Assure the vehicle is in neutral and the parking brake is set to prevent inadvertent vehicle movement.
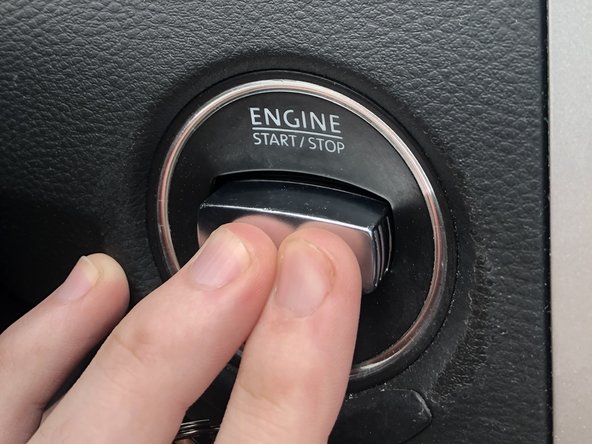
- Start the vehicle within one minute of arming the valve cleaner can.
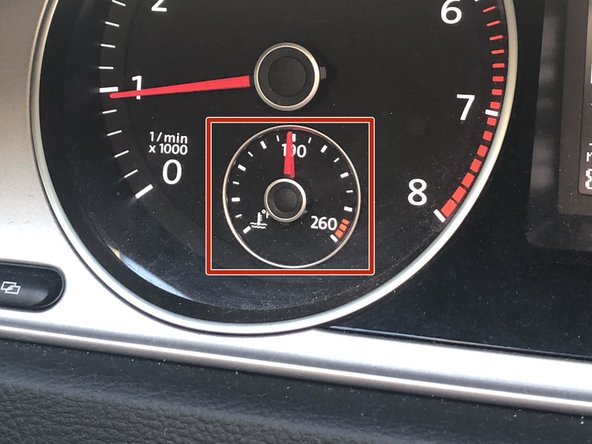
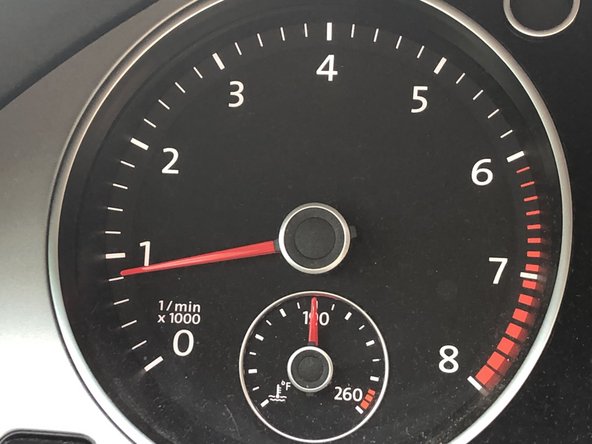
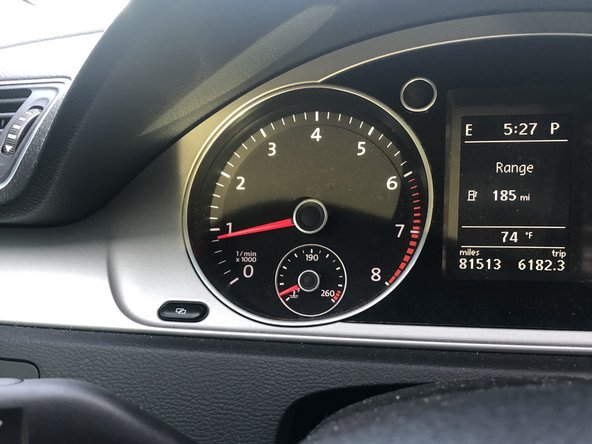
- Press the accelerator and bring the engine up to 3x idle speed.
- For this make and model the speed will read 2800 RPM.
- Hold the engine at this speed for 9-10 minutes until the cleaner is completely empty.
- Shut off the engine.