Screen replacement for the Samsung Galaxy A50
ID: 130471
Description: If your touch screen is broken, cracked or...
Steps:
- Turn off your phone before you start
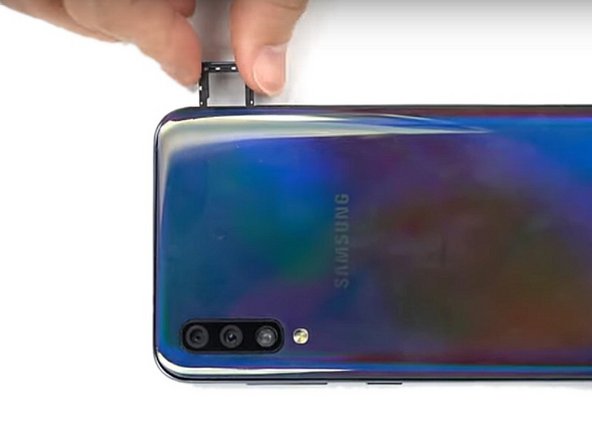
- Eject sim card tray
- Heat the back of the phone for 5 minutes at 65°C
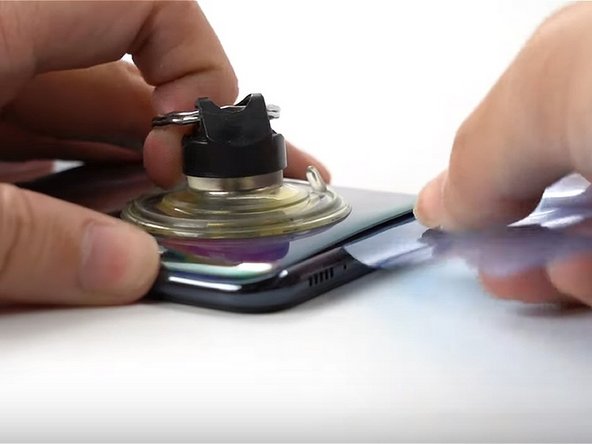
- Slowly lift the back glass off the phone using a suction cup
- Insert a pick into the gap created.
- Slide the pick around the edge, using more picks to keep the gap open.
- You can heat the back multiple times during this process to aid in removal of the back glass
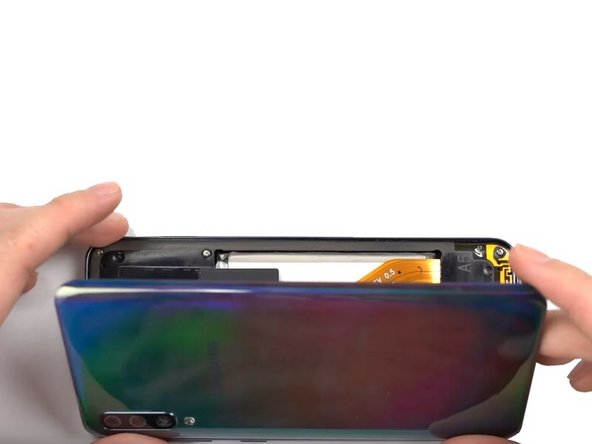
- Carefully remove the rear glass and set it aside.
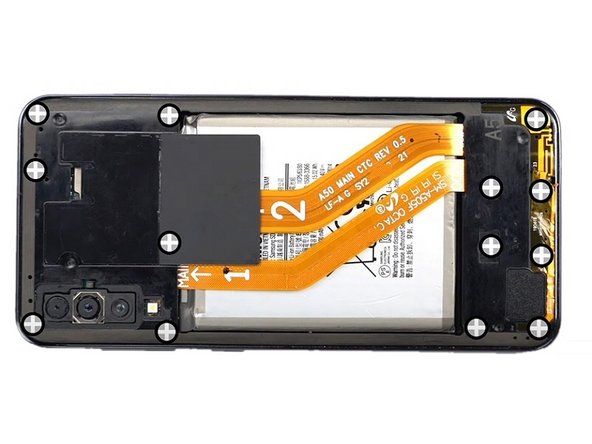
- Remove all the screws using a 4mm Philips #00 screwdriver
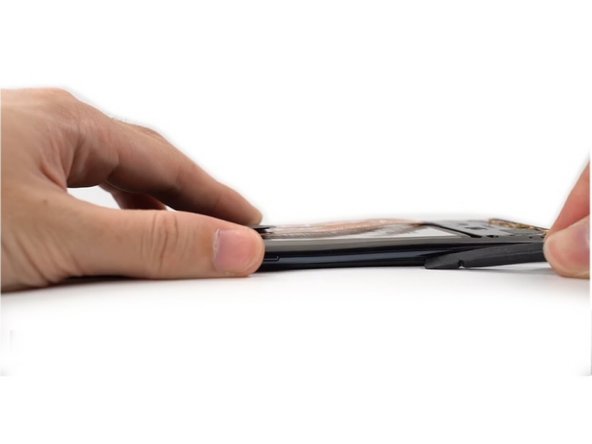
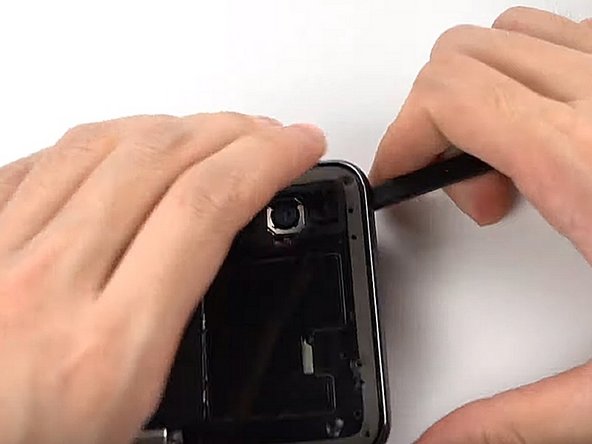
- Slide a spudger in between the screen and the frame
- Slide the spudger around the entire perimeter of the phone to unclip the screen and separate it from the midframe
- Separate and remove the midframe
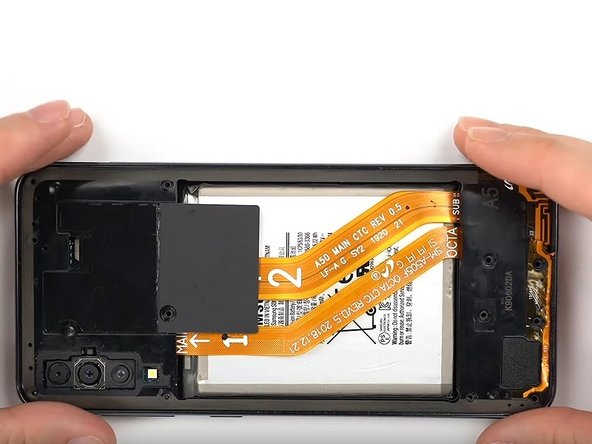
- Disconnect the battery
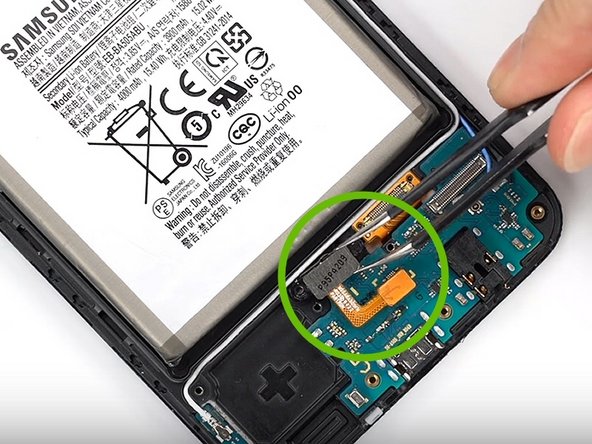
- Unscrew the Phillips screw holding the motherboard
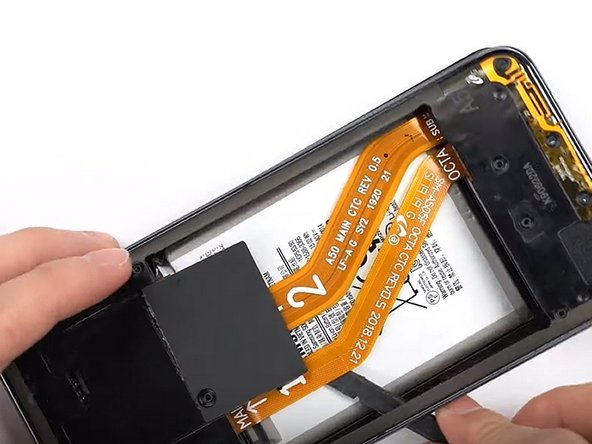
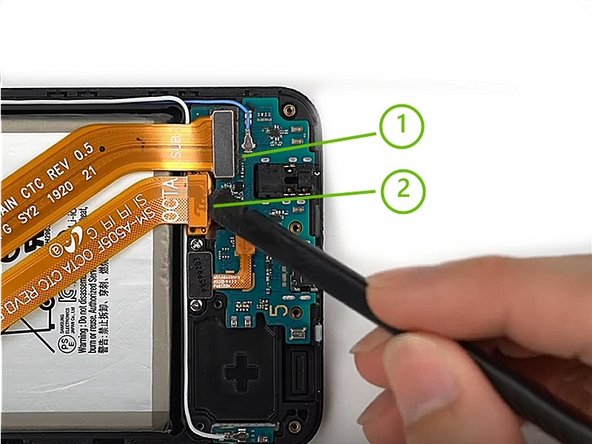
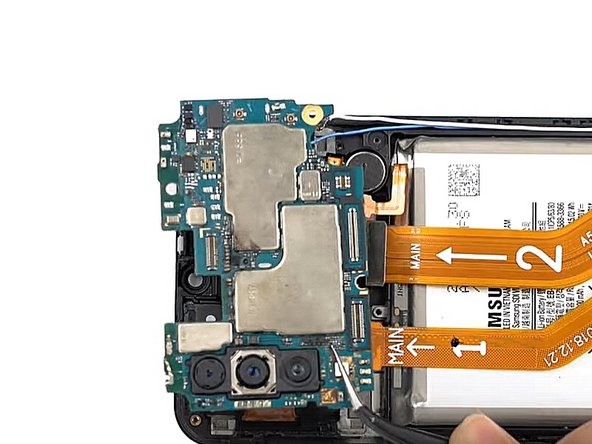
- Disconnect cables 1 and 2
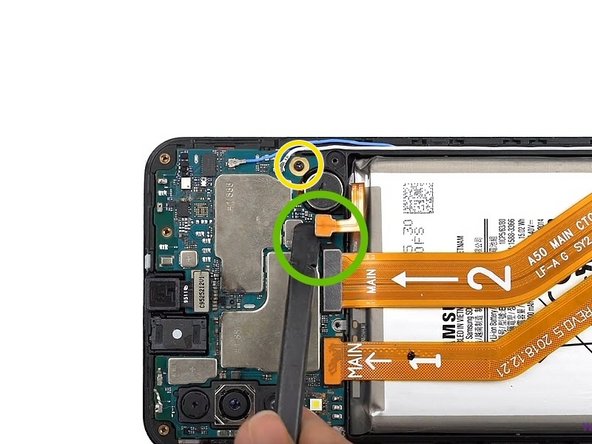
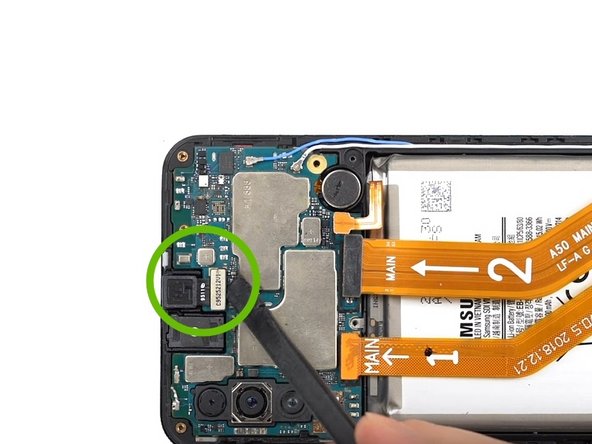
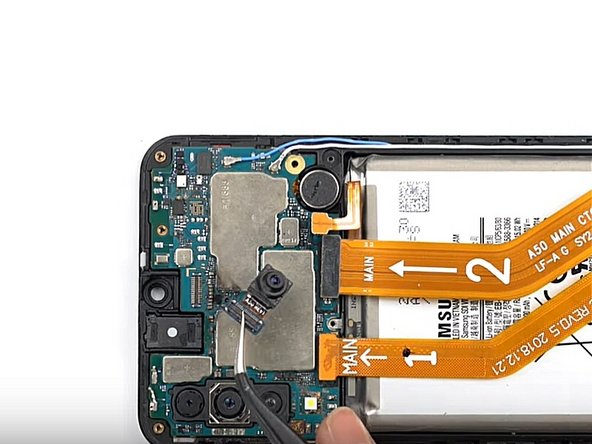
- Unplug and remove the front camera (FaceTime)
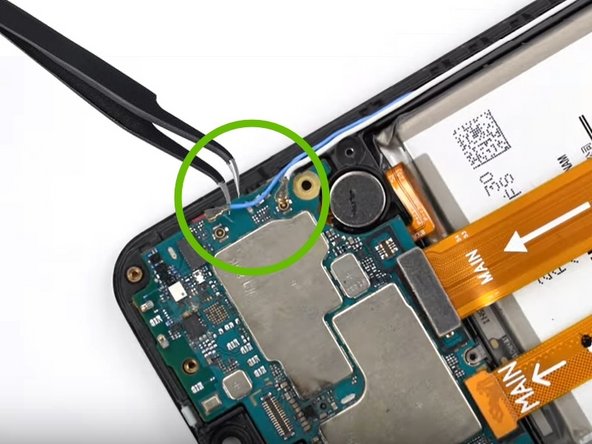
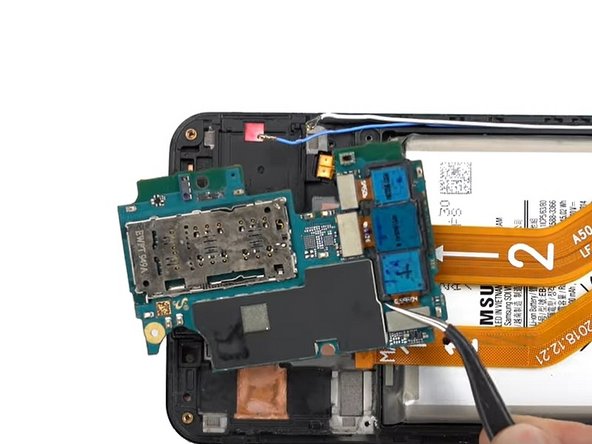
- Disconnect the blue and white coaxial cables
- Gently remove the motherboard by lifting it up.
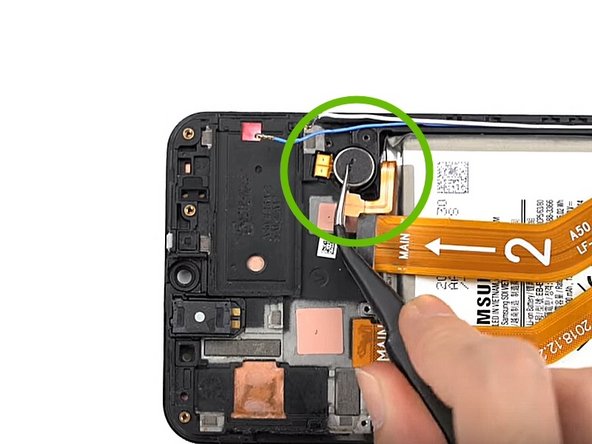
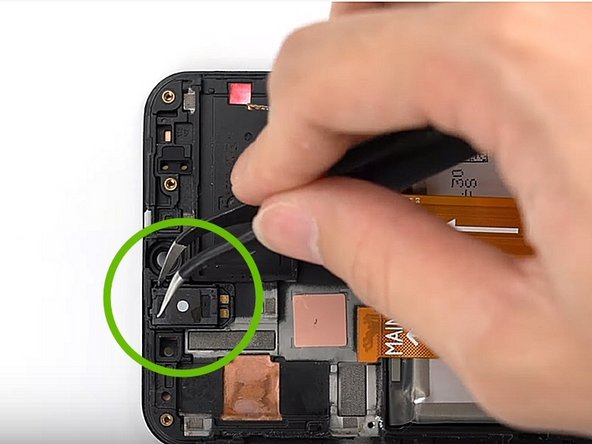
- Using Tweezers, remove the vibrator
- Remove the speaker that way as well
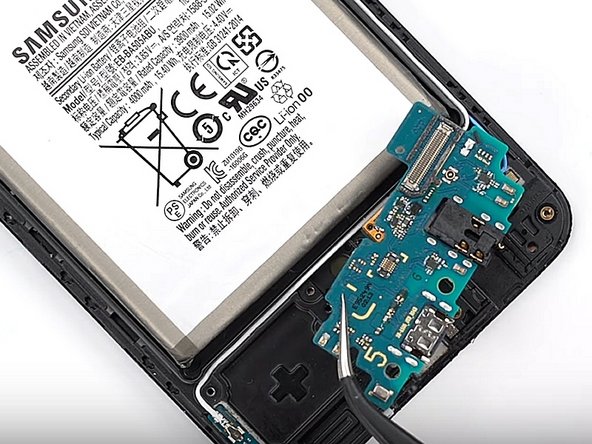
- Remove the two Phillips screws, unplug and remove the fingerprint sensor.
- Remove the charging board
- Pull out the coaxial cables
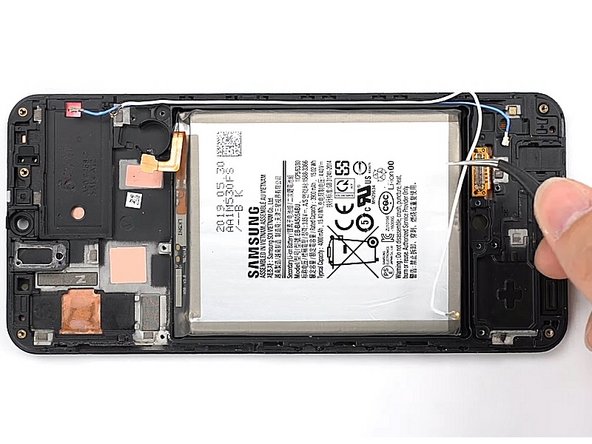
- Carefully remove the battery with a Spudger
- Wear [linked product missing or disabled: IF145-125-3] to protect your eyes and be careful not to puncture the battery.
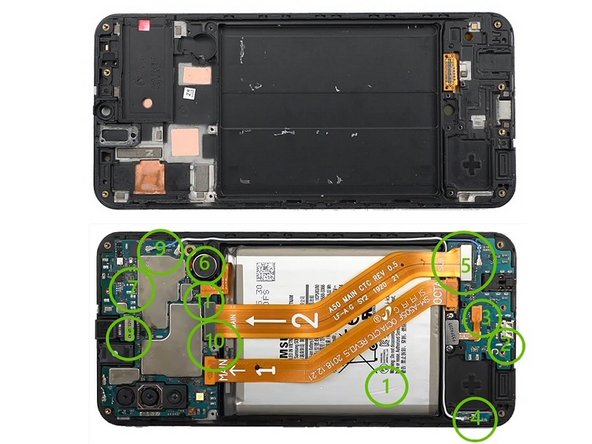
- Now you should have removed all the components in the phone (see picture)
- Replace all the components in the new display frame according to the diagram to the right (bottom is fully assembled)
- Clip the frame back onto the screen
- Tighten all the screws
- Using a new piece of tape, stick the glass back on