Lenovo ThinkPad X1 Carbon (2nd Gen) Power Jack Replacement
ID: 130482
Description: If your Lenovo ThinkPad X1 Carbon (2nd Gen)...
Steps:
- Using a Phillips #0 screwdriver, remove the seven 7mm screws holding the back cover onto your computer.
- Use a plastic opening tool or your fingers to pry off the cover.
- Using your fingers, disconnect the battery from the motherboard.
- Using a Phillips #0 screwdriver, unscrew the five 4.3mm screws attaching the battery to the computer.
- Remove the battery by pulling it directly towards you.
- Use a Phillips #1 screwdriver to undo the four 5 mm screws attached to the heat sink.
- Undo the black clasp that holds the ribbon cable, attached to the fan, in place and disconnect the ribbon cable.
- Remove the fan by lifting it directly up.
- Disconnect all 10 of the ribbon cables attached to the motherboard.
- Disconnect the wire connecting the motherboard to the speaker.
- Use a Phillips #1 screwdriver to unscrew the 4mm screw holding the metal covering over the power jack prongs.
- Use a Phillips #1 screwdriver to unscrew the 4mm screw holding down the Micro-SD card tray.
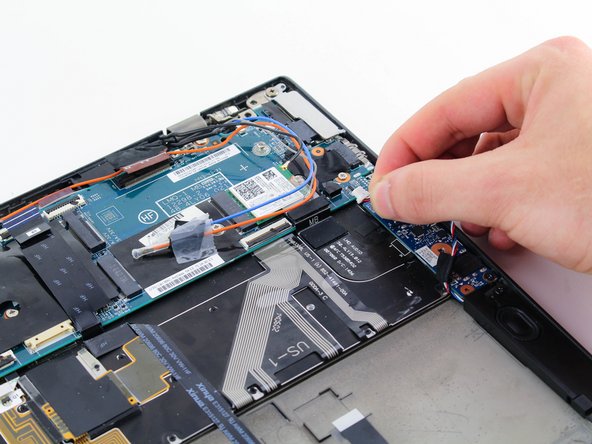
- Un-tape the orange and blue wires from the motherboard.
- Remove the black and grey wires from the cable comb on the motherboard.
- Use a Phillips #1 screwdriver to unscrew the 3.7mm screw holding down the wifi card.
- Remove the wifi card.
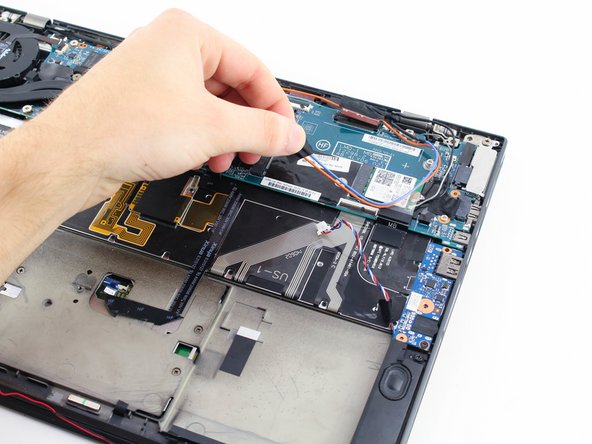
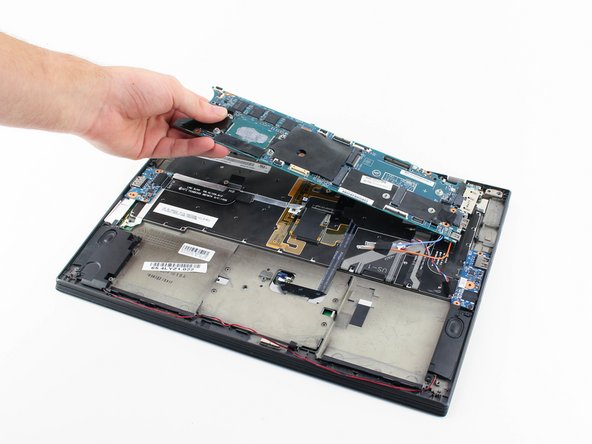
- Carefully remove the motherboard by lifting it and pulling towards the left.