Lenovo YOGA 730-15IKB Screen Replacement
ID: 130630
Description: Follow this guide to replace the screen on your...
Steps:
- Turn off the computer and unplug the charger before going any further.
- Flip the laptop over so you can see the underside.
- Remove the ten 7mm T5 Torx screws.
- Pry up the bottom cover with an opening tool.
- Start at the front edge of the cover and make your way along the sides.
- Pull the bottom cover up and away from the back hinges.
- Disconnect the battery from the motherboard by gently pulling the battery cable using your fingers or a pair of tweezers.
- Pull parallel to the battery, not straight up.
- Unplug the cable gently as the eight wires on the connector are very small and delicate.
- Remove the four 4mm Phillips #1 screws securing the battery.
- Lift the battery up and out of the chassis.
- Handle the battery carefully. Touching the terminal may cause electric shock. Puncturing the battery may cause it to catch fire.
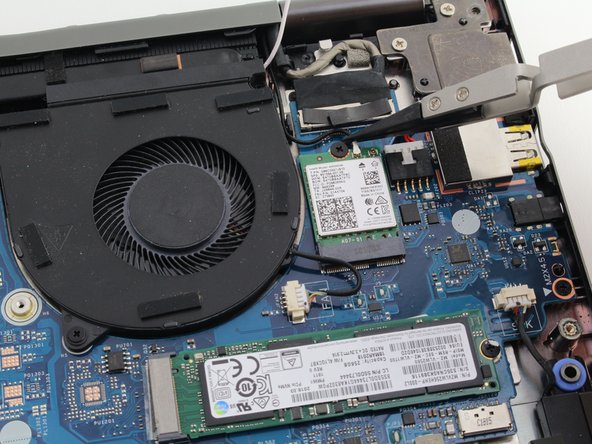
- When the laptop is upside down, the left fan is on the right side of the laptop near the wireless card and the SSD.
- Remove the black and white antenna wires from the groove on the right side of the fan.
- Disconnect the fan cable. Pull the wire toward the right side of the laptop while wiggling to loosen the connection.
- You can also use the white tabs on the connector to push the cable free.
- Remove two 4mm Phillips #1 screws.
- Pull the fan up and towards the front of the laptop.
- When the laptop is upside down, the right fan is on the left side of the laptop near the large metal RAM cover.
- Disconnect the fan cable. Pull the wire toward the back of the laptop while wiggling to loosen the connection.
- You can also use the white tabs on the connector to push the cable free.
- Remove two 4mm Phillips #1 screws.
- Pull the fan up and towards the front of the laptop.
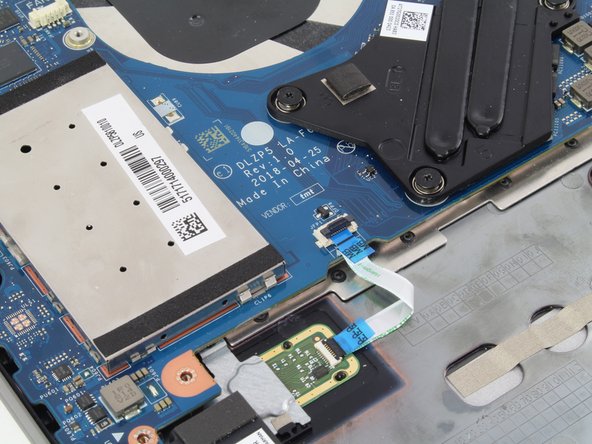
- Remove the fingerprint reader ribbon cable located at the bottom left of the motherboard.
- Pull up on the black tab on the connector.
- The ribbon cable should easily pull out of the connector.
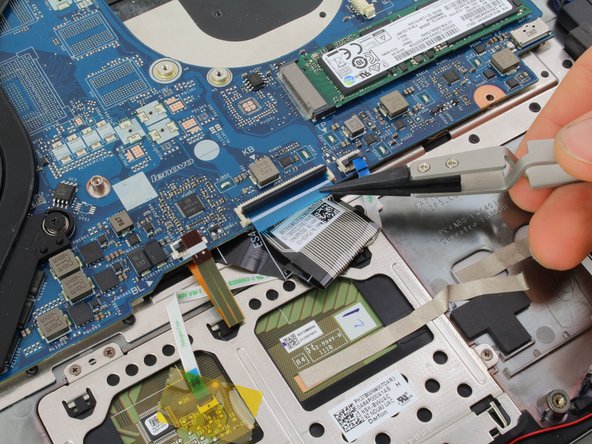
- Remove the three other ribbon cables at the lower edge of the motherboard.
- For each, lift up the black tab on the connector.
- The ribbon cables should easily pull out of the connectors.
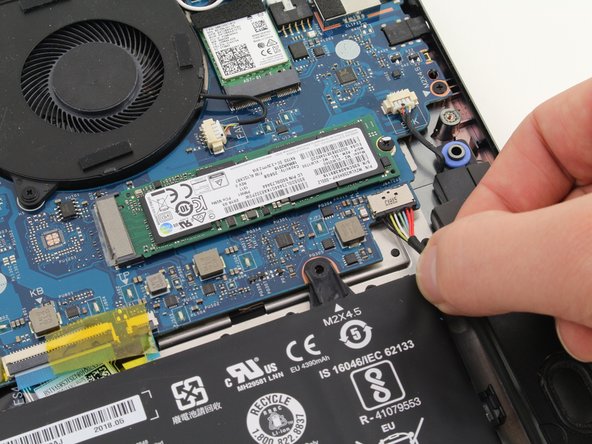
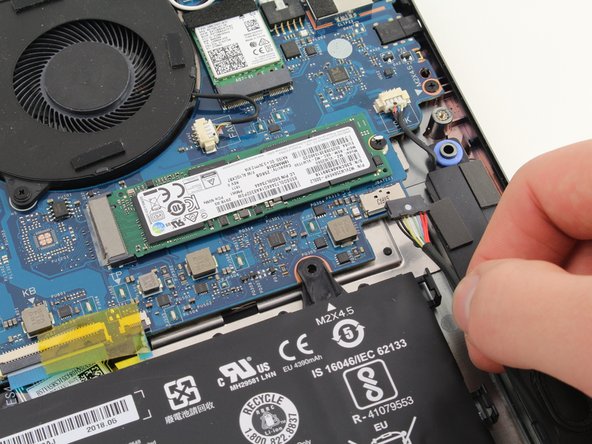
- Disconnect the speaker cable by pulling the wire towards the front of the laptop.
- You can also use the white tabs on the connector to push the cable free.
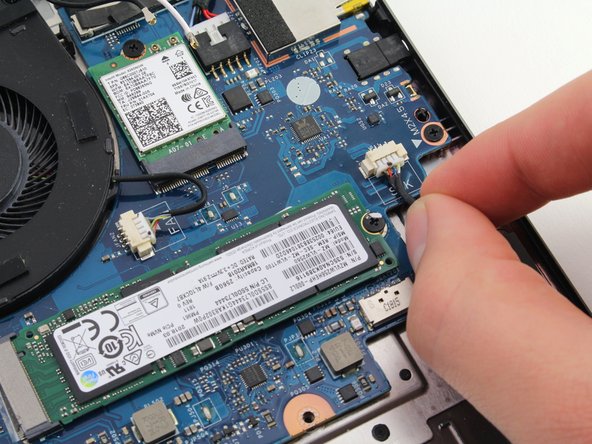
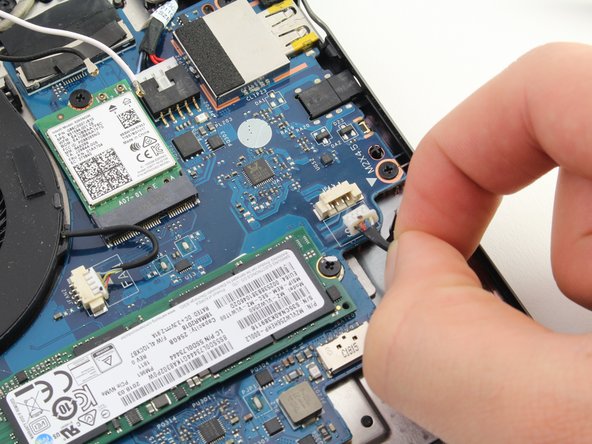
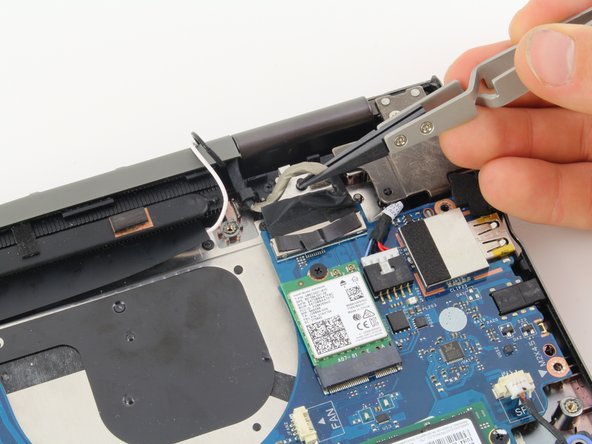
- Remove the sticky tape from the top of the wireless card.
- Pull the black and white antenna wires off of the wireless card.
- For reassembly, the white wire connects to the right terminal marked "1." The black wire connects to the left terminal marked "2."
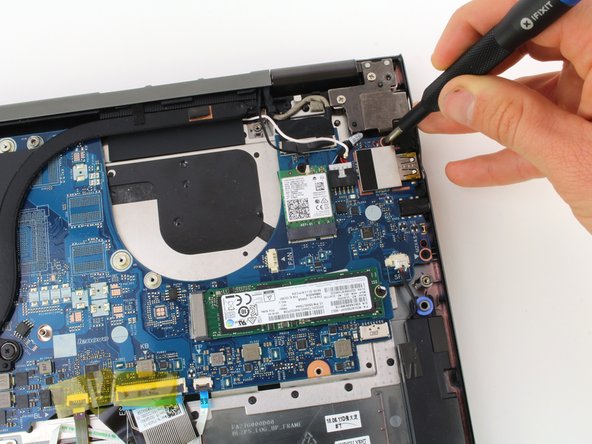
- Pull up on the thick gray display cable near the back of the laptop to disconnect the display.
- The charger port is connected to the computer by a cable at the top left of the motherboard.
- Disconnect the cable by pulling the bundle of wires firmly toward the back of the laptop.
- The cable requires some force to remove. Make sure you do not damage the connector or cable.
- Remove four 4mm Phillips #1 screws.
- Pull the motherboard up out of the laptop chassis.
- If you are replacing the motherboard, make sure to remove the SSD, wireless card, heat sink, and extra RAM. Transfer these components to the new motherboard.
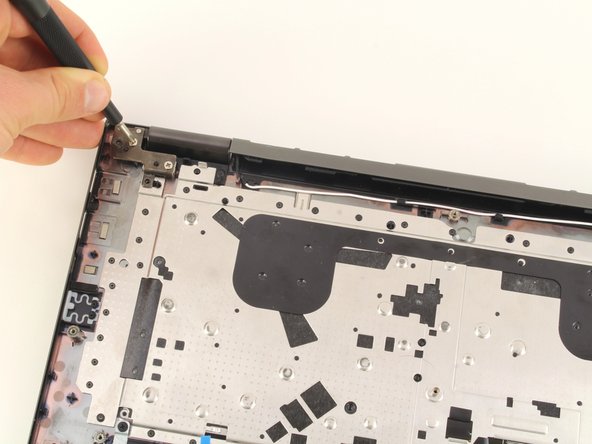
- Remove four 4mm (silver colored) Phillips #1 screws.
- For reassembly, pay close attention to where you reattach these screws. The holes closest to the corner need to be left free. They will be used when you reattach the back cover.
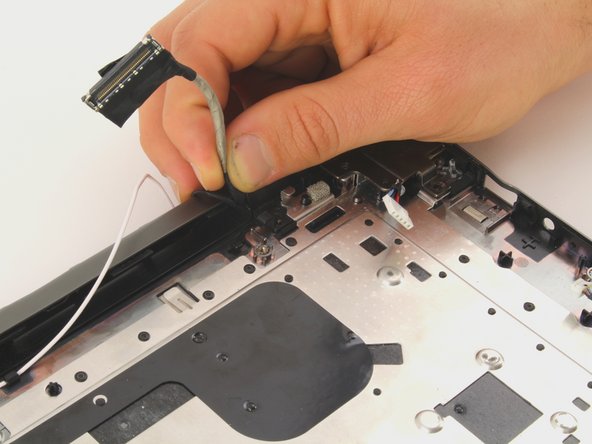
- Pull the thick gray display cable out from under the hook that holds it in place.
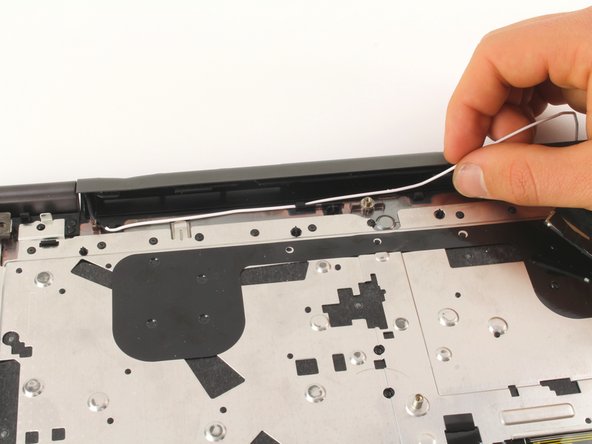
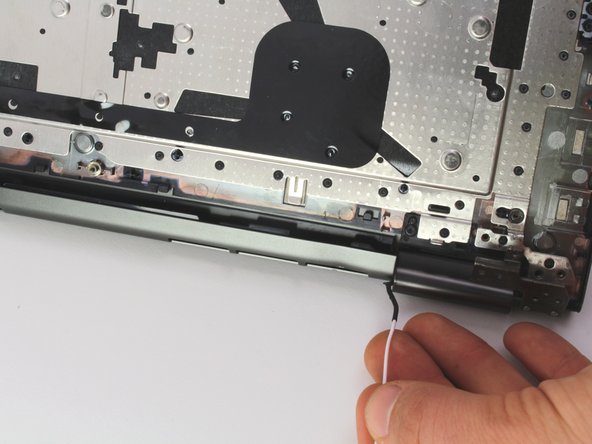
- Remove the white antenna wire from underneath the hooks near the back of the laptop.
- Tilt the keyboard up to make a 90 degree angle with the screen. This makes it easier to move the display and antenna cables.
- On the back of the keyboard, slide the white antenna cable past the edge of the hinge.
- Pull the keyboard upward and towards the front of the screen to make room for the cable.
- Pull the thick display cable and the black antenna cable past the hinge.
- Tilt the left side of the keyboard upward. This helps create some room around the hinge.
- Pull the keyboard up away from the screen. After the display and antenna wires have been moved, the keyboard should easily come apart from the screen.