HP 15-ay114cy Motherboard Replacement
ID: 130645
Description: If your HP 15-ay114cy (also known as the HP...
Steps:
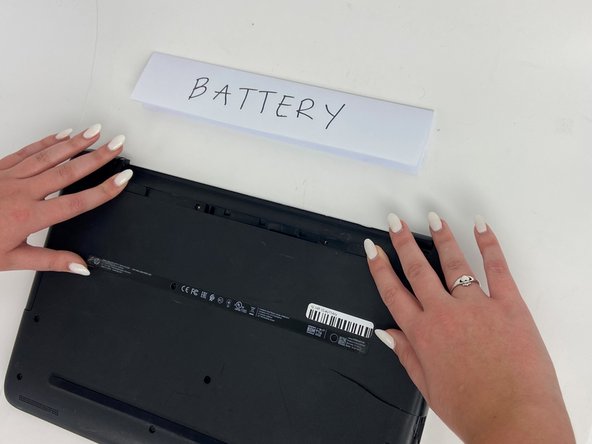
- Orient the Laptop so the HP logo is facing the table and the battery tabs are accessible.
- Ensure the laptop is powered off before moving forward.
- Place your index fingers on each of the two battery holder clips.
- Using your index fingers, push the battery holder clips inwards (towards the center of the laptop).
- After the battery clips are pushed in, use either hand to grab hold of the battery.
- Gently push up to remove the battery.
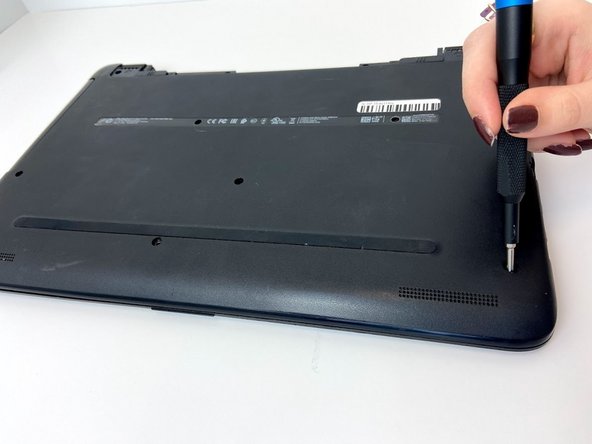
- Use a Phillips #0 screwdriver to remove the twelve 8 mm Phillips screws that are holding down the bottom cover of the laptop.
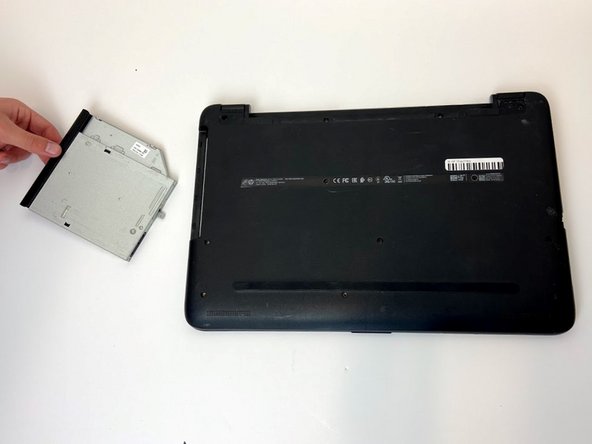
- Grab a hold of the disk drive and carefully pull it away from the computer.
- Continue to slide the disk drive out of the laptop until fully removed.
- Due to the removal of the battery, no power is available to open the disk drive through the use of the eject button.
- Make sure to pull out the disk drive at a 90 degree angle as demonstrated. Do not attempt to wiggle the drive out of the laptop.
- There will be resistance when removing the drive. Mishandling may cause broken wires, which could make your disk drive inoperative.
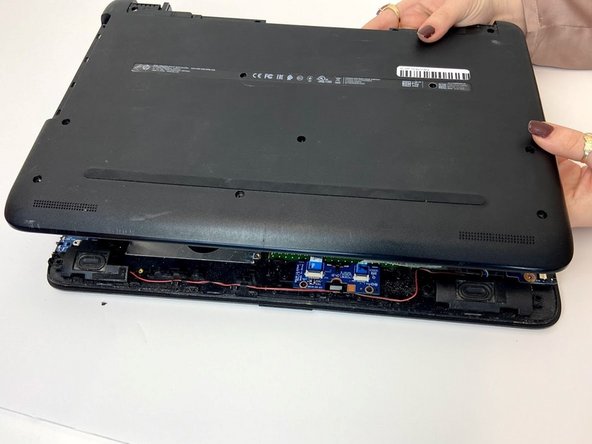
- Place a plastic opening tool in-between the upper and lower pieces of the bottom cover.
- Using your hands and the plastic opening tool, gently separate the cover from the frame.
- Slowly remove the bottom cover from the base of the laptop.
- Using metal pry tools can damage your device.
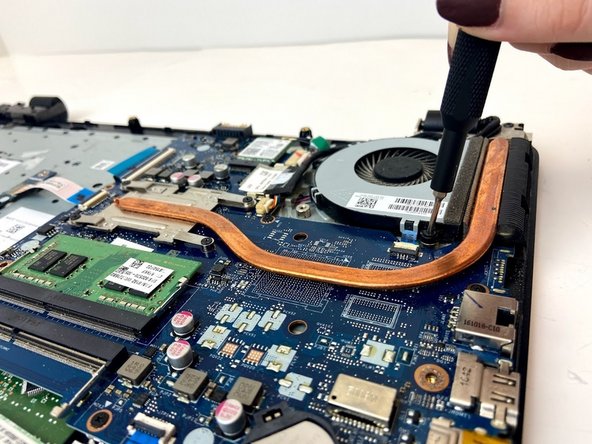
- Use a Phillips #0 screwdriver to remove the two 8 mm Phillips-head screws that attach the fan to the base.
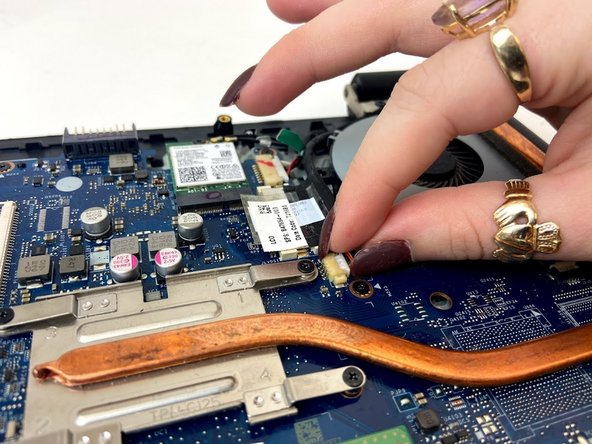
- Using your index finger and thumb, carefully grab the wire that connects the fan to the motherboard.
- Using a bit of force, remove the cable from the connector on the motherboard.
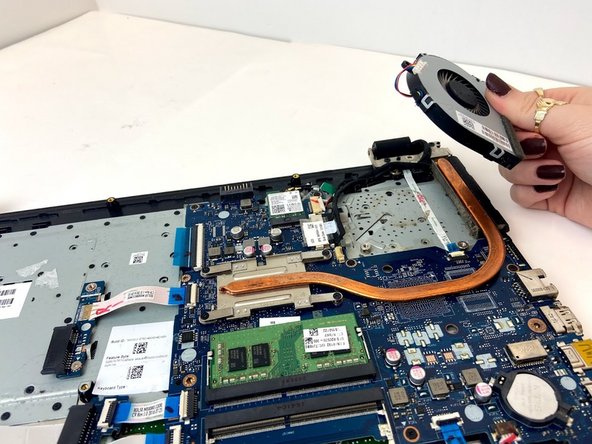
- Using your hand, grab one of the fan corners and pull up.
- Carefully remove the entire fan from the base of the laptop.
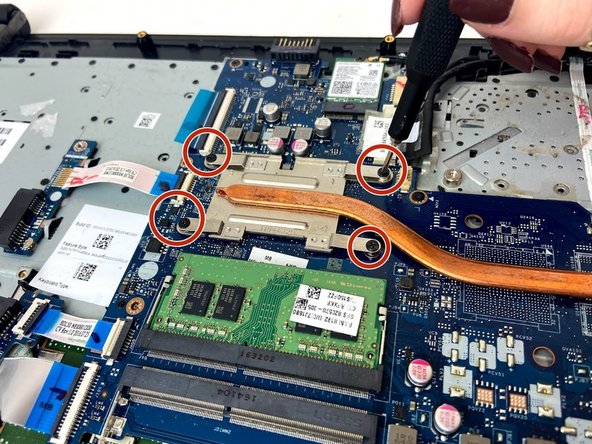
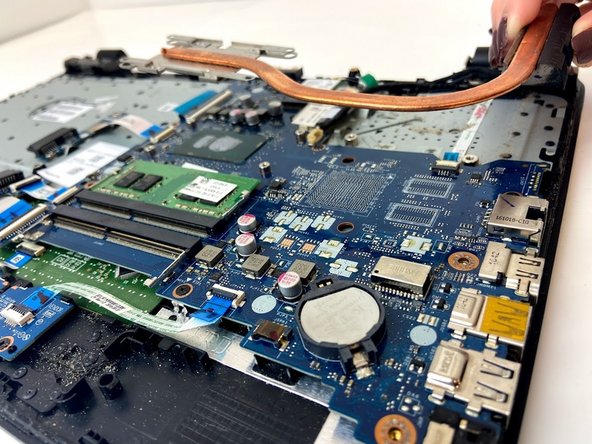
- Using the Phillips #0 screwdriver, unscrew the four 2 mm Phillips-head screws that secure the heatsink to the laptop base.
- Grasp one end of the heatsink and then carefully lift up to remove it from the laptop base.
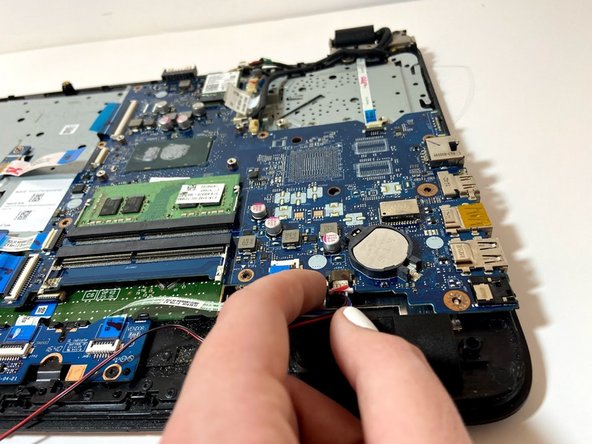
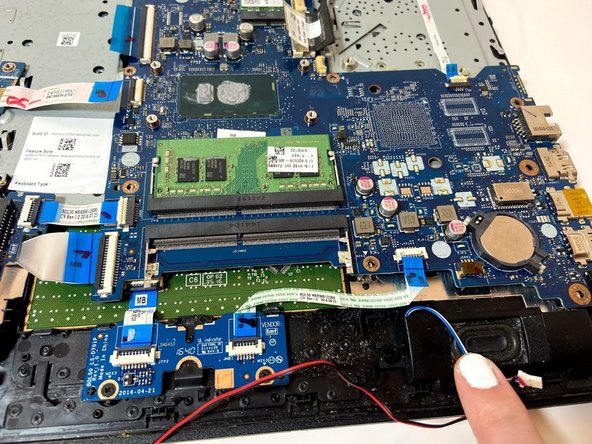
- Using your index finger and thumb, gently grasp the speaker cable and pull it from the connector.
- Move along the speaker wire and ensure that none of the wiring is caught on other components or mounting tabs.
- Remove the speakers.
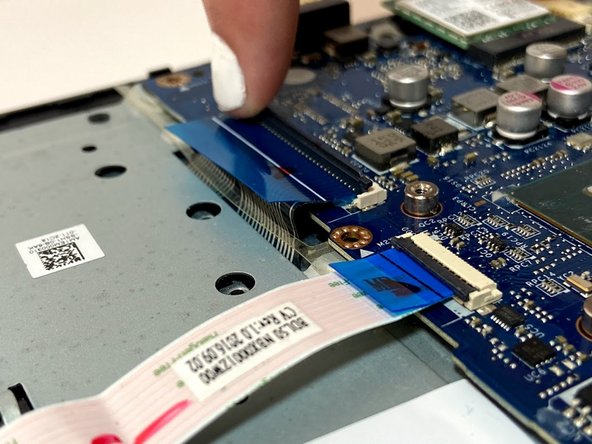
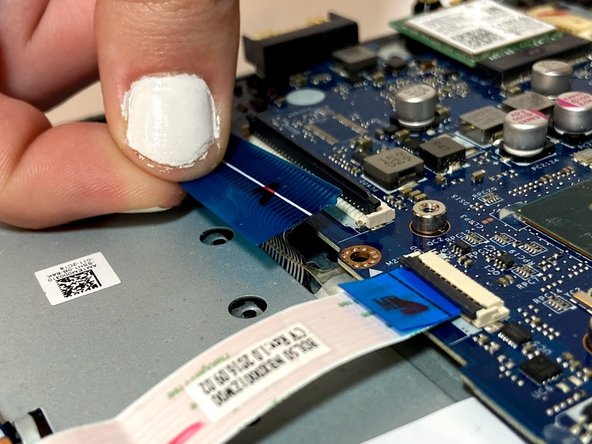
- Place your index finger on the plastic ridge of each of the seven ZIF connectors connected to the motherboard.
- Using your index finger, flip up the black tabs on each of the connectors to release the cable.
- Gently pull each the wired connections from the motherboard.
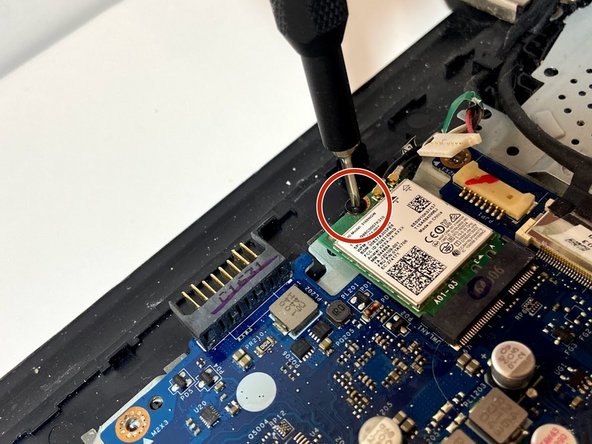
- Using a Phillips #0 screwdriver, unscrew the twelve 2 mm Phillips-head screws that secure the motherboard to the laptop base.
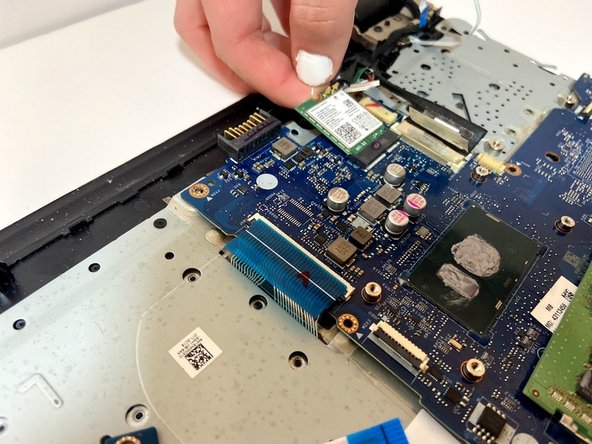
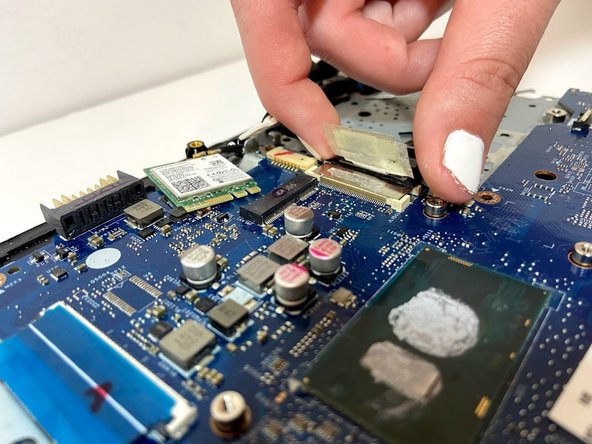
- Use your index finger and thumb to gently grasp the green wireless card, then pull the card horizontally out and away from the motherboard.
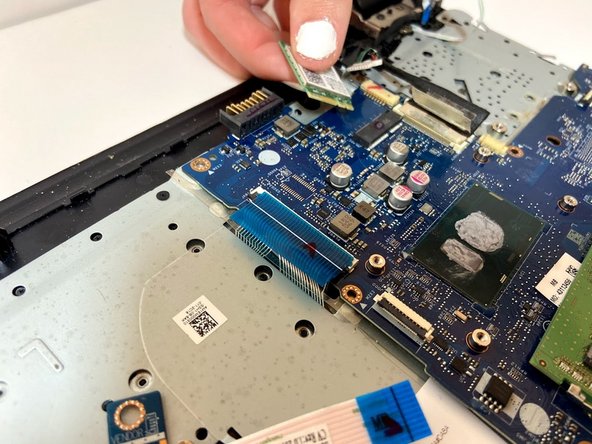
- Use your index finger and thumb to gently grasp the display connector and remove it from the motherboard.
- Carefully grasp an end of the motherboard and gradually lift it up and away from the laptop.