Hover-1 Maverick Central Bearing Replacement
ID: 130665
Description: This guide for the Hover-1 Maverick guides...
Steps:
- Remove the twenty 15mm Phillips #1 screws from the shell of the hoverboard.
- Remove the shell from the hoverboard. The central bearing is located in the center.
- Unscrew the eight 16mm Phillips #1 screws holding the central bearing in place.
- Unplug the wires that run through the central bearing. There is a black and yellow one that attaches to the battery and a set of white ones that attach to the motherboard.
- Run these wires out through the other end of the central bearing.
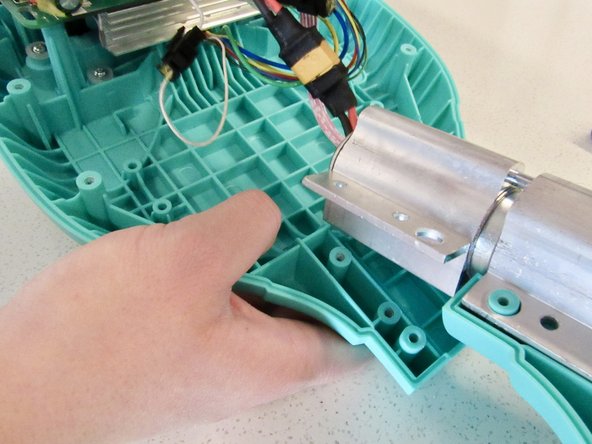
- One side of the bearing is easy to pop out with your hands.
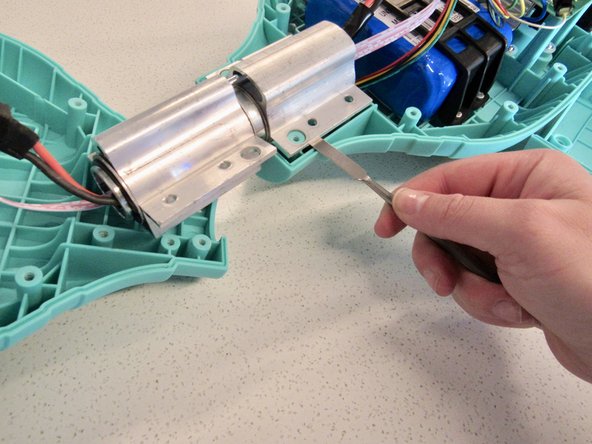
- The other side of the bearing has wiring for the LED light running under it, so it cannot be pulled out with your hands. To get leverage, carefully use the metal spudger to wedge out this other side.
- Take the central bearing out of the board.