Iomega ZIP 250 MB External USB Teardown
ID: 132306
Description:
Steps:
- Push pin into holes on sides to release the top blue casing.
- Pull blue casing out of side slots located in each corner.
- Remove the back end cover panel by pulling it outwards.
- Remove front panel by inserting push pin into holes.
- Remove the back panel.
- Remove rubber feet nubs.
- Remove light silver screws (T6) from black piece on circuit board.
- Slide the assembly out of bottom casing.
- Remove four light silver screws (Phillips 00) on the bottom of the assembly.
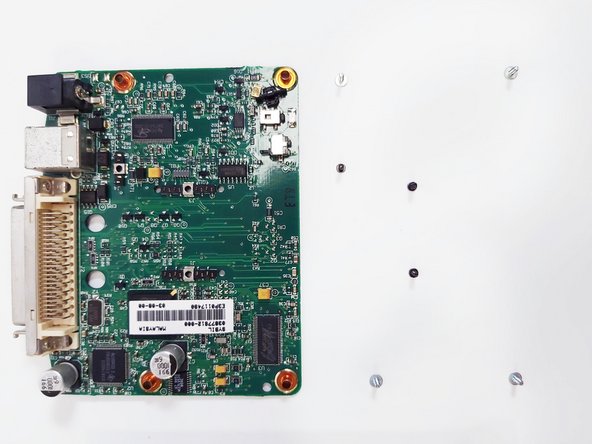
- Remove three black screws (Phillips 000) to remove disk drive from circuit board.
- Remove the circuit board and admire.
- Front Main PCB IC Identification:
- You may need to enlarge it to view the text.
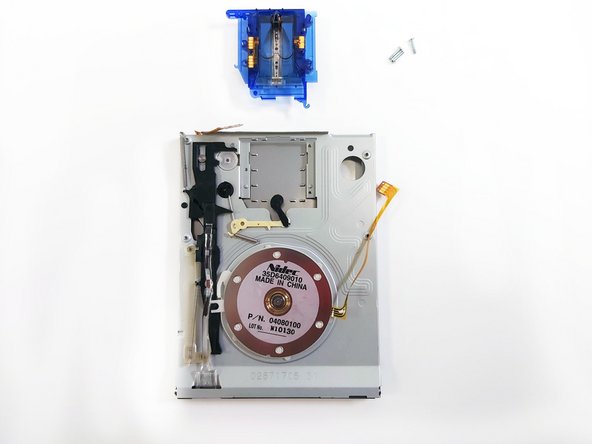
- Remove three silver screws (Phillips 000) from blue component.
- Carefully peel off adhesive on wiring (flex pcb) to remove from blue component.
- Unlatch the spring.
- Lift and slide blue component out of disk drive casing.
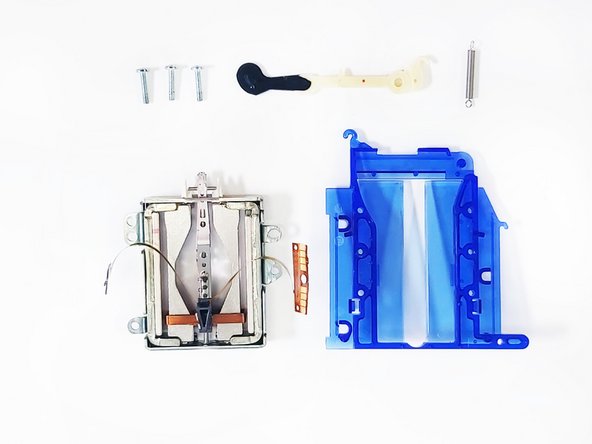
- Push blue tab on either side to release the blue casing from metal component.
- Carefully peel off adhesive on wiring (flex pcb) to fully remove the blue component from metal.
- Remove plastic arm and spring from drive body.
- Remove two springs from top corner (17mm) and middle section (20mm).
- Remove two screws (Phillips 00) on back left corner of drive.
- Remove eject button shaft by sliding out of slot in drive and lifting out off black arm.
- Lift and twist the white latch on silver circle and slide the black arm sideways.
- Slide out smaller black lever from drive body.
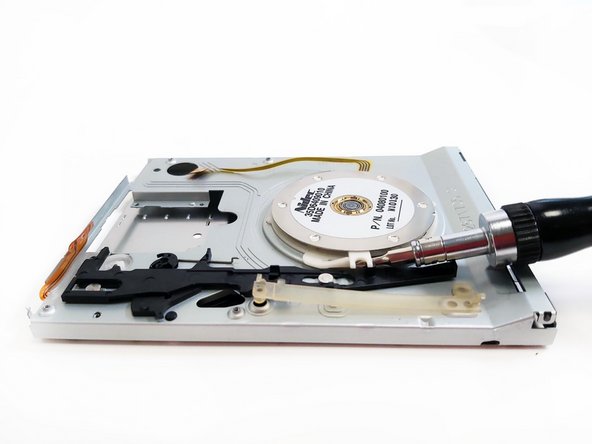
- Break spot welds by jamming a flathead screwdriver into cracks.
- Remove gear system from back corner.
- Remove black spring arm by pushing tab on bottom side of the case.
- Break small white plastic plugs.
- Remove circular reader from metal body casing.
- Remove white plastic ring from reader.
- Bend front door slightly to pop it out of casing.
- You're all done! Pat yourself on the back.
- Take a photo to remember this fantastical moment of your accomplishment!