Samsung Galaxy A80 Display Assembly Disassembly and Reassembly Replacement
ID: 132386
Description:
Steps:
- Heat the rear cover/device (approx. 80°C / 4 min.).
- Use a suction cup to pry up the rear cover, and use a plastic opening tool/credit card to release the rear cover along the edges and corners.
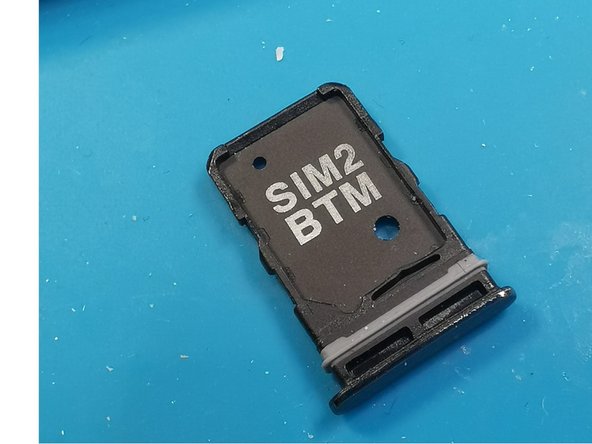
- Remove the SIM card tray.
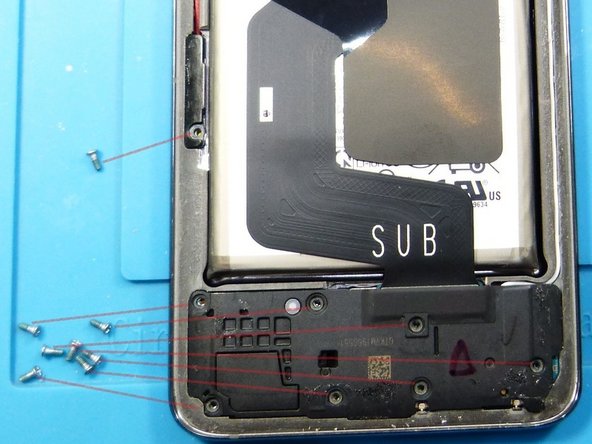
- Release the screws as shown and set them aside, as they have different lengths/thread sizes.
- Remove the speaker / cover.
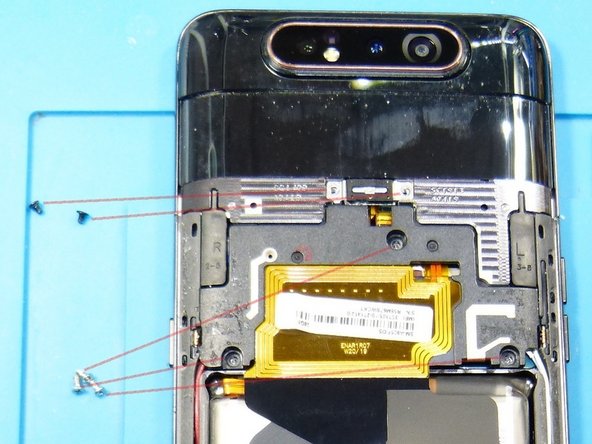
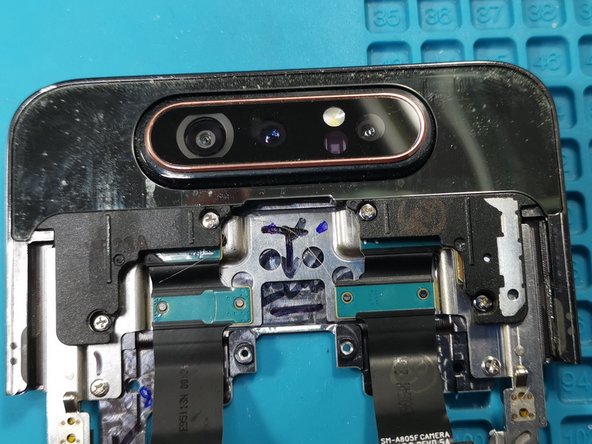
- Slide the camera mechanism / camera upward.
- Release the 3 pictured screws.
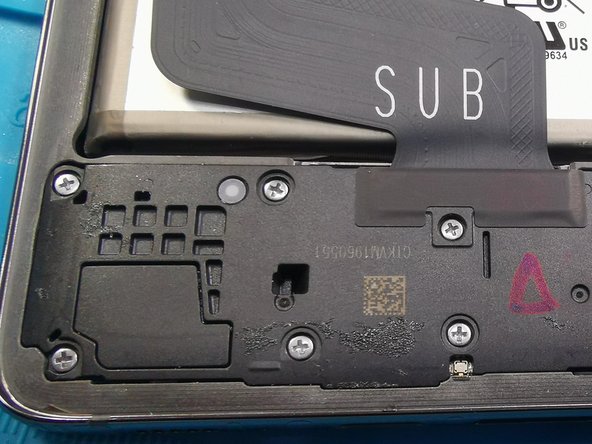
- Remove the NFC antenna / cover.
- Release the display assembly socket. Release the fingerprint sensor socket.
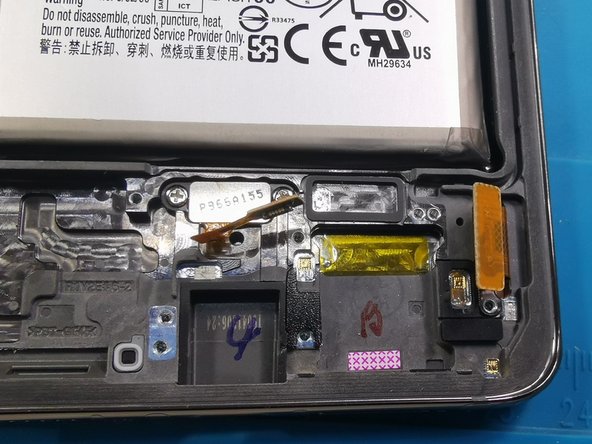
- Remove the charging port. The upper (SUB) cable can remain connected.
- Release the 2 screws. Remove the fingerprint sensor.
- Remove the Linear Motor mount.
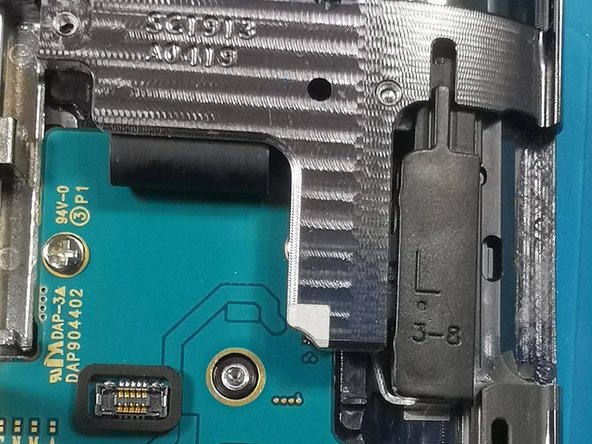
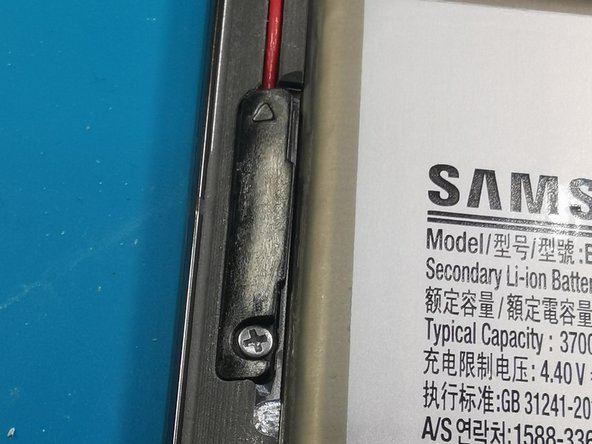
- Remove the adhesive right cover (L).
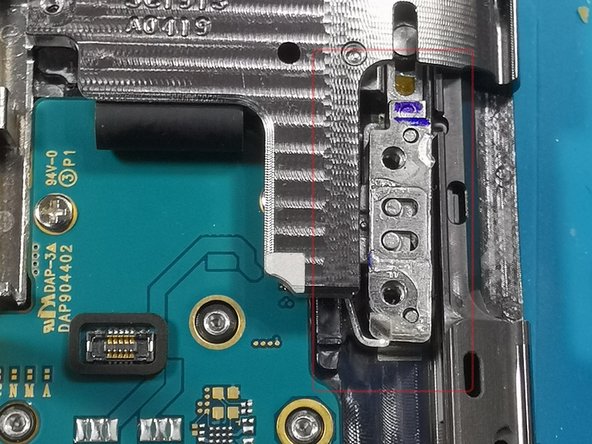
- Release the 2 screws.
- Remove the right metal slide.
- As with the right side, first remove the black adhesive-backed cover.
- Then release the 2 screws.
- And remove the metal bracket.
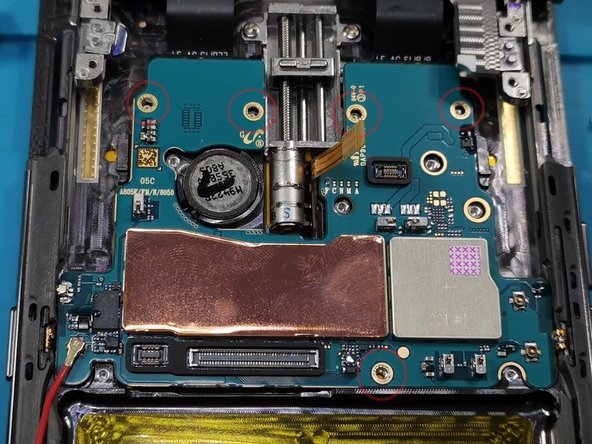
- Release the 5 pictured screws. Disconnect the battery (already removed in this image).
- First, pry up the motherboard on the left side.
- Then remove it together with the slide/camera.
- Warm the housing / replacement battery (approx. 60°C / 3 min).
- Pry up the replacement battery at the bottom using a plastic opening tool / credit card.
- Remove adhesive residue and smooth out the replacement battery.
- On the new display assembly: Apply liquid adhesive for the replacement battery or use the original adhesive tape.
- Since dust and dirt enter through the slide mechanism, now is the best opportunity to remove them.
- Clean the dust/dirt using a brush / screen cleaner.
- Release the 2 screws.
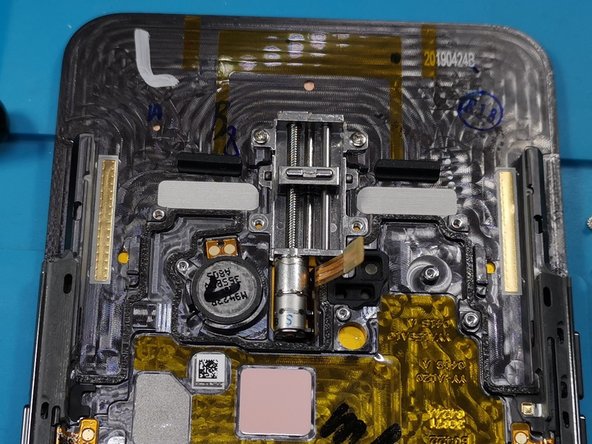
- Remove the Slide Linear.
- Disassembled Samsung Galaxy A80.
- Since the vibration motor and the buttons are already attached to the new Samsung display unit, they do not need to be removed.
- Some steps (such as 8 and 9) can be swapped.
- Otherwise, follow the reassembly steps in reverse order.
- Screw in the slide mechanism.
- Glue the replacement battery in place. (The liquid adhesive should have hardened slightly by now.)
- Insert the fingerprint sensor and screw it in. Insert the charging port.
- Insert 1 screw at the bottom.
- Insert the slide cover from the top.
- Insert the motherboard, starting at the bottom and then the left side.
- Press down lightly and tighten 5 screws.
- Fasten the slide mechanism socket.
- A picture is worth a thousand words.