Karcher Vacuum Universal 14286230 2014 Power Switch Replacement
ID: 132501
Description: Follow this guide to remove and replace the...
Steps:
- Before you begin, unplug the vacuum and disconnect all hose accessories.
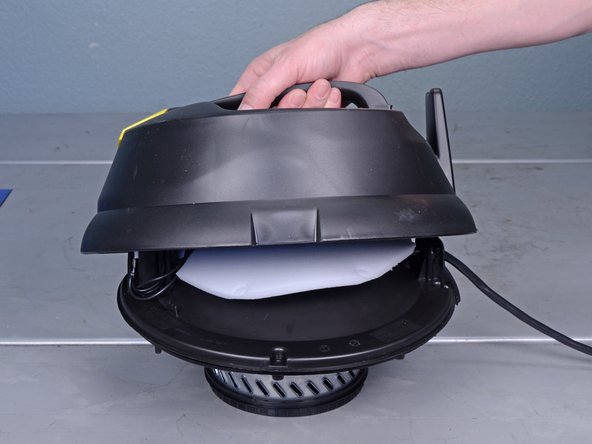
- Release the two latches locking the top assembly in place.
- Lift and remove the top assembly from the tank.
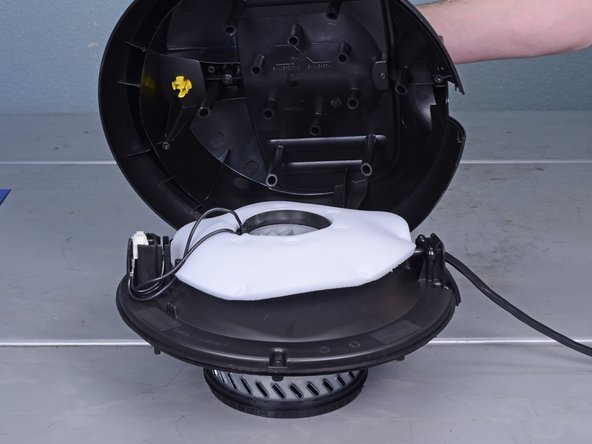
- Remove the four T15 screws securing the top assembly.
- Lift and remove the top plastic cover from the motor assembly.
- These images show the assembly with the filter portion already removed. You don't have to remove the filter for this repair.
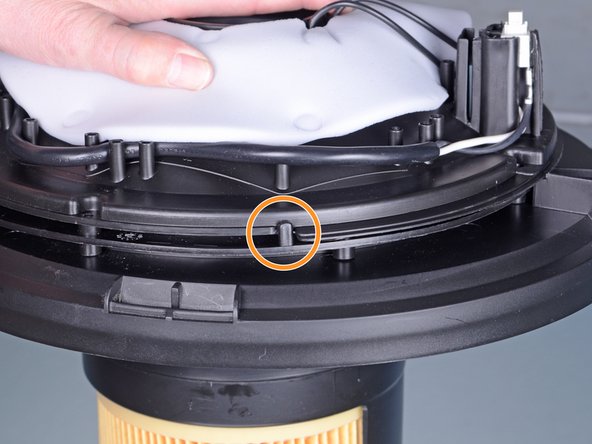
- Reassembly tip: Follow these tips to help you re-align the plastic layers:
- The switch module should line up with the yellow plastic switch plunger.
- The two plastic moulded discs line up using this black tab.
- Slide the switch assembly out of its plastic mount.
- Unplug the wires from the switch. These are standard spade terminals that can be pulled apart.
- Remove the switch.
- Reassembly tip: When you plug in a new switch, use the middle image to help you properly wire the switch.