Karcher Vacuum Universal 14286230 2014 Vacuum Motor Replacement
ID: 132502
Description: This guide shows how to remove and replace the...
Steps:
- Before you begin, unplug the vacuum and disconnect all hose accessories.
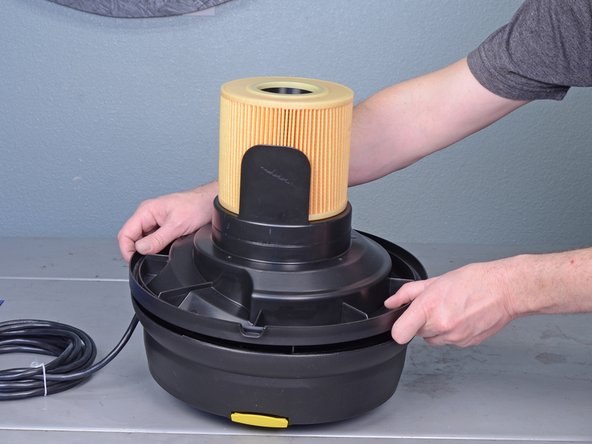
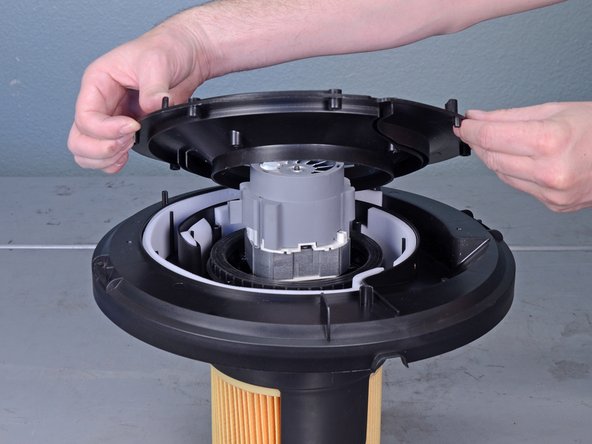
- Release the two latches locking the top assembly in place.
- Lift and remove the top assembly from the tank.
- Remove the four T15 screws securing the top assembly.
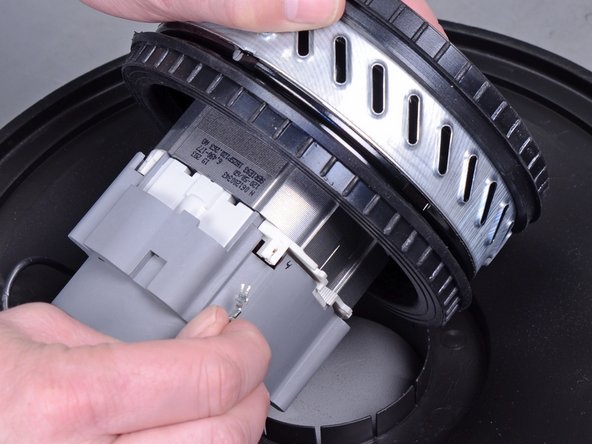
- Carefully lift the motor/filter away from the housing until you can access the motor wires.
- Do not separate the motor/filter from the assembly completely, or you risk damaging the motor wires.
- Disconnect the two motor wires from the motor by pulling them straight out of their sockets.
- Reassembly tip: The wires are not polarized and can be plugged into either socket.
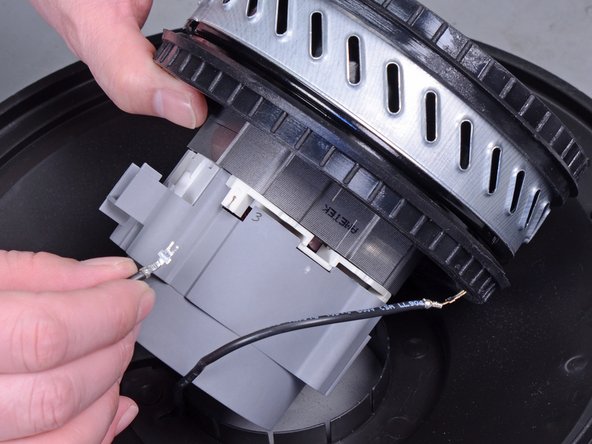
- You can now fully remove the motor/filter assembly from the housing.
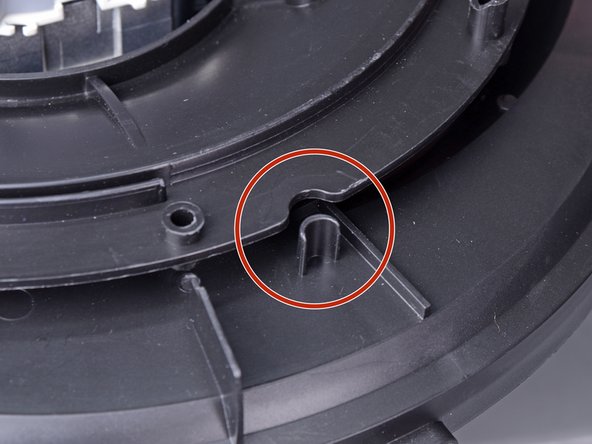
- Reassembly tip: Use the alignment tab to help you align the motor/filter with the housing assembly.
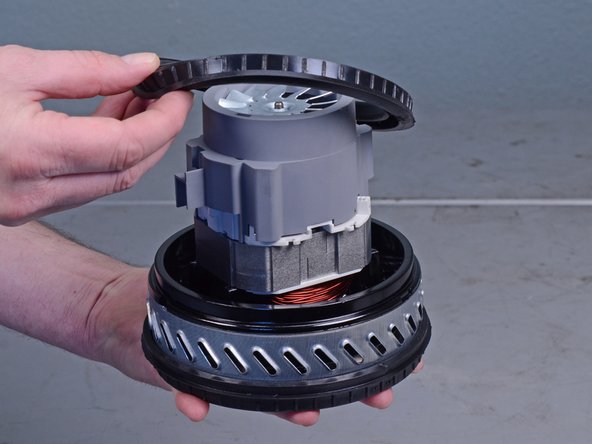
- Remove the four T15 screws securing the motor flange.
- Lift the motor flange and remove it from the motor assembly.
- Re-assembly tip: Use the marked notch to help you align the motor flange to the assembly.
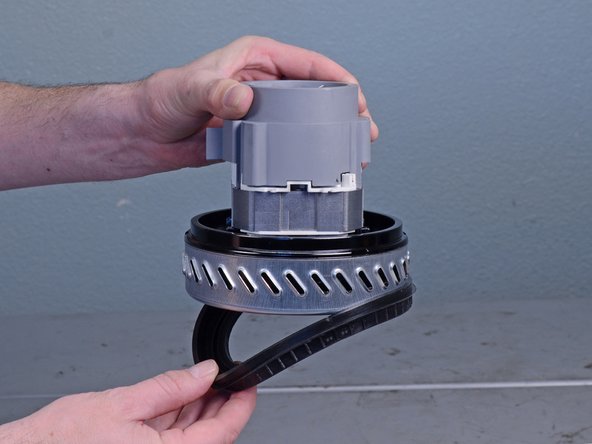
- Lift the motor straight out of the assembly and remove it.
- Re-assembly tip: The motor is not keyed into the assembly. As long as the motor wires can reach their sockets, the motor can sit in any rotation.
- Peel and remove the two black rubber seals from the motor.
- Transfer the rubber seals to the replacement motor.
- If the seals look torn or worn, discard the used seals and install replacements.
- Only the motor remains.