Karcher Carpet Cleaner BRC3015C 2018 Vacuum Motor Replacement
ID: 132671
Description: Use this guide to remove and replace the vacuum...
Steps:
- Make sure the carpet cleaner is turned off and completely disconnected from power.
- Pull the hose on the rear of the carpet cleaner straight down to disconnect it.
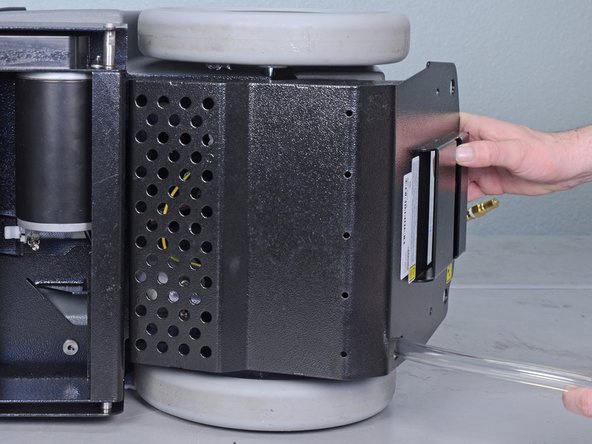
- Use a 3 mm hex key to remove two bolts securing the bottom cover.
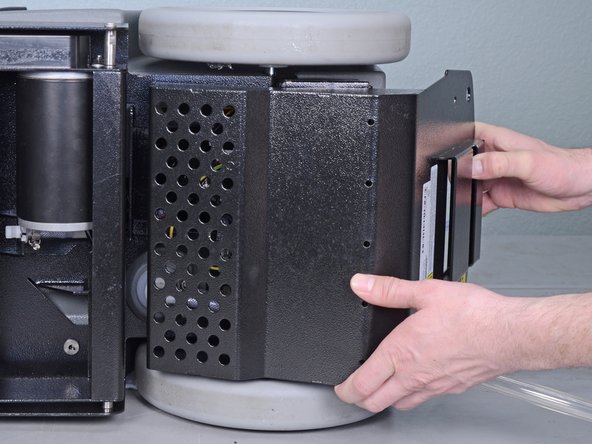
- Rotate the bottom cover down toward the bottom of the carpet cleaner, then pull it straight back toward the rear of the carpet cleaner to remove it.
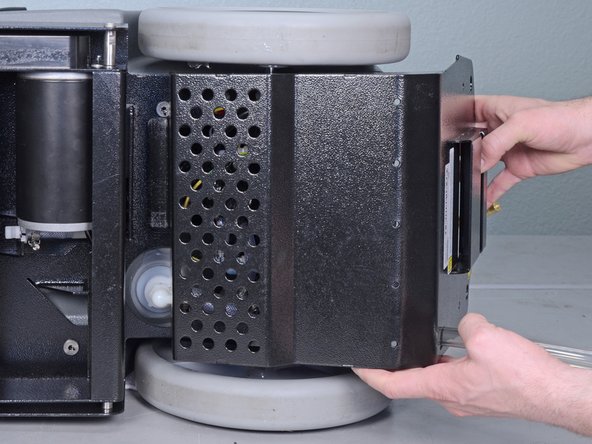
- Don't completely remove the cover yet. There is a ground wire connecting the cover to the carpet cleaner that must be disconnected first.
- Pull the yellow and green ground wire connectors straight apart to disconnect the bottom cover's ground wire.
- Use a 3 mm hex key to remove the four bolts securing the pump cover.
- Remove the pump cover.
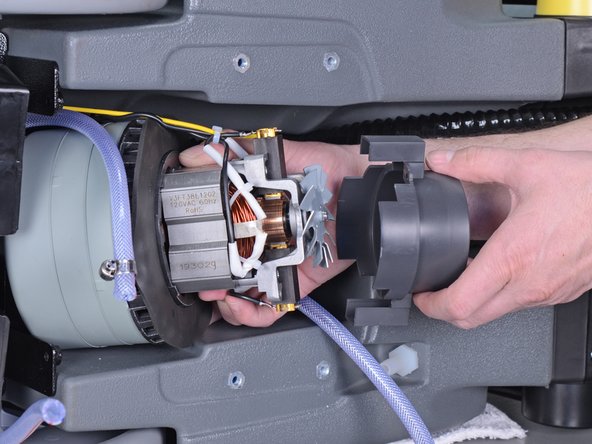
- Use a flathead screwdriver to loosen the hose clamp securing the flexible hose to the vacuum motor.
- Use a 3 mm hex key to remove the two bolts securing the vacuum motor cover.
- Pull the flexible hose straight off of the vacuum motor to remove it.
- Use a Phillips #2 screwdriver to remove the three screws securing the vacuum motor cover to the vacuum motor.
- Remove the vacuum motor cover.
- Use a Phillips #2 screwdriver to remove the two screws securing the fan cover.
- Remove the fan cover from the vacuum motor.
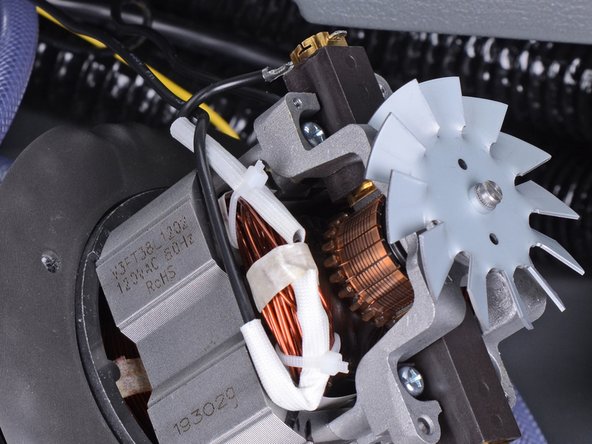
- Use a Phillips #2 screwdriver to remove the screw securing the ground wire to the vacuum motor.
- Use a pair of flush cutters to cut all the zip-ties securing any wires to the vacuum motor.
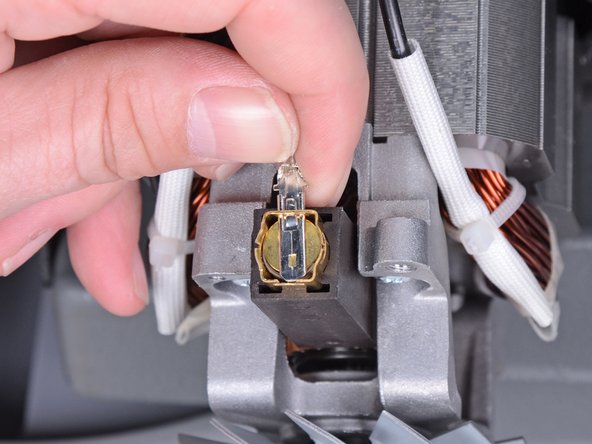
- Use a pick or small flathead screwdriver to push down on the tab securing one of the motor's power cable connectors while gently sliding the connector out of its slot.
- Do not completely remove the spade connector yet. The contact underneath it is tensioned by a spring and will fly out if you completely remove the spade connector.
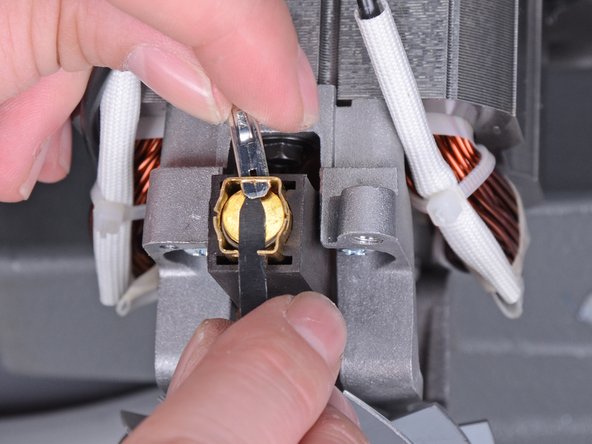
- Use a zip tie, or anything flat and roughly the size of the spade connector, to slide into the slot as you slide the spade connector out of the slot.
- Make sure the zip tie holds the spring contact down before you remove the spade connector.
- Your new motor may come with power cables already installed. If so, repeat the last three steps with the new motor to remove its power cables.
- Leave the zip ties in the new motor until you're ready to plug in the spade connectors.
- Repeat the last two steps to remove the other power cable on the vacuum motor.
- Use the photos in this step as a reference for correctly reinstalling the cables on the new motor.
- Your new vacuum motor may not come with a vibration damping pad already installed. If so, carefully peel the pad off the old motor and transfer it to the new motor.