How to reattach a SAi Personal Space Heater Heating Coil
ID: 132724
Description: This guide is here to help any person who might...
Steps:
- Unplug the heater before attempting any repairs on it.
- Let the heating coils completely cool down before proceeding as well.
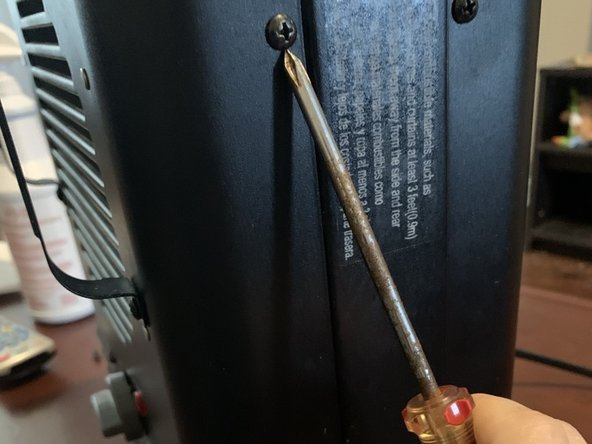
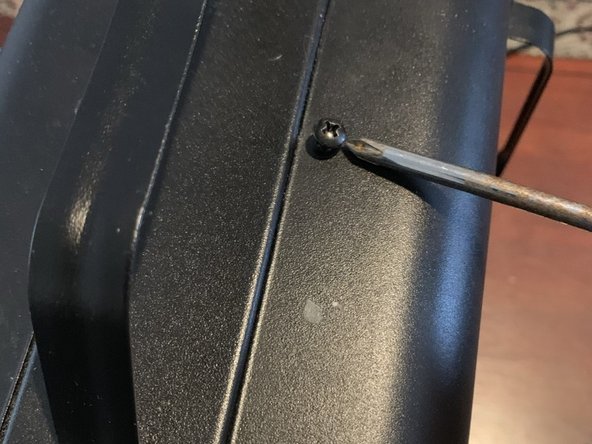
- Take your Phillips #3 screwdriver and remove the six 1.1 mm mounting screws around the top, bottom and sides of the case. Once all six screws are removed, the top and bottom of the case should separate with minimal force needed.
- Be sure you are unscrewing the case mount screws and not the carrying handle screws. These are located further towards the rear of the sides.
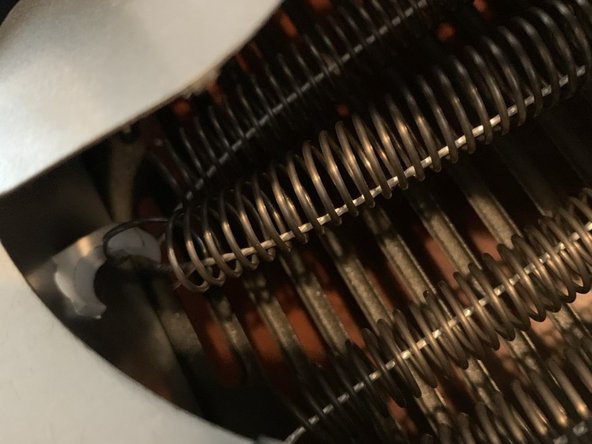
- Inspect the ceramic mounting brackets located in the fan housing for any damage beforehand.
- Before moving any further, make sure the heating coils are completely cooled down as they can cause heavy burns.
- Once you have made sure the coil is cool to the touch, reach into the case and lightly pull it towards and onto the ceramic mounting bracket.
- Be careful to not apply too much pressure on the coil as it is possible to warp it and decrease the efficiency of the coil.
- Once the coil has been secured to the bracket, slide the case back together, and screw the six Phillips #3 1.1 mm screws back into place.
- Screwing the screws back in a star pattern (i.e. opposite corners first, much lick drawing the points of a star) can increase the ease at which the screws can go back in and decrease annoyance at screw slippage.
- Once all 6 screws have been placed, plug the fan back in and turn it on to see if the fan is still functional.
- Keep an eye on the coil you remounted to see if it is shifting while it goes under stress for the first time.