Presto Carpet Extractor 9.840-068.0 2016 Vacuum Motor Replacement
ID: 132750
Description: Follow this guide to remove or replace the...
Steps:
- Ensure your carpet extractor is unplugged and switched off before starting this procedure.
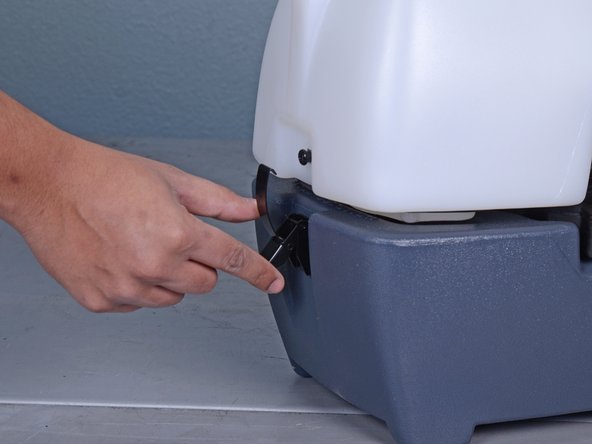
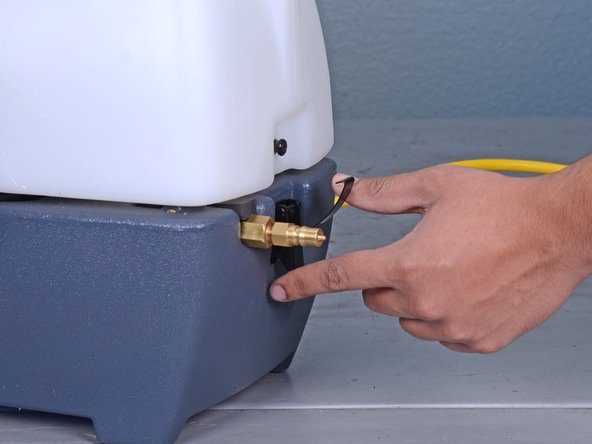
- If it is still attached, pull and disconnect the brass quick-connect fitting from the carpet extractor body.
- If it is still attached, disconnect the black hose from the recovery tank.
- Unclasp and release the two black latches on either side of the carpet extractor.
- Remove the recovery tank.
- Use a Phillips #2 screwdriver to remove the two 1/2" screws and washers securing the vacuum motor retainer.
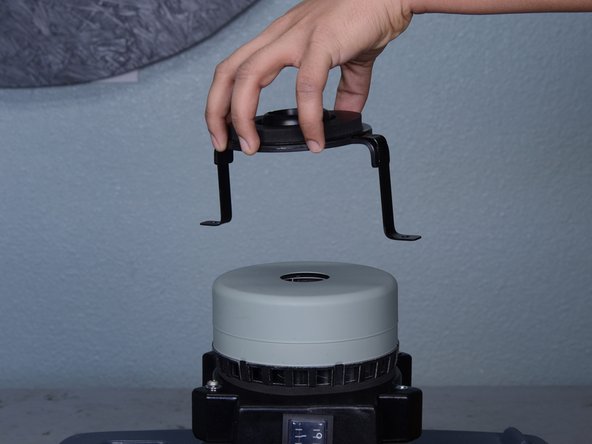
- Remove the vacuum motor cover, retainer, and gasket as one piece.
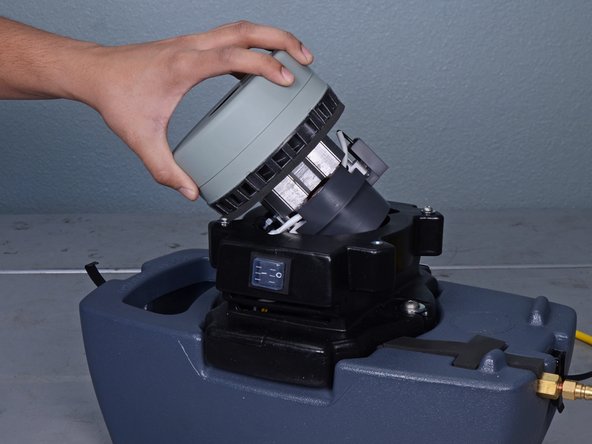
- Gently pull the vacuum motor up and out of the extractor housing and lay it on its side.
- Do not completely remove the motor, as it's still connected to the carpet extractor.
- During reassembly, insert the side of the motor connected to the wires first, then carefully drop the other side into place.
- Use a Phillips #2 Screwdriver to remove the 3/8" terminal screw securing the motor's three ground wires.
- During reassembly, ensure all three of these wires are reconnected to this screw terminal. The order in which they are stacked does not matter.
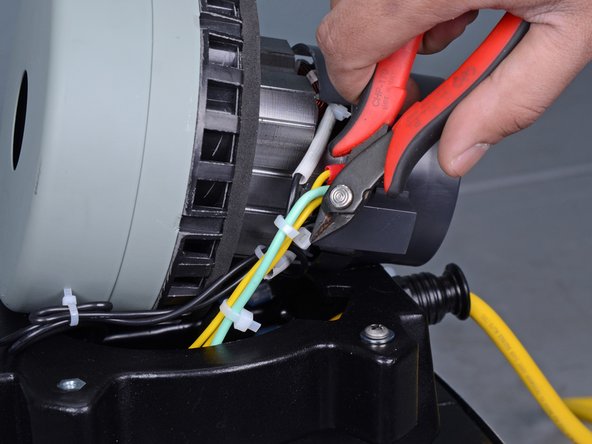
- Use a pair of wire cutters or scissors to cut and remove the zip tie secured around the black, yellow, and green motor wires.
- Take note of where this zip tie is located so it can be replaced during reassembly. If the cables inside the housing aren't managed properly, the vacuum motor will not fit back inside the housing.
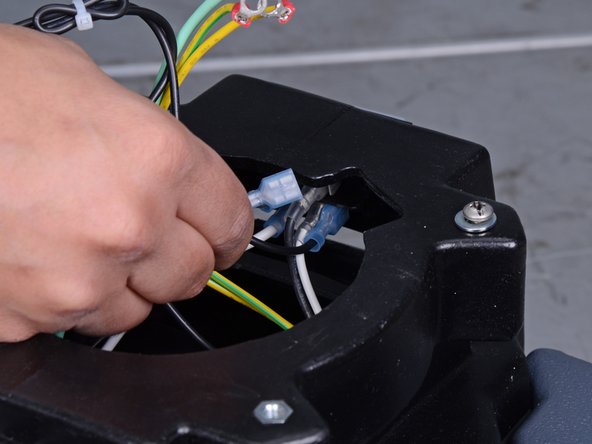
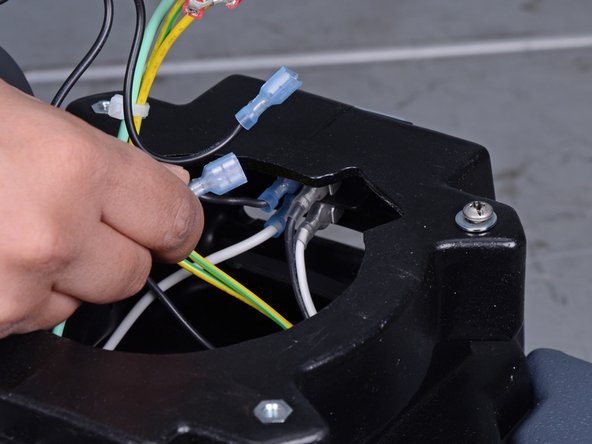
- Disconnect the two black motor wires from the switch mounted inside the carpet extractor housing.
- This may require a significant amount of force; pull and wiggle the connector until it is free.
- Do not worry about which wire is connected to which connector, as the motor's polarity does not matter.
- Remove the vacuum motor.
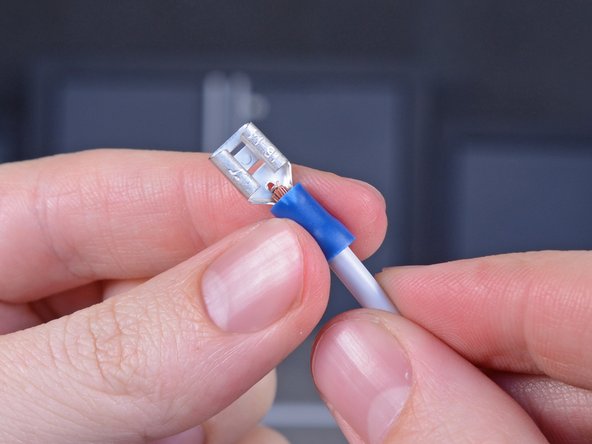
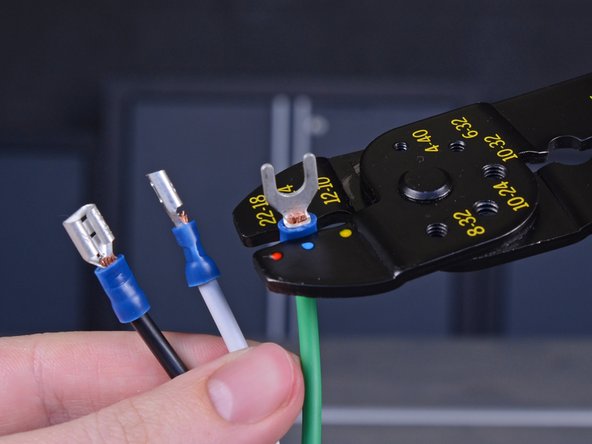
- If your replacement vacuum motor does not have quick disconnects on the end of its wires, strip about half an inch of insulation off of each wire to install new crimp connectors.
- Once the wires are stripped, install new 14-16 AWG insulated female crimp connectors onto the bare wire ends. Use a crimping tool to secure them.