2001-2006 Mini Cooper Radio Replacement
ID: 132789
Description: If the radio in your first generation Mini...
Steps:
- Grab the knee bolster panel under the steering column with both hands.
- Pull it down and out.
- Using a Torx screwdriver with T30 tip, remove the two M5 x 2.5 x 25 screws in the left pillar.
- Open the glovebox.
- Using a Torx screwdriver with a T20 tip, remove the two M5 x 2.5 x 30 screws in the right hand side pillar.
- Minis in America will usually have a cup holder attached with these 2 screws on the right. It will come off when the 2 screws are removed and can be set to the side.
- With the glovebox still open, grab the bottom of the passenger dash panel and pull it forward. The panel does not need to be removed, just popped out.
- Grab under the driver side dash panel near the radio and pull it forward. Again, the panel does not need to be removed, just popped out.
- Pull each side of the middle dash panel until it pops out, like the previous ones.
- Grab the left hand side pillar, then pull it out and to the left.
- Grab the right hand side pillar, then pull it out and to the right.
- The four screws holding the radio in should now be exposed.
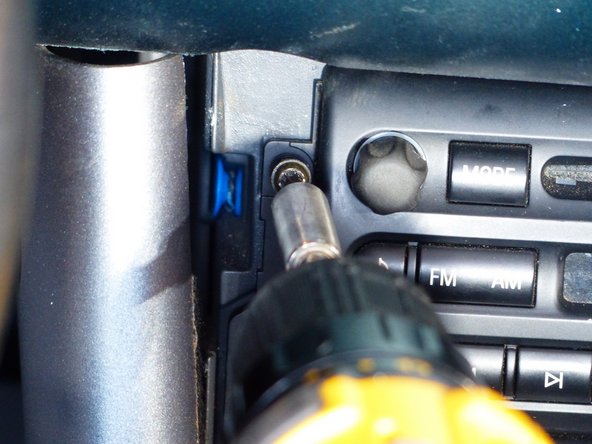
- Using a screwdriver with a T20 bit, take out the four M3 x 2 x 20 screws holding the radio in place.
- Some models have philips head screws instead of the regular torx head depending on age.
- Grab the radio and gently pull it out of the dash.
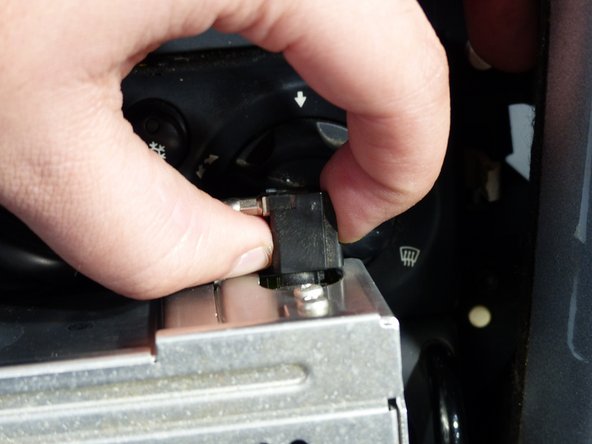
- Pinch the antenna connector and pull it straight out.
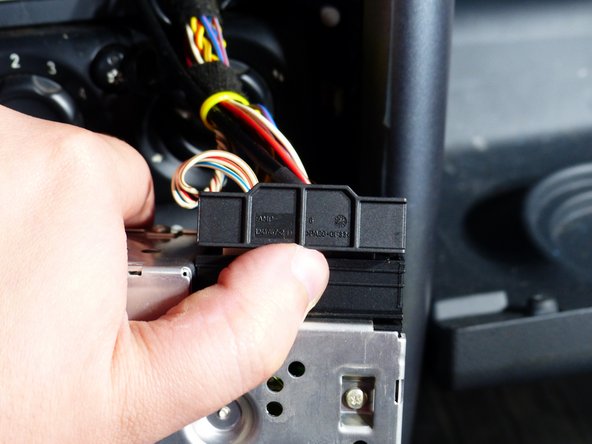
- For the main connector, pinch the lever arm with the piece of plastic next to it.
- Lift up on the arm and pull the connector out.
- The radio can now be removed from the car.