Milwaukee Hole Hawg 1675-1 Field Replacement
ID: 132793
Description: Does your Milwaukee Hole Hawg 1675-1 drill have...
Steps:
- Ensure that the drill is unplugged.
- Position the drill so that it is on its side.
- Remove the brush cap with a flathead screwdriver.
- Pry up on the copper brush holder with a screwdriver or spudger.
- Continue lifting up the copper brush holder to remove the brush.
- Repeat on the opposite side.
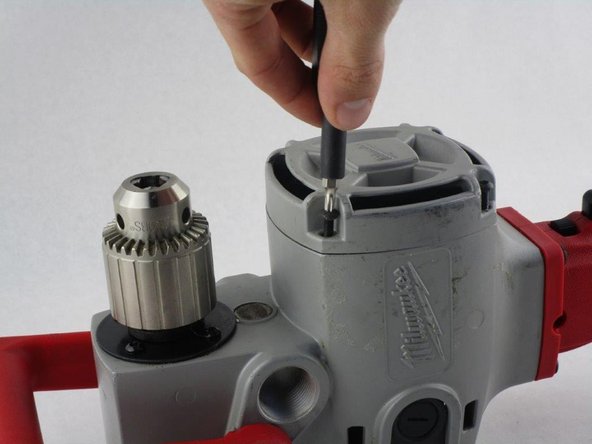
- Position the the drill upright and remove the four 19mm Torx T15 screws securing the motor cover.
- Remove the motor cover and withdraw the armature.
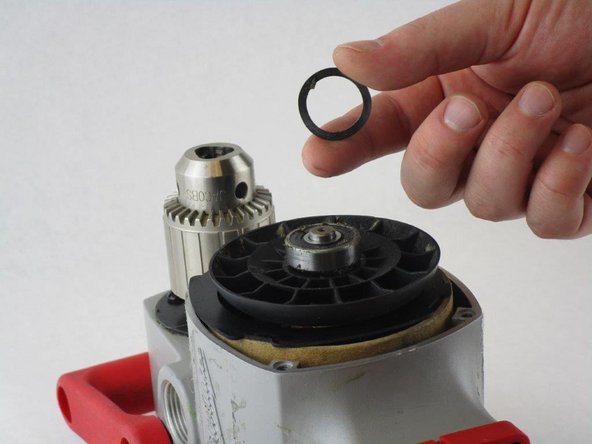
- Take note to not lose the washer that sits on top of the armature.
- Remove the black insulator ring.
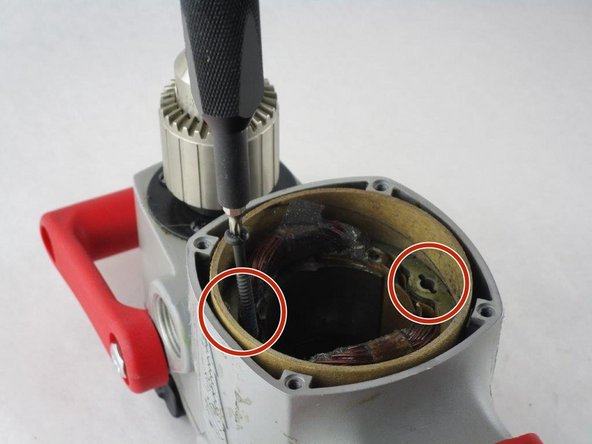
- Remove the two 45mm Torx T15 screws securing the field to the drill.
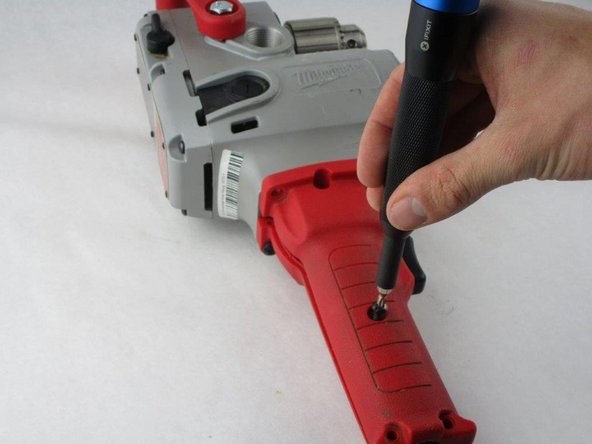
- Position drill on its side.
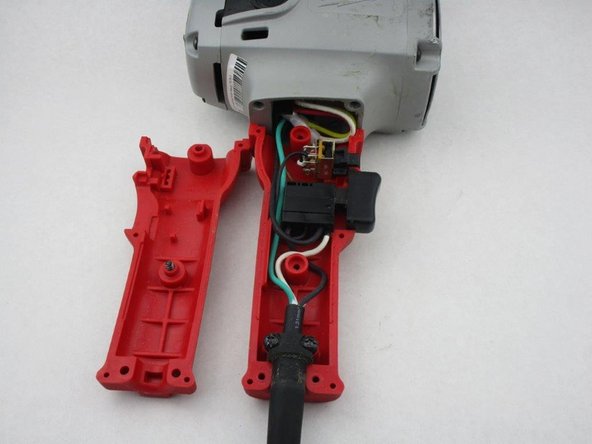
- Remove the four 19mm Torx T15 screws.
- Remove the two 25mm Torx T27 screws.
- Remove the top portion of the handle.
- Lift the switch up and away to allow room to work.
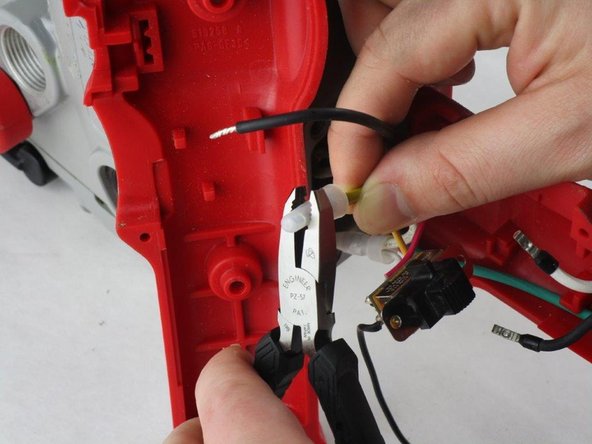
- Uncrimp the wire connector on the yellow field wire attached to the switch to disconnect it.
- Lift the field out of the device, feeding the yellow wire through the handle.