How to Replace a Speaker on a Yamaha PSS-130 Keyboard
ID: 132815
Description: Oh no! Your keyboard is no longer producing a...
Steps:
- Remove the battery cover.
- Remove all twelve of the 9.0 mm screws on the back cover of the device's casing using a Phillips #1 screwdriver.
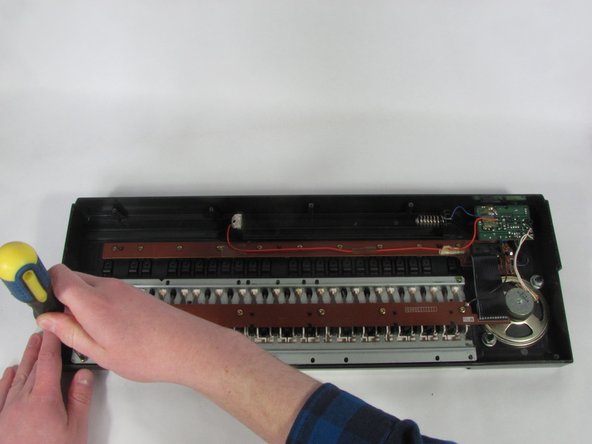
- Place your fingers in the battery compartment, and place your thumb on the back of the keyboard.
- Grip inside battery cover and push on the back of the keyboard with your thumb.
- Replace two 9.0 mm Phillips screws to keep the keys from falling out while working on this device.
- Rotate the keyboard to get a better angle with the soldering iron.
- Desolder the connections of the old speaker using the soldering iron and the solder wick.
- Remove the fasteners using an 11 mm socket wrench.
- It will take very little torque to strip the plastic, so make sure that your wrench is turning them to the left.
- The speaker should now be free. Simply lift the speaker out.
- Using the same process, place the new speaker in the speaker indentation.
- My own speaker was not malfunctioning so I did not replace it.
- Replace the fasteners that were removed in step 6, this time tightening to the right.
- Solder the new speaker to the wires taken off in step 5.