BlitzPro Power Blender Teardown
ID: 132925
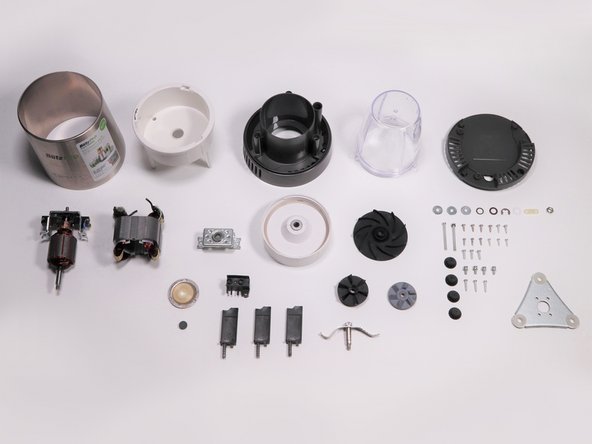
Description:
Steps:
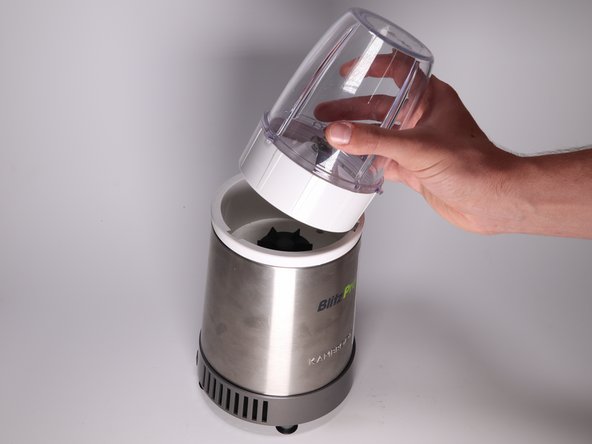
- Depress the container and twist it anti-clockwise to remove.
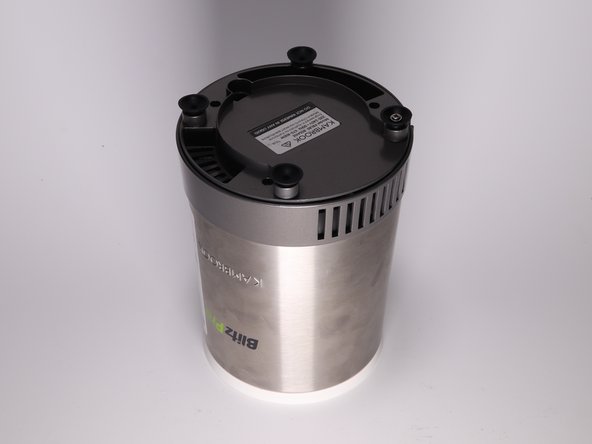
- Turn the base upside down.
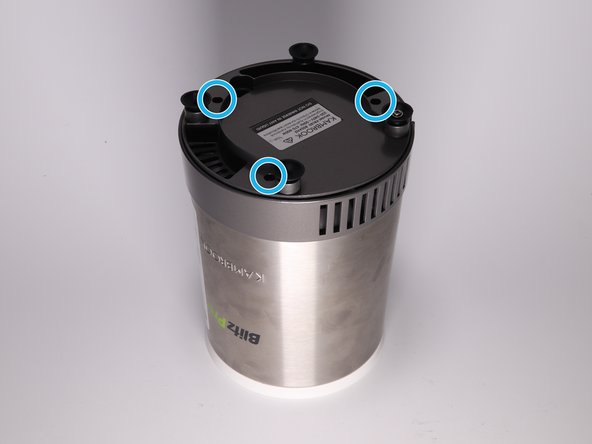
- BLUE: use a Y1 tri point screwdriver - turn clockwise to unscrew.
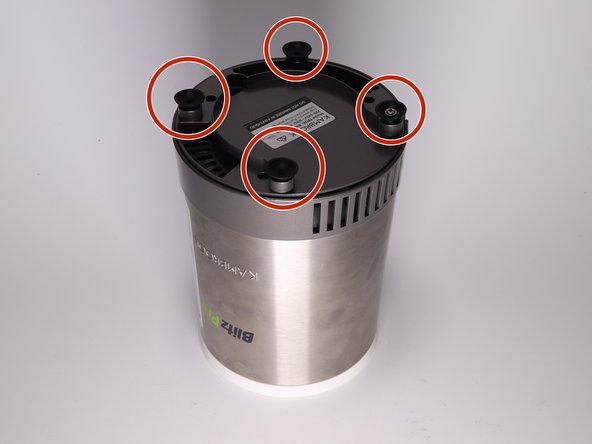
- RED: unscrew the 4 rubber cups with a #1 phillips head screwdriver and pull them off their mounts.
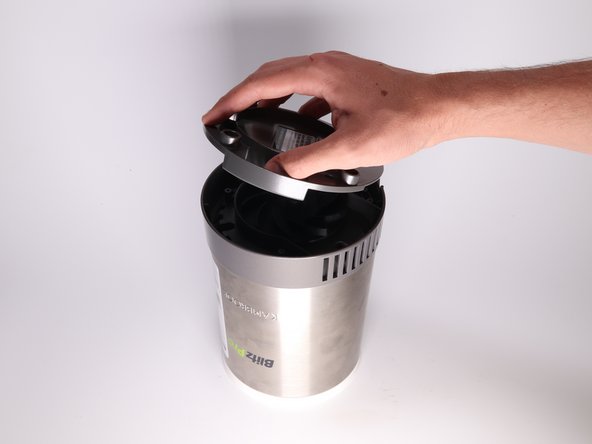
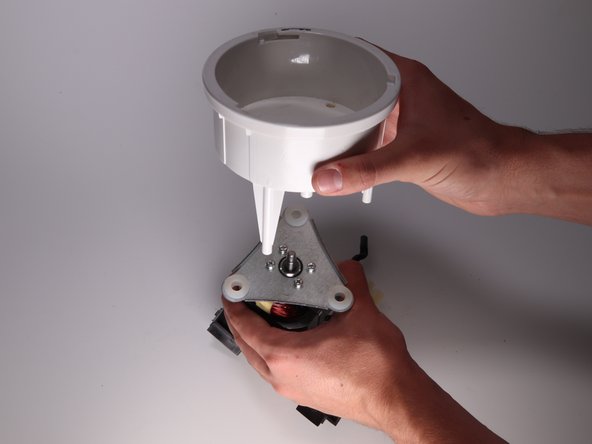
- Remove the plastic cover.
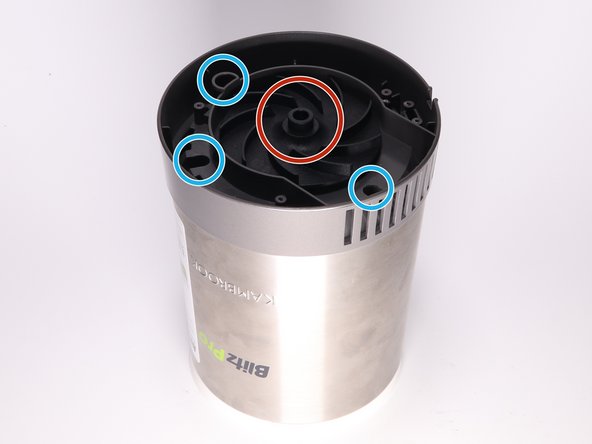
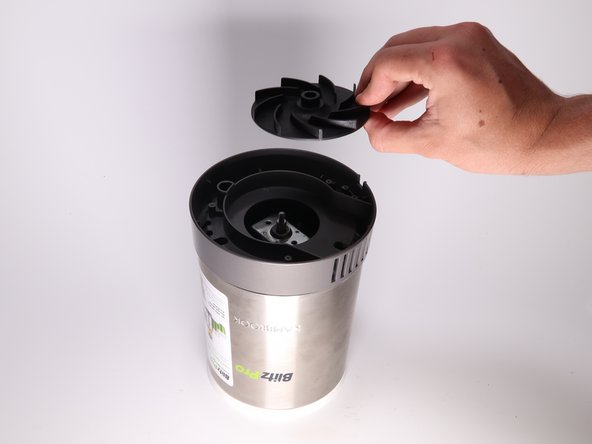
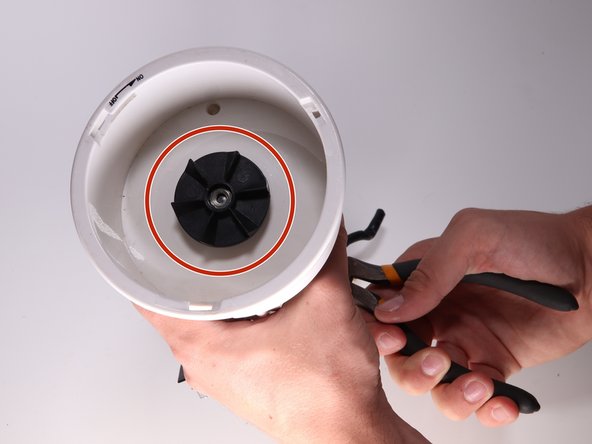
- RED: turn the fan clockwise to unscrew it and then lift it off the axle.
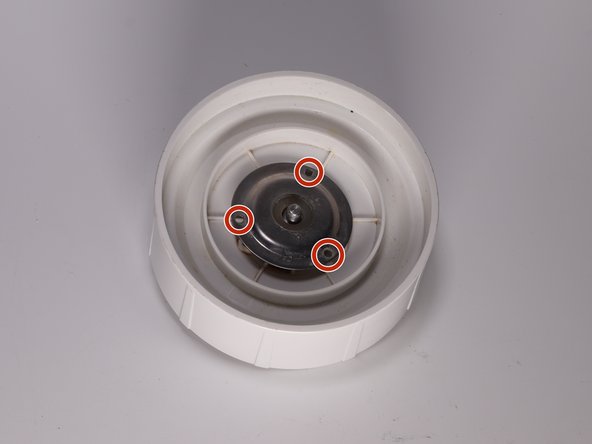
- BLUE: use a #1 Phillips head screwdriver to remove the three screws.
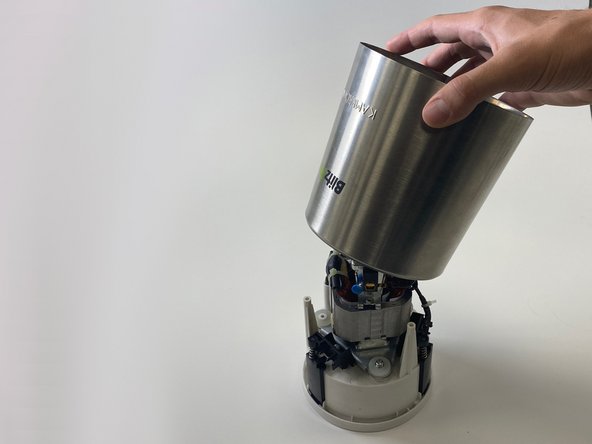
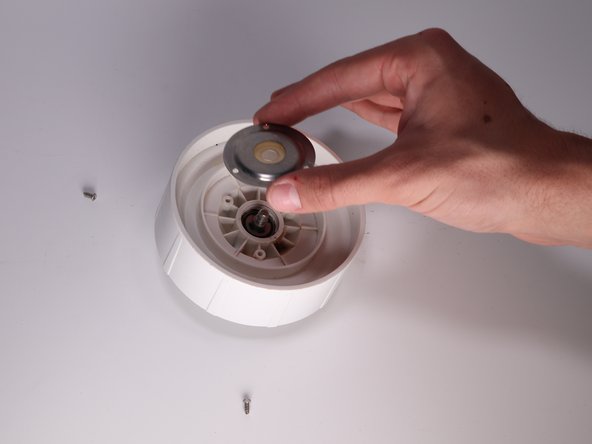
- Lift the plastic housing out of the metal casing.
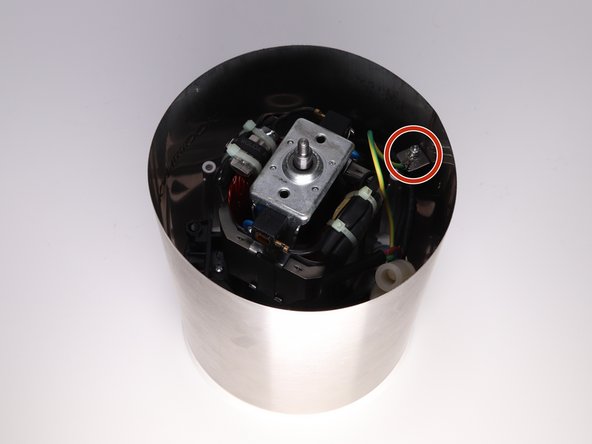
- RED: use a #1 Phillips screwdriver to remove the screw.
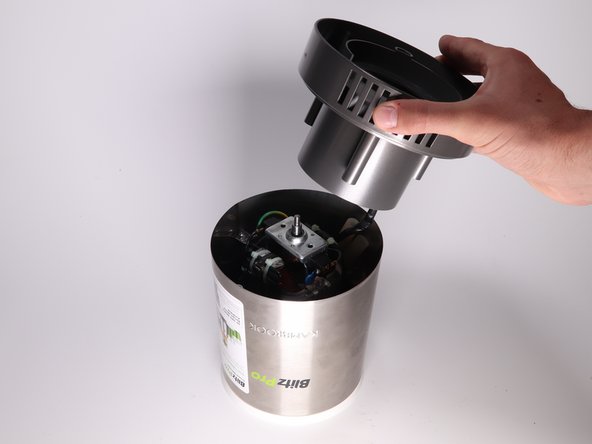
- Lift the metal casing off the part.
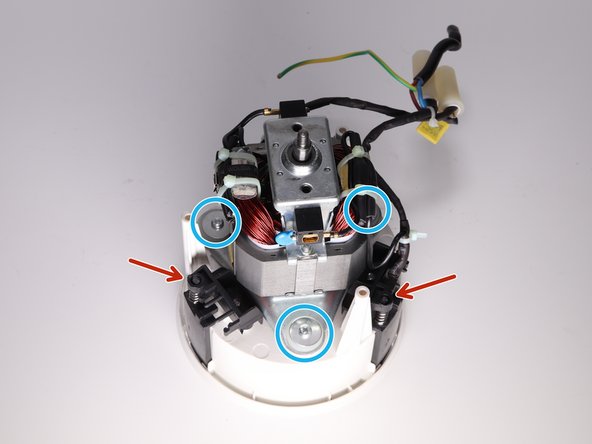
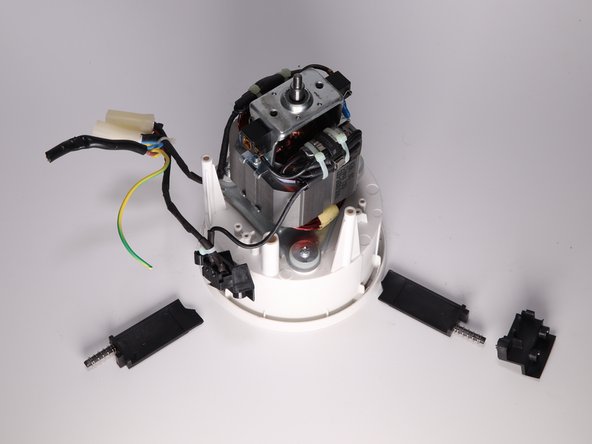
- RED: use a #1 Phillips head screwdriver to remove the three spring components located around the outside of the part.
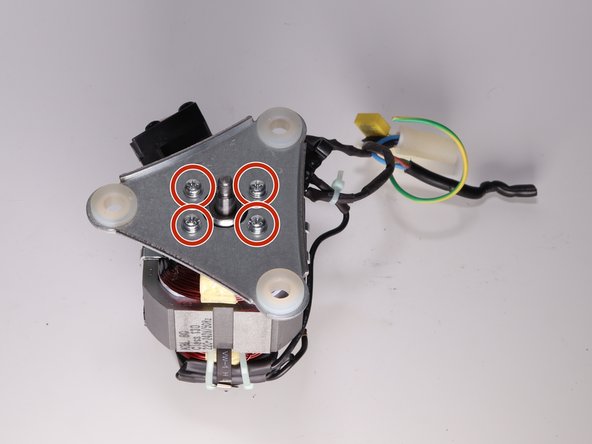
- BLUE: use a #1 Phillips head screwdriver to remove the three screws and washers from the triangular metal plate.
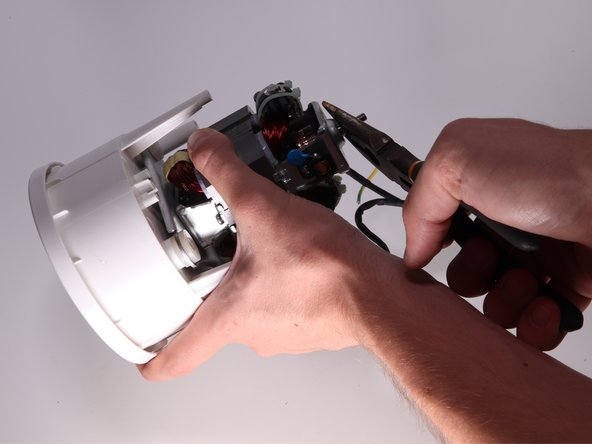
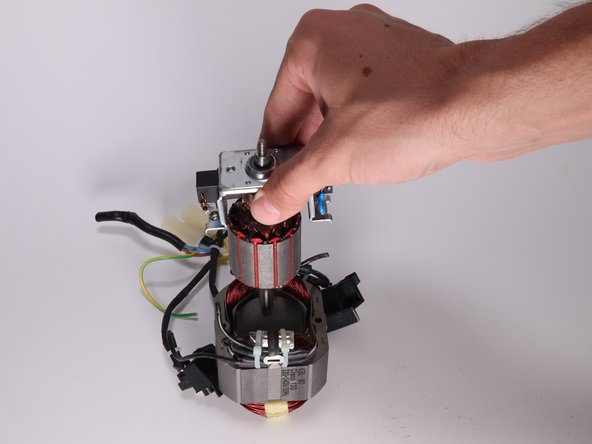
- Hold the rotor in place with pliers or a multi-grip and turn the toothed component clockwise to unscrew it.
- Remove the white plastic part from the rotor by lifting it away vertically.
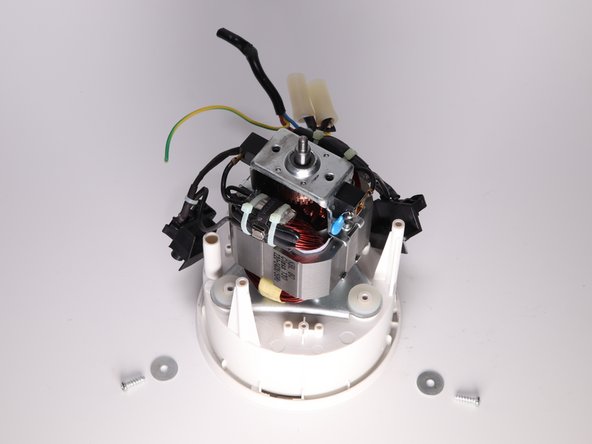
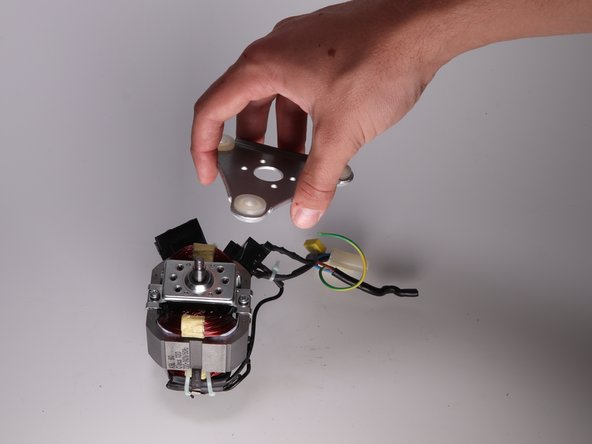
- Use a #1 Phillips head screwdriver to remove the four screws and then lift the the triangular metal plate off the rotor.
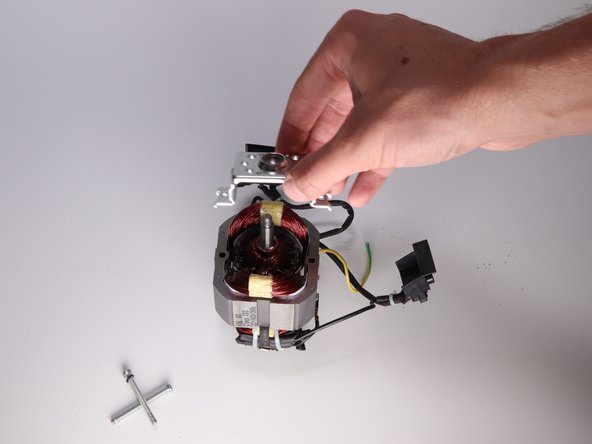
- Use a #1 Phillips head screwdriver to remove the two screws.
- Lift the metal plate off the rotor, the rotor can now be removed from its' housing.
- Unscrew the clear container from the white base.
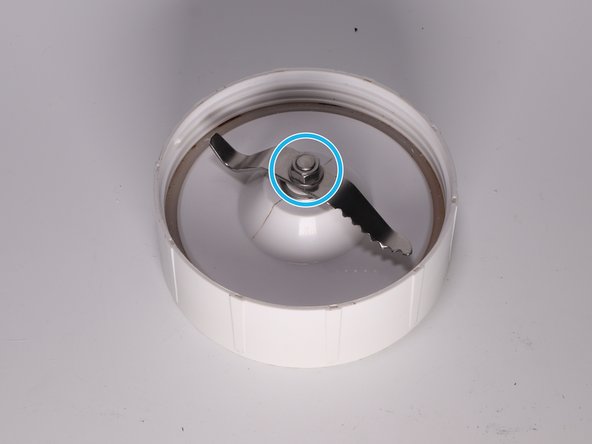
- BLUE: use a wrench to hold the nut in place.
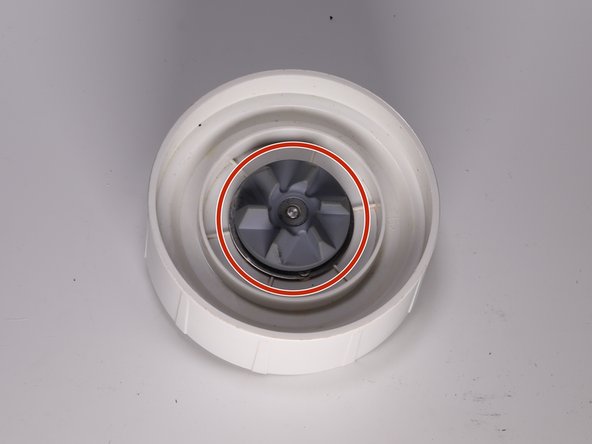
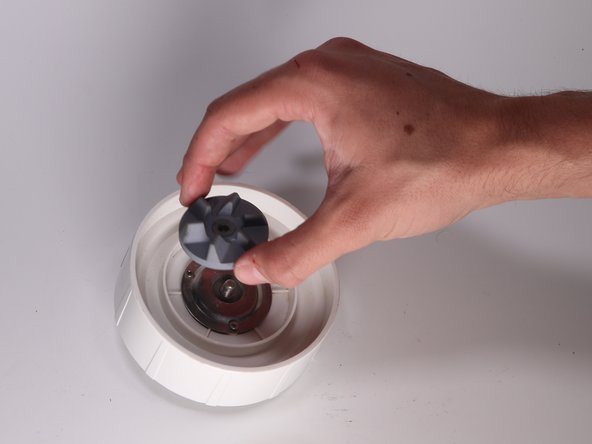
- RED: turn the grey toothed component clockwise to unscrew it. Then lift it off the axle.
- Use a #1 Phillips head screwdriver to remove the three screws.
- Lift the metal disc off the axle.
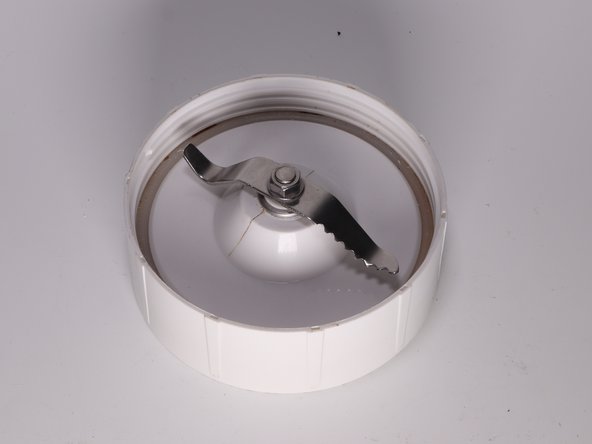
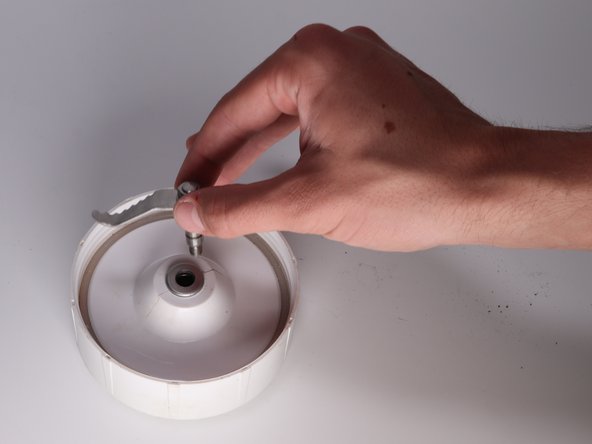
- Now that all the fixtures are removed the blade can be lifted out of the housing.
- Hugh Murphy
- Lara Quigley
- Marcus Kelly
- Nathan Rohr