Toto E-Max Fill Valve Disassembly
ID: 133007
Description: These steps describe how to disassemble a Toto...
Steps:
- Lift the tank lid up and away from the toilet tank.
- Shut off the stop valve underneath the toilet by turning it clockwise until it becomes hand tight.
- The appearance of this valve may differ from toilet to toilet, but most operate the same. Some valves require multiple turns to stop the water while others only require a quarter turn.
- Disconnect the fill valve's rubber refill tube from the top of the overflow tube.
- Push down the flush lever.
- Hold the lever down until water stops draining from the tank.
- A small amount of water will remain in the bottom of the tank.
- If the flush lever or pull chain have become disconnected, lift up the toilet flapper to drain the tank.
- Use a sponge to soak up and remove any remaining water from the toilet tank.
- Periodically squeeze the excess water from the sponge.
- Place a bucket under the supply tube to catch any dripping water.
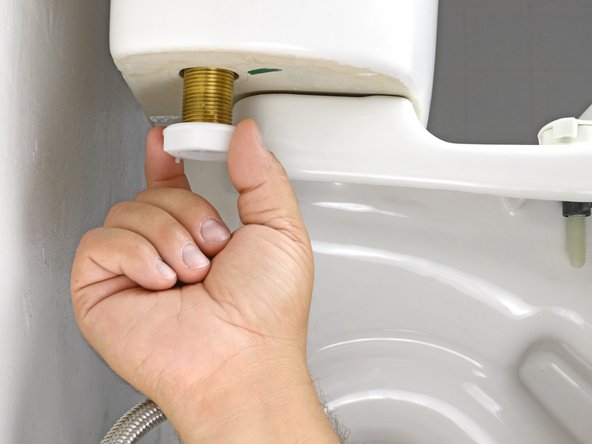
- Turn the coupling nut on the supply tube clockwise until it releases from the threaded shank on the bottom of the tank.
- Using an adjustable wrench, turn the locknut on the threaded shank counter-clockwise until it becomes loose.
- Turn the locknut counter-clockwise until it releases from the threaded shank.
- Lift the entire fill valve out of the tank.
- When installing a new valve, be sure to adjust the float so that the water line stops one inch below the overflow tube.
- This is our friend the Toto E-Max Fill valve. Unfortunately, she is leaking. Specifically, the shutoff is incomplete, so water continues to flow even after the float is fully lifted.
- The next step is to remove the green top cap. It's held on by tabs, light flexing should allow you to remove it.
- Here is the valve lever[*]. We need to remove it. It's held in by two pegs. Each one is attached to a flexible tang. use a thin blade or screwdriver to push each tang in, while gently lifting the lever.
- [*} I have no idea if this is the right name.
- Here we see one peg released. Note that I'm applying very gentle lifting pressure, not prying it upward.
- Valve lever released! You are a champion. BTW, I made up the name "valve lever". I hope you're not laughing at me.
- This is the other end of the valve lever. You should be able to easily release it from the green collar.
- Next, gently pop off the green collar that links the valve lever to the threaded float lift shaft.
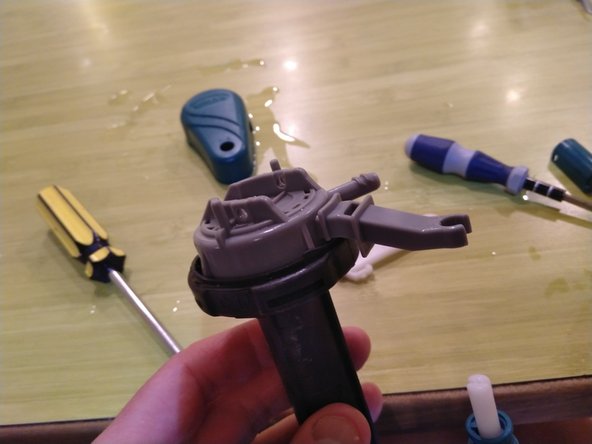
- Gently snap the white float pole out of the jaws of the top cap. When you do this, the float assembly will drop.
- Rotate the valve cover an eighth of a turn counter-clockwise to release it.
- Yay! We got to the valve seal. Clean it off or replace it, and reverse steps to reassemble.


