1998-2003 Mazda Protégé Radio LCD Screen Repair.
ID: 133026
Description: As a car ages some of the connections can...
Steps:
- Use the spudger to remove both side covers to access the radio removal holes.
- Use the spudger to remove this plastic cover to make the radio removal easier.
- Remove each side of the radio separately. Starting with the left side, put the 'radio removal tool' in the bottom 4 holes until you hear a "click"
- The top hole is not for the radio removal tool.
- Then pull the left side of the radio out.
- It may be easier if 2 sets of radio removal tools are used (2 come in one set). Then both sides can be removed at the same time.
- Then repeat the process with the right side.
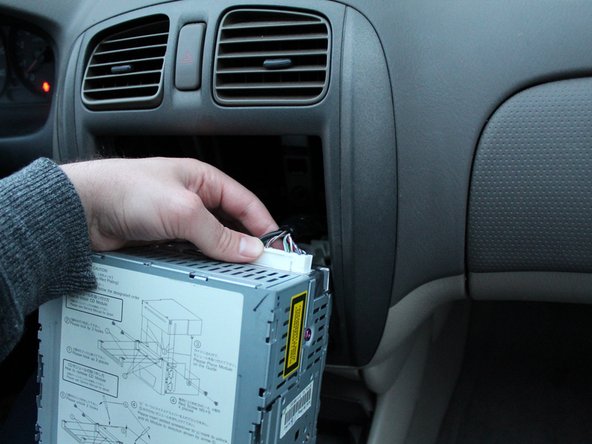
- Pull the radio out, you may have to wiggle it back-and-forth several times to get it out.
- Remove the radio Antenna.
- You will have to pull the antenna very hard to remove it, but don't worry, it will not damage it.
- Remove the wiring harness by pressing on the clip on the underside of the harness.
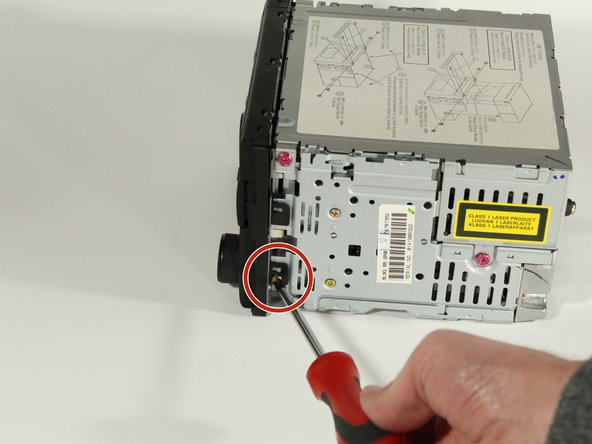
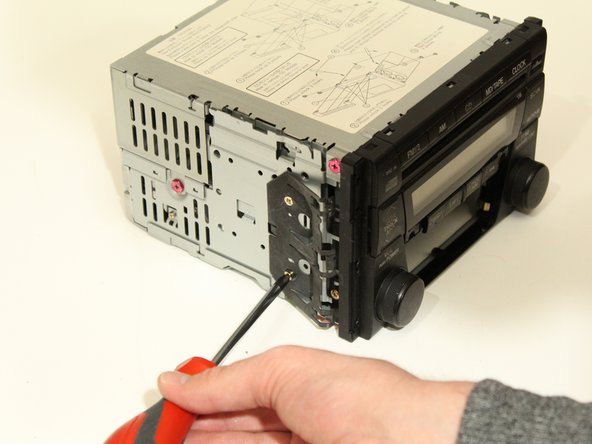
- Using the Phillips #2 screwdriver, remove the two 5.0 mm screws on either side of the control panel.
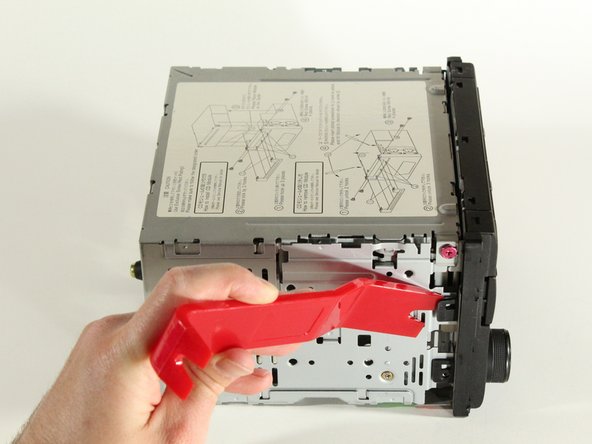
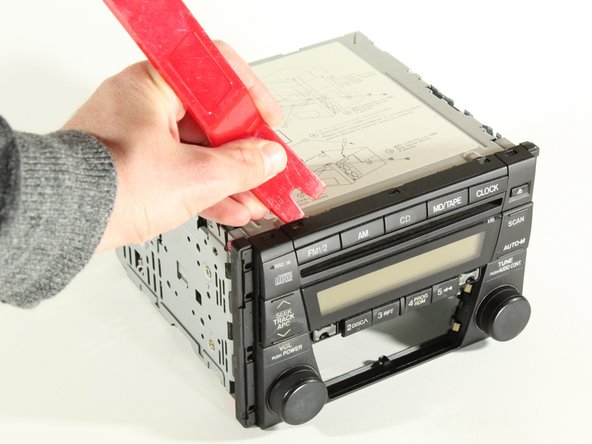
- Pry-off the control panel tabs with the spudger.
- Using the spudger, pry the top control panel tabs off.
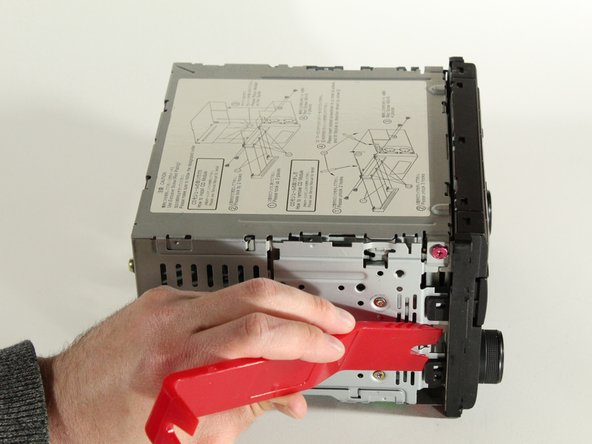
- Using the spudger, pry the bottom control panel tabs off.
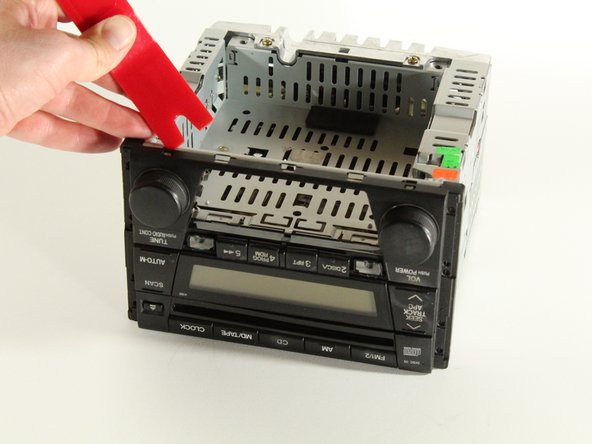
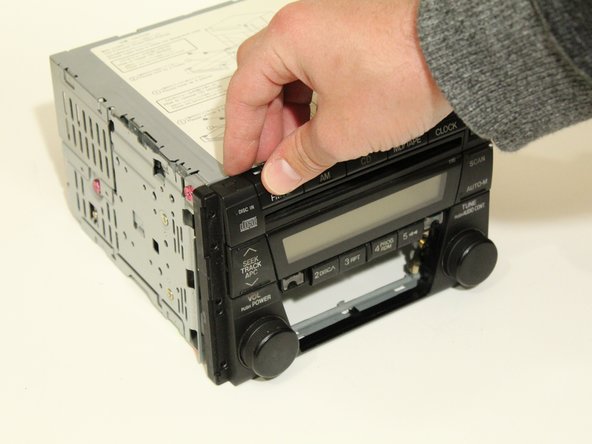
- Remove the control panel.
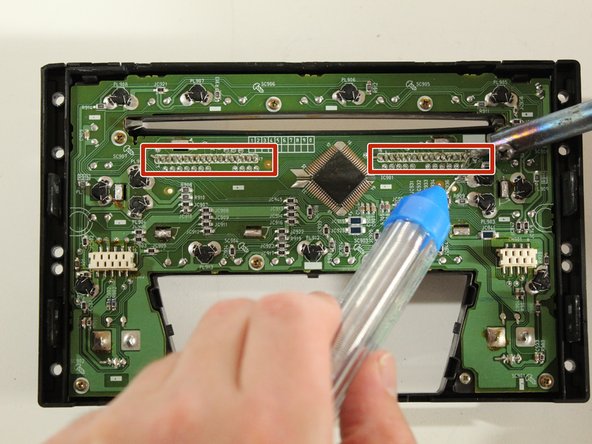
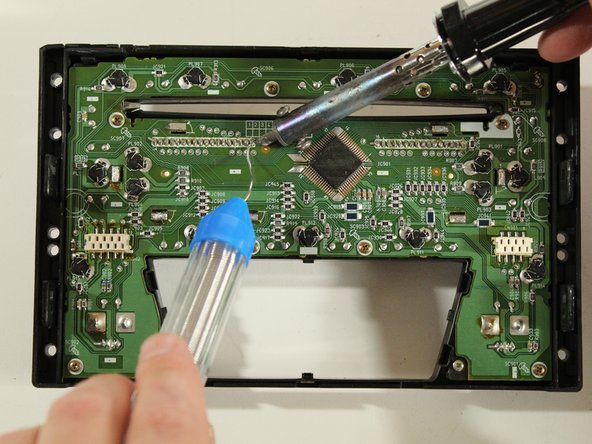
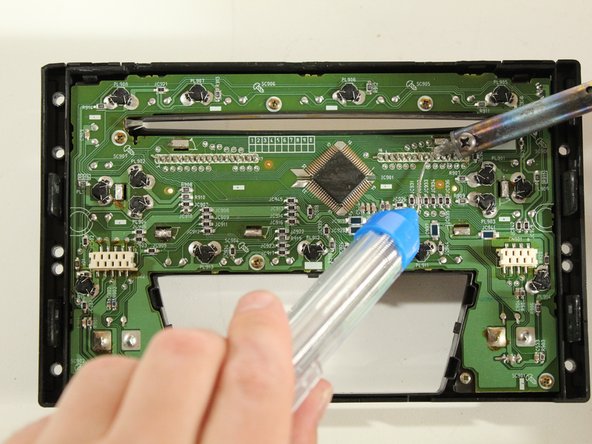
- Re-solder the LCD connections with a soldering iron.
- You may or may not need extra solder. Just be sure that all solder connections look good. (Refer to attached soldering guide)
- The soldering iron is hot so please be careful not to burn yourself.
- Re-clip the control panel back onto the radio.
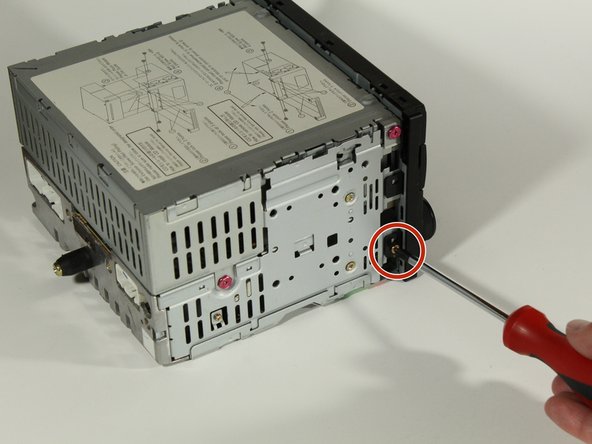
- Using a Phillips #2 screwdriver, screw in both 5 mm screws on either side of the radio.
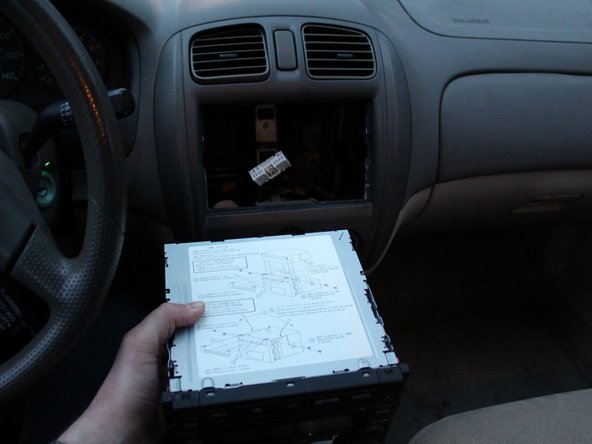
- Insert the radio back into it's place in the same way that you removed it.
- I removed the anti-theft clip from my radio (as you can see that it's not in any of the pictures) making it's removal very easy. I do not need my radio removal tools any more. I can simply pull it out with my hands.