Karcher Rotary Floor Cleaner 17833080 2017 Housing Cover Removal
ID: 133056
Description: Follow this guide to remove the primary plastic...
Steps:
- Before you begin, make sure to power off and unplug the device.
- Lift the tank by the handle and remove it from the device.
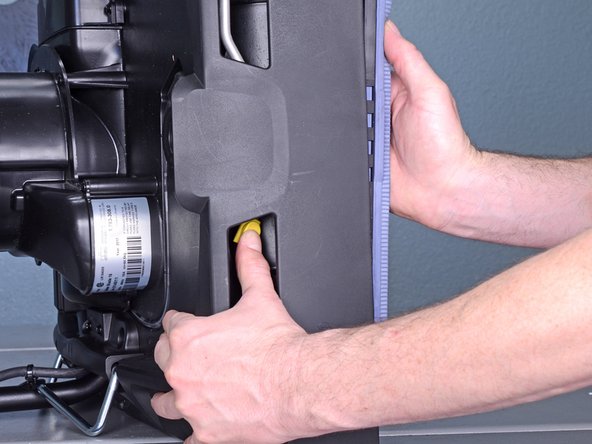
- Press the yellow button near each wheel base to release the wheels.
- Remove both wheels from their sockets.
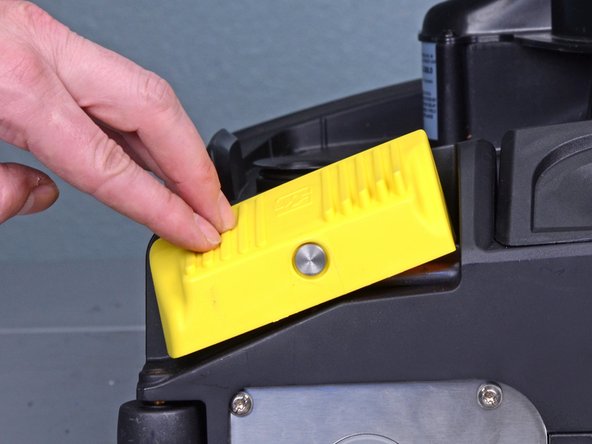
- Press the yellow foot switch at the base of the device to lower the suction bars.
- Raise the handle to the upright position.
- This will engage the carriage rollers and lift the device.
- Engage the retaining bracket to lock the handle in place.
- Grasp the handle and carefully tilt the device onto its side.
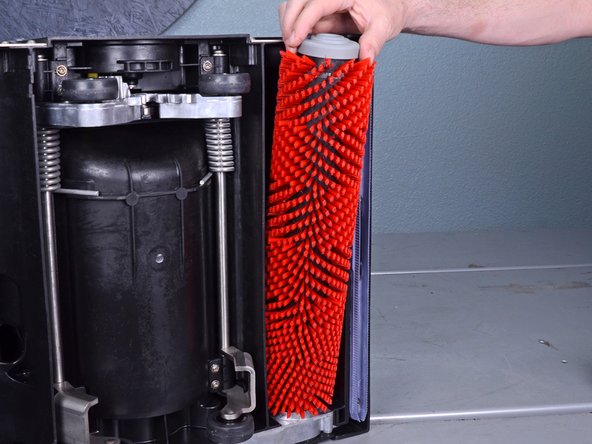
- Tilt the top of the roller brush out of the brush well.
- Remove both roller brushes.
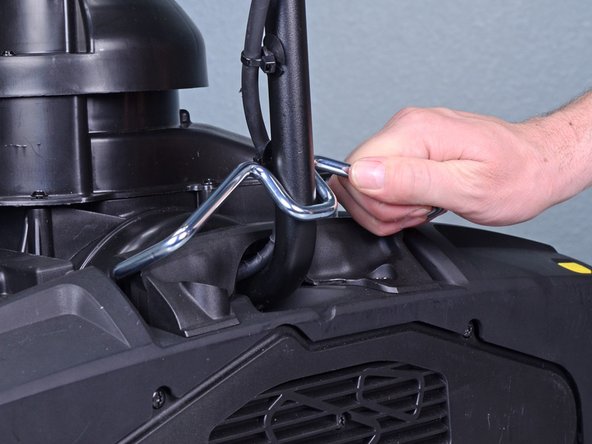
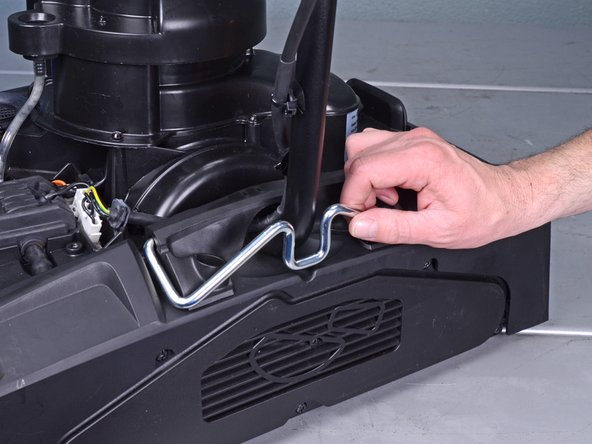
- Press the yellow button on the suction bar retaining bracket to release the suction bar.
- If you can't see the yellow button, press the yellow foot switch at the base of the device to lower the suction bars.
- Remove both suction bars.
- Reassembly tip: When you re-insert the suction bars, be sure to orient the locking tab towards the center of the device. This allows the bars to click in place.
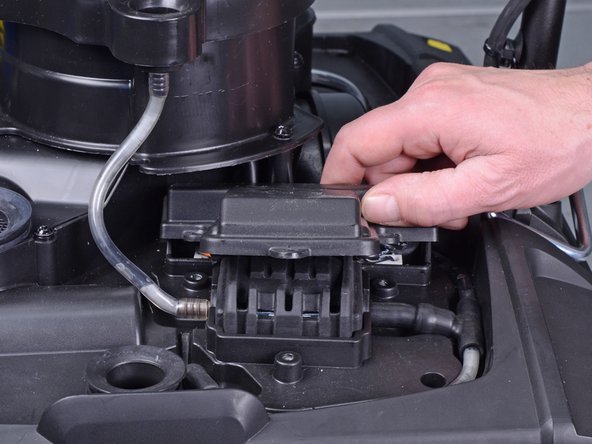
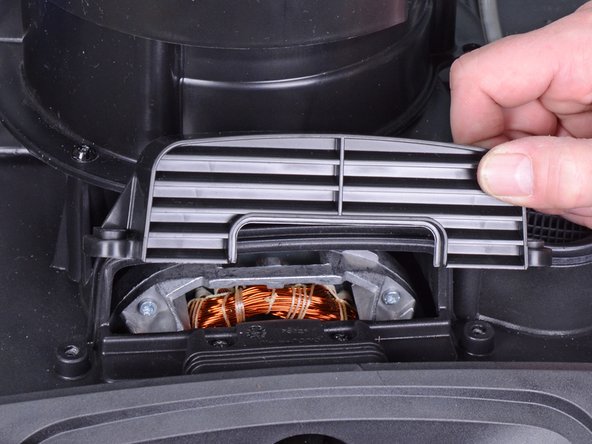
- Use a T20 driver to remove the three screws securing the pump cover.
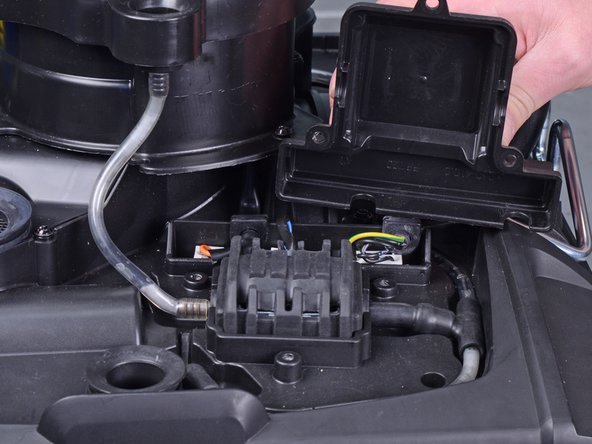
- Remove the pump cover.
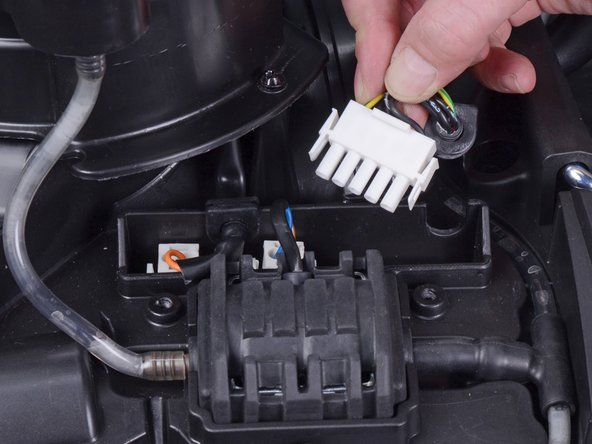
- Squeeze the right plug by the edges and pull it out of its socket.
- During reassembly, make sure that all plugs are firmly seated in their sockets.
- Remove the following screws securing the left retaining bracket:
- Four T40 screws
- Two T20 screws
- Raise the handle to the upright position.
- This will engage the carriage rollers and lift the device.
- Engage the retaining bracket to lock the handle in place.
- Use a T20 driver to remove the two screws securing the right splash guard.
- Remove the right splash guard.
- Use a T20 driver to remove the following screws securing the right retaining bracket:
- Two 85 mm-long screws
- Four 45 mm-long screws
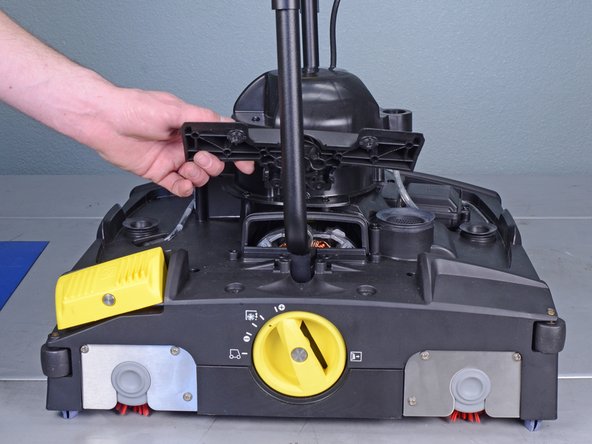
- Remove the right retaining bracket.
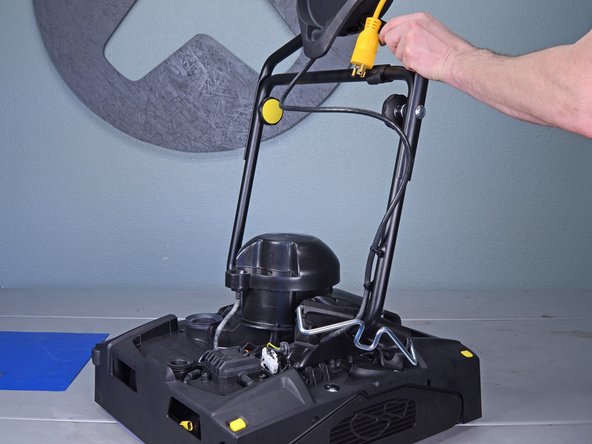
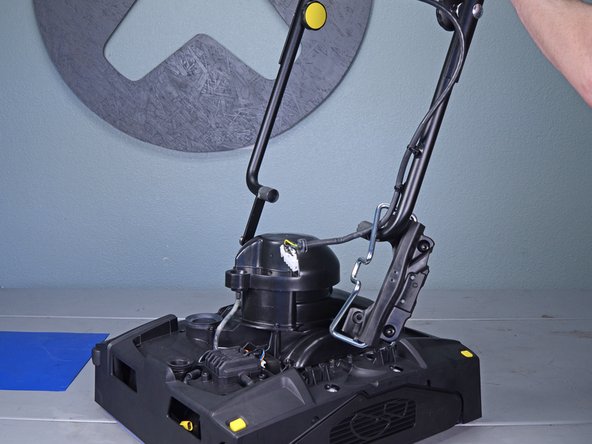
- Lift the handle assembly away from the device and remove it.
- Reassembly tip: Be careful not to lose the two gray bushings on the ends of the handle assembly.
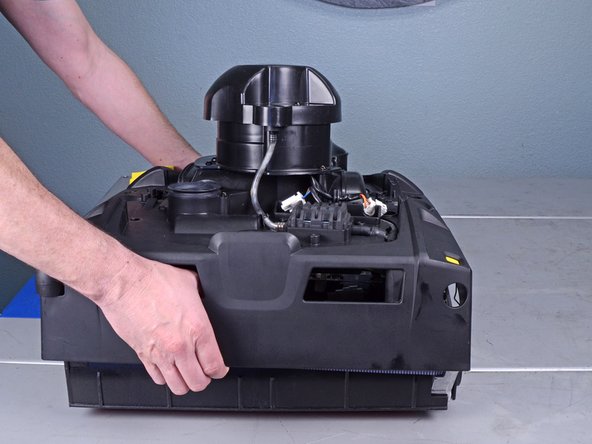
- Disconnect the two remaining plugs by squeezing the edges and pulling them out of their sockets.
- The socket board should have no plugs connected to it.
- Reassembly tip: The sockets reconnect to the following parts:
- Vacuum motor
- Pump
- Handle
- During reassembly, make sure to firmly seat all plugs in their sockets.
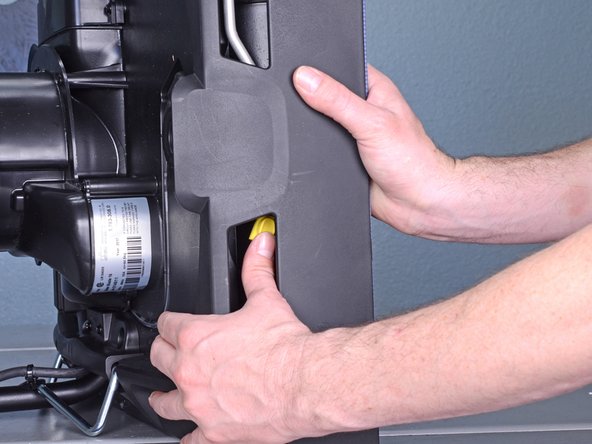
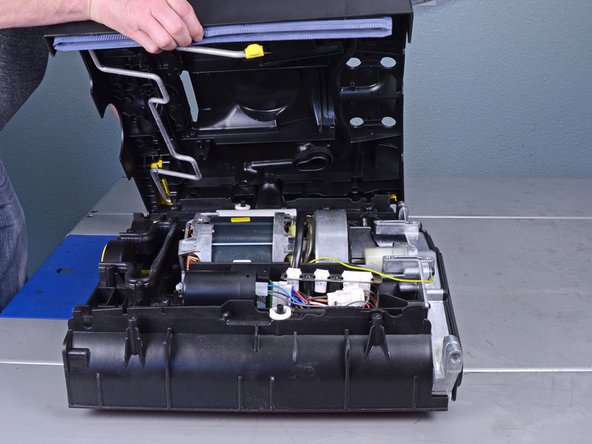
- Use a T20 driver to remove the six screws securing the plastic brush housing.
- Lift the brush housing away from the device and remove it.