Mk Diamond Wet Saws MK660 2010 Motor Replacement
ID: 133061
Description: Follow this guide to remove and replace a...
Steps:
- Before you begin, make sure to power off and unplug the device from the outlet.
- If the clear water pump hose is connected, remove it now.
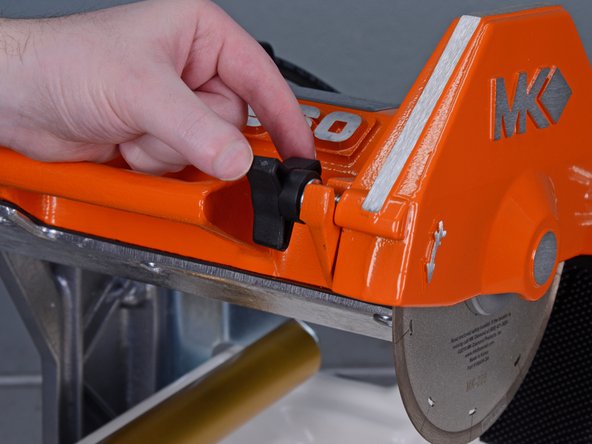
- Loosen the plastic knob holding the saw's cutting head in place.
- Lower the cutting head while keeping it steady.
- Unscrew the knob.
- Remove it from the cutting head.
- Loosen the plastic knob holding the blade cover in place.
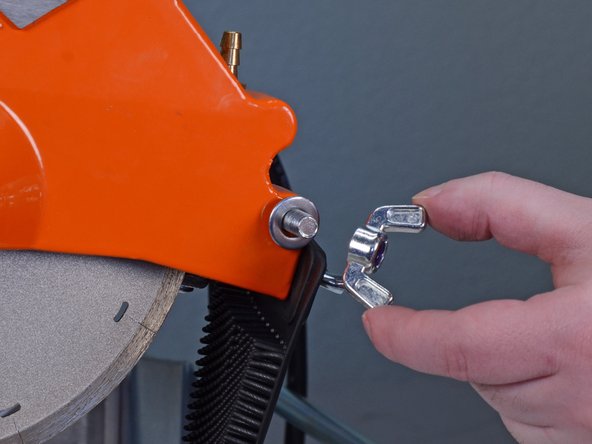
- Loosen the wing nut on the blade cover pivot shaft.
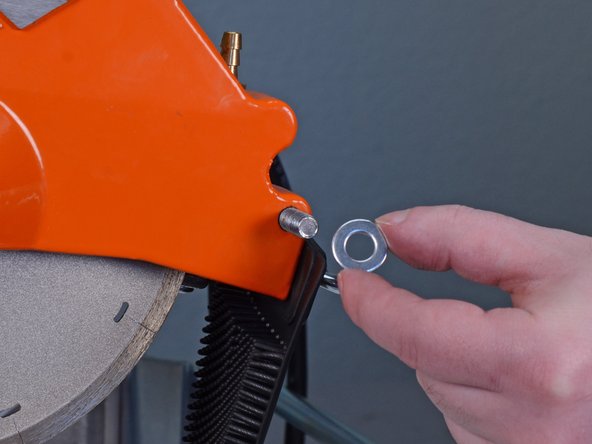
- Remove the wing nut and accompanying washer.
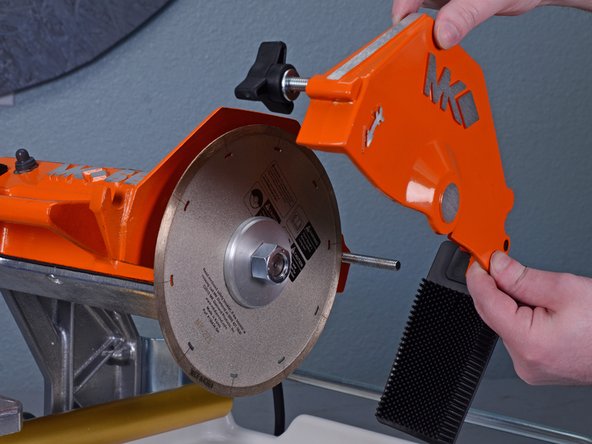
- Pivot the blade cover up and pull it off the shaft.
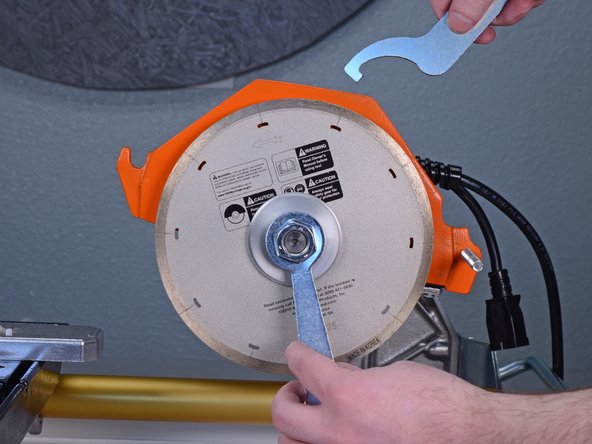
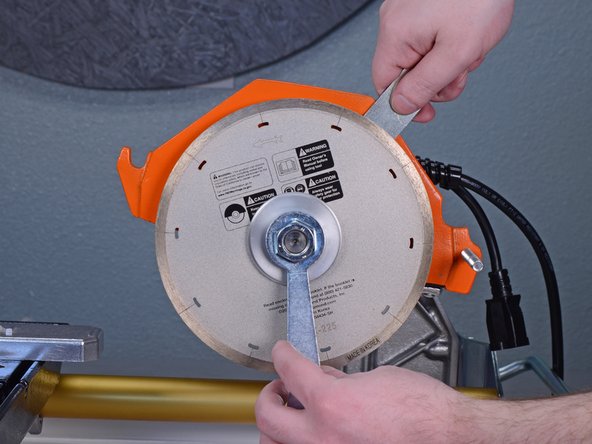
- Insert the provided spanner wrench into one of the four tightening holes on the inner flange behind the blade.
- Use the the provided nut wrench to loosen the hex nut while providing counterforce with the spanner wrench.
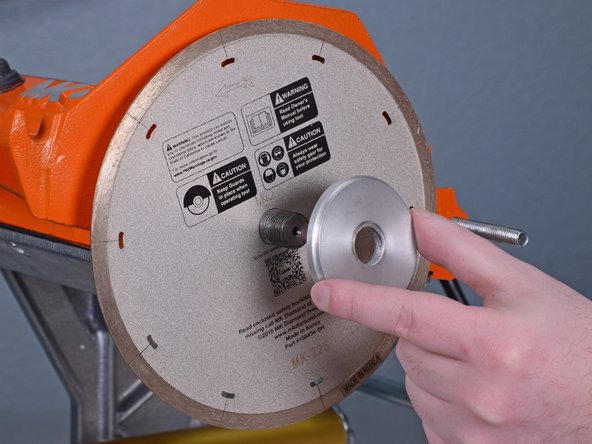
- Remove the hex nut.
- Remove the outer flange.
- Remove the cutting blade.
- The blade can be sharp, so handle with care.
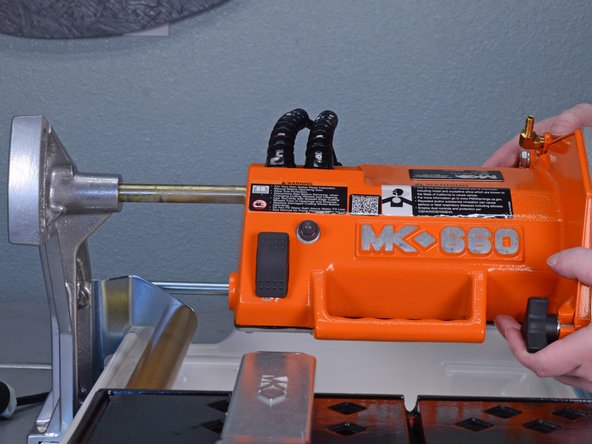
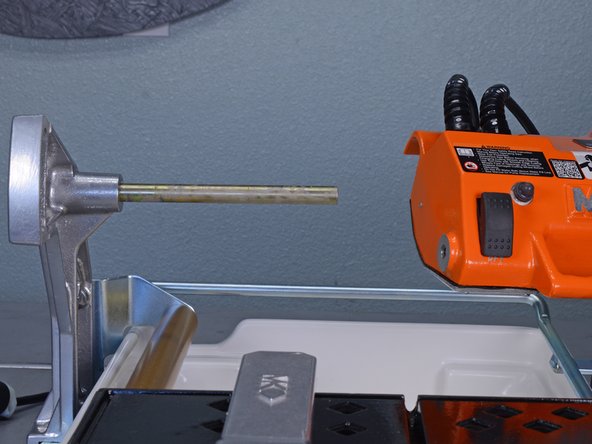
- Pull the entire cutting head straight off the shaft holding it in place.
- Remove the eight Phillips #2 screws on the underside of the cutting head.
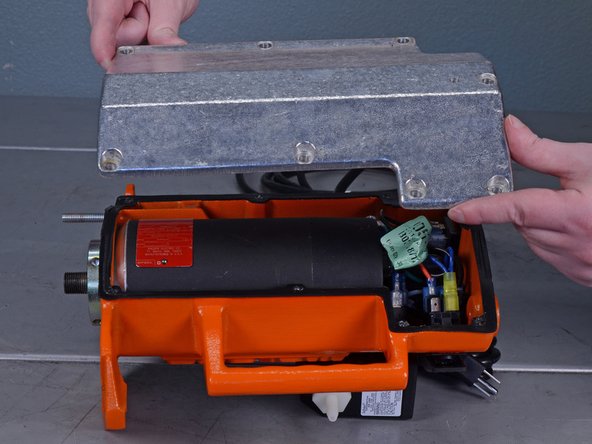
- Remove the bottom cover.
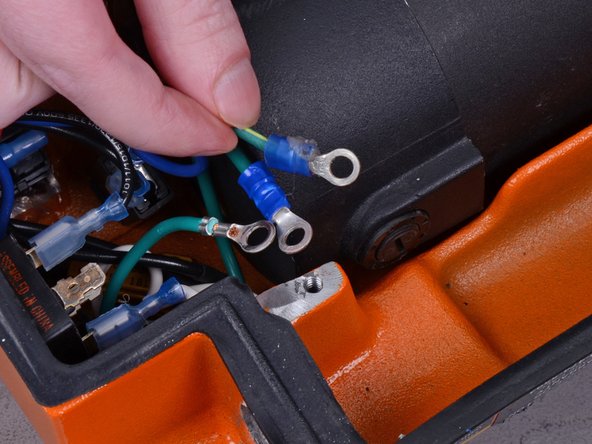
- Remove the Phillips #2 screw holding the ground wires to the chassis.
- Loosen the wires from each other.
- The motor's ground wire is green with a yellow stripe.
- Reassembly tip: there are three ground wires attached here that will need to be reinstalled upon reassembly.
- Remove the black wire's plug from the 4-pin rectifier.
- These plugs have two wires each, so removing one plug removes two wires.
- Remove the red/orange wire combo plug from the 4-pin rectifier.
- Use needle-nose pliers if you can't reach this plug with your fingers.
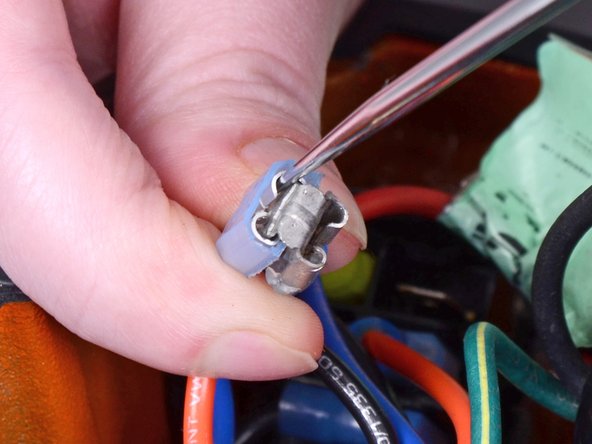
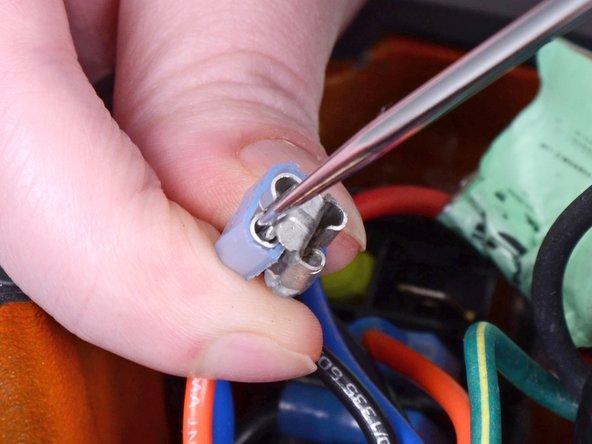
- Be very careful with this connection, as even minimal bending can break the metal conductor in half.
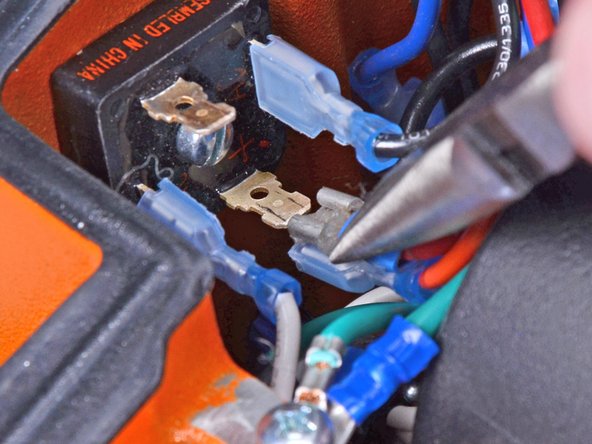
- Use a pick to slightly pry up on the crimped metal arms holding the red and orange wires together.
- Repeat for both sides to loosen the connector.
- Be very careful with this connection, as even minimal bending can break the metal conductor in half.
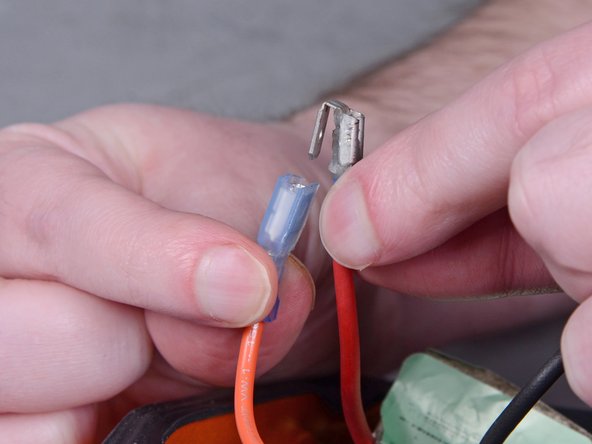
- Remove the red wire from the orange wire.
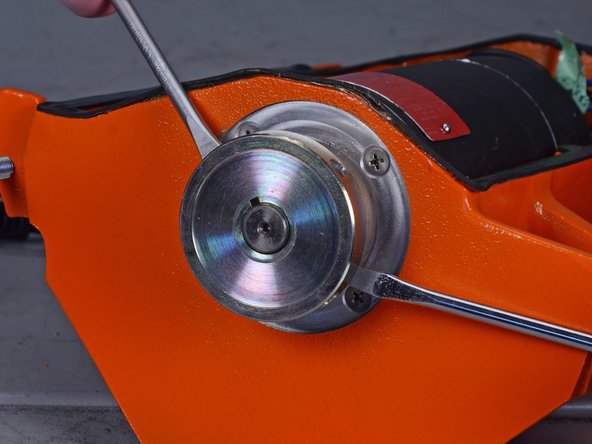
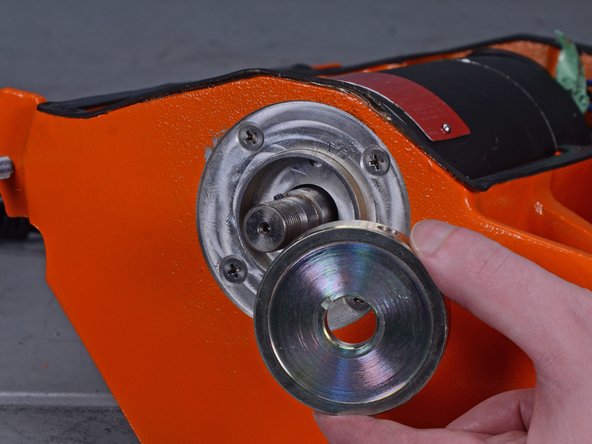
- Use two flathead screwdrivers to carefully pry the inner flange off the motor shaft.
- You may need to use the two screwdrivers to "walk" the flange off—it's press-fit onto the shaft. Try prying on various positions of the flange and rotating it as you work.
- Remove the inner flange.
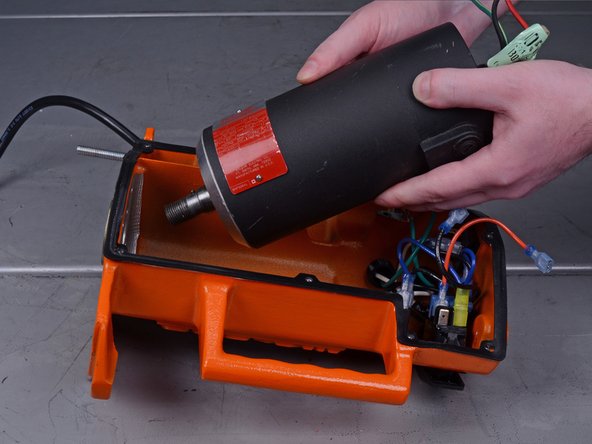
- Remove the four Phillips #2 screws holding the motor in place.
- Grab the motor with both hands and tilt it slightly upward.
- While keeping the motor tilted up, pull back and up to clear the electrical components behind the motor.
- Remove the motor.
- You may need to bend the thermal overload switch slightly in order to lift the motor out.