How to Create a DCPS for Cheap
ID: 133181
Description: A DCPS is one of the most important tools for...
Steps:
- Find a DC-DC Converter (probably a buck converter). This is the heart of your DC Power Supply.
- You DEFINITELY need one with a voltage and current reading, and adjustable voltage (at least for iPhone repairs). If you get one with a USB port, it can serve as a USB ammeter, but a little more work is required.
- The one I used is from DROK, and cost $13.99 on Amazon.
- Really, any cable with power on one end and a battery connector on the other end will do. I got a cheap one off eBay that supported the 4 through the X, and had two alligator clips.
- If you want to splurge a little on your power supply, get a cable like this, that includes the battery data cables. This will stop the phone from rebooting every few minutes while powered by DCPS. The cable also includes a probe so you don't have to boot up the phone with the power button or tweezers
- If every penny you spend on this is a penny that you can't use to buy phones off eBay (believe me, I know) - and you have broken batteries - you can detach the control board from the battery cell and solder wires onto it. It will even have battery data!
- Use the biggest wall wart you have lying around. I had a 12 volt, 2.5 amp one that used to power a router, so I used that.
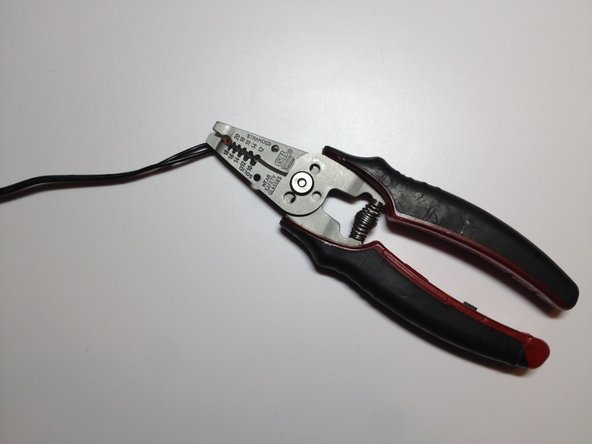
- Take a pair of wire strippers, cut the plug off, and strip the two wires. Make sure you know which end is positive and which end is negative.
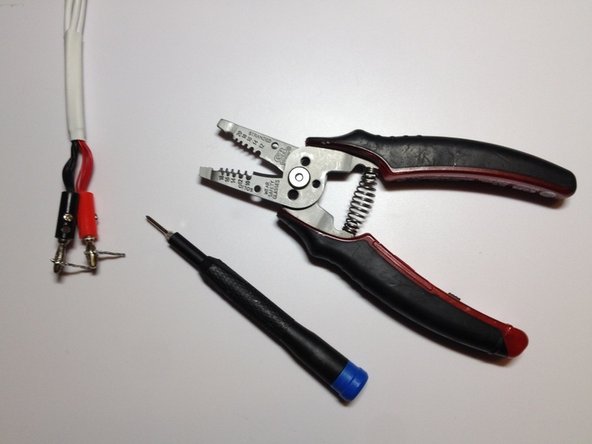
- The stripped wire ends.
- My cable came with banana plugs, so I soldered little 90-degree wires so that it would connect to the DC-DC converter. Make sure to insulate them!
- If you don't want to (or are not allowed) to solder, unscrew the banana plugs and strip the small red wires going to the plugs.
- For those of you going the ghetto route, solder two pieces of wire to the positive and negative terminals where the battery would connect to the control board.
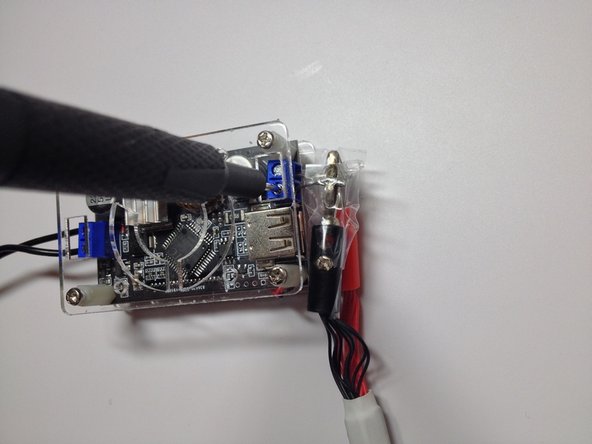
- Screw the cables into their sockets.
- Do NOT mix up positive and negative!
- Alternatively, you could use alligator clips to connect the cables. Don't forget to insulate them!
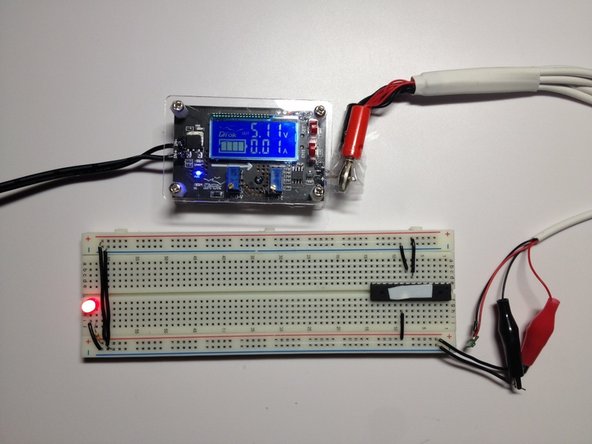
- IT'S ALIVE!
- Now you have an excellent tool to repair iPhones with . . .
- . . . And much more!