DeLonghi ETAM series control panel removal
ID: 135578
Description:
Steps:
- Disconnect the power plug and remove the power cord from the device.
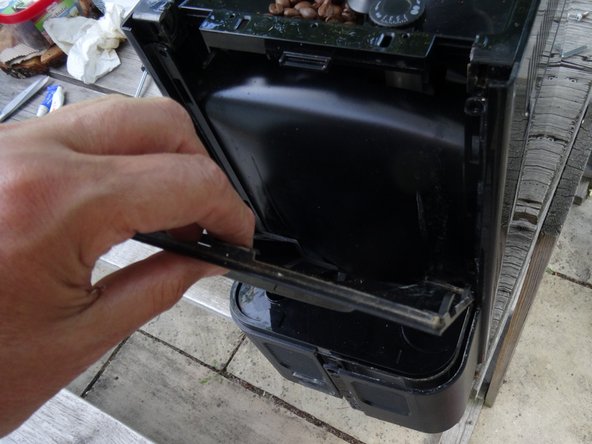
- Remove all coffee beans. Remove all attachments such as drip tray, milk frother and water tank. Open the service door and remove the brew group.
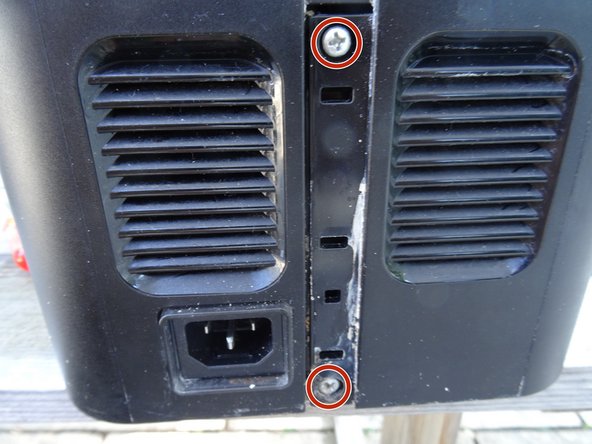
- Unscrew the two Phillips screws
- The Phillips screw under the water tank can remain.
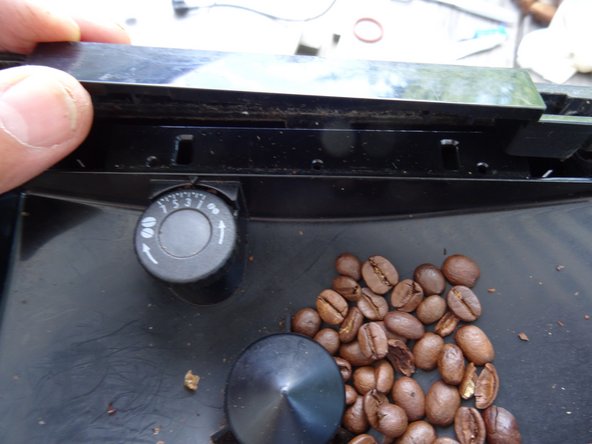
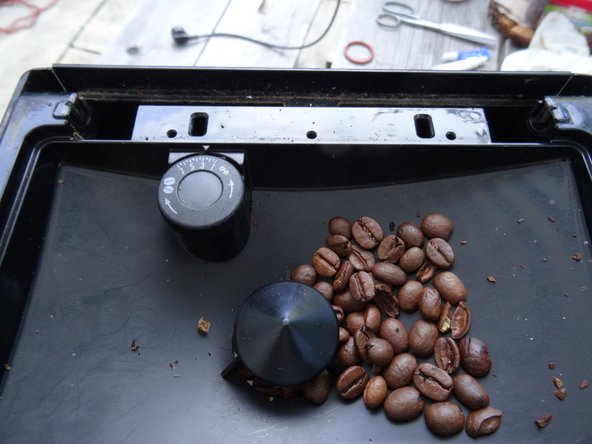
- The bean compartment flap must be removed. It is latched on the left and right, the latch is held under tension by a spring. Compress the spring until the catch is free and lift off the flap.
- There is a plastic cover strip under the flap. It is only latched in place. Release it with a flat tool and lift it out.
- Lift the back side up and put it aside.
- The side covers are still attached to the back with two screws. They are located under a cover strip that is only snapped in place. Take off the cover strip and put it aside.
- Unscrew the two Phillips screws.
- Push the left side panel back about 1 cm. It often jams strongly and you have to help it with a plastic opening tool.
- Remove the left side panel.
- The right side panel is removed in the same way, but the service hatch is a bit obstructive. Open it first and push the side panel back a few millimeters. This is often difficult and you will need a plastic lever tool.
- Close the flap again and push the sides further back. It is a bit tricky and you have to work carefully. Lift out the side panel.
- Some devices have a warming plate. Disconnect the flat plugs on the green/yellow protective earth conductors.
- When reassembling, don't forget to put them back on.
- The top is fixed with screws on the left and right, depending on the type. Unscrew them.
- Now the top can be gently lifted off.
- Depending on the type, it is shaped differently. Some have the control panel far to the rear. Leave it for now, it is connected with cables.
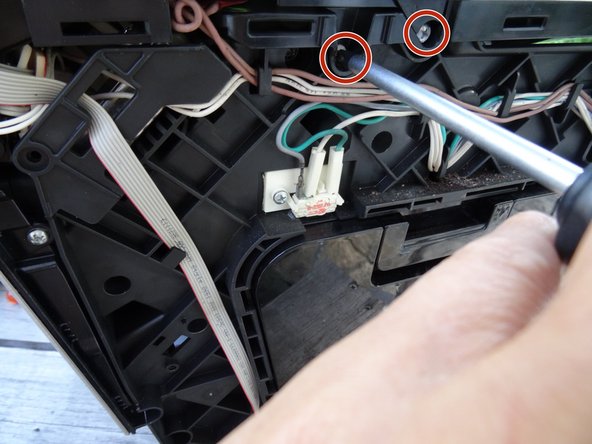
- The control panel is locked very tightly with four catches on the front. It is tricky to release these latches and you need quite a lot of force.
- First loosen the detent on the edge. Use a thin flat-blade screwdriver to drive under the latch from behind. Insert a strong plastic lever tool into the gap between the control panel and the front. The latch opens with a loud crack.
- Now you can open the other latches with the lever tool
- Do not remove the control panel completely yet, it is still connected with cables.
- Lift up the control panel a little. Press the latch on the white plug and pull off the plug.
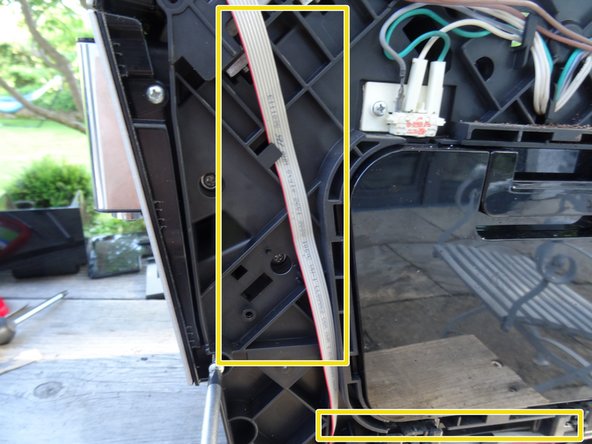
- Unthread the ribbon cable that leads to the control electronics at the back as far as possible. This will make it longer and you can place the control panel on its side.
- If you want to remove the control panel completely, you have to take off the cover on the control electronics and disconnect the connector. Then you can unthread the cable completely.