Lenovo Chromebook Duet Teardown
ID: 135628
Description: The Lenovo Chromebook Duet, a highly...
Steps:
- As you can see, this is my own personally device that my daughter actually dropped and cracked the glass. I plan to repair it, once parts are available of course.
- It's a pretty slick device and I'm really impressed by what it can do, especially for it's price
- 1. USB-C (Gen 2)
- 2. Power button
- 3. Volume control
- 4. Guide pins
- 5. 5-point pogo pins
- You can find the entire list of specs on Lenovos website here
- I expected to have to heat up the screen and deal with a display adhered in. I'm super happy to announce that is not the case here!
- The screen assembly is held in with clips! No heat, no adhesive.
- Once all the clips are free, the screen opens like a book the the left.
- The lower flex cable for the display is on the upper left.
- Replacing a cracked screen requires you to remove the frame on the broken screen and using two way tape to attach it to the new screen.
- Just a couple Philips screws hold a bracket over the batter connector
- Two more Philips screws hold the LCD assembly screws as well.
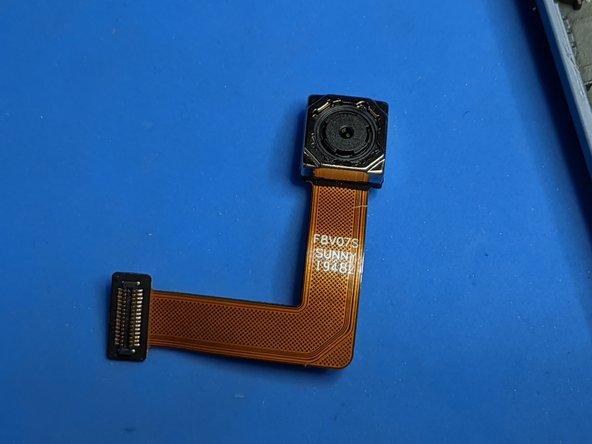
- Rear Camera
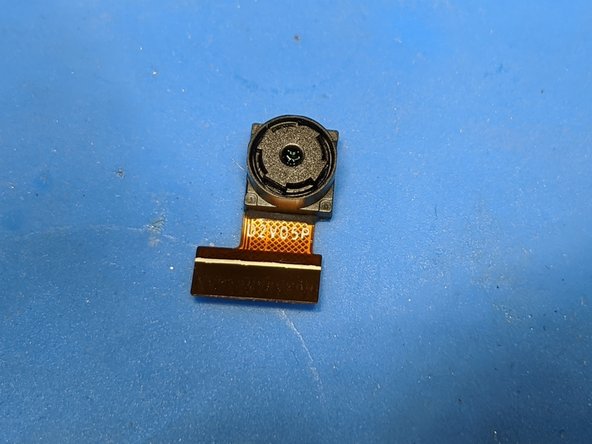
- Front Facing Camera
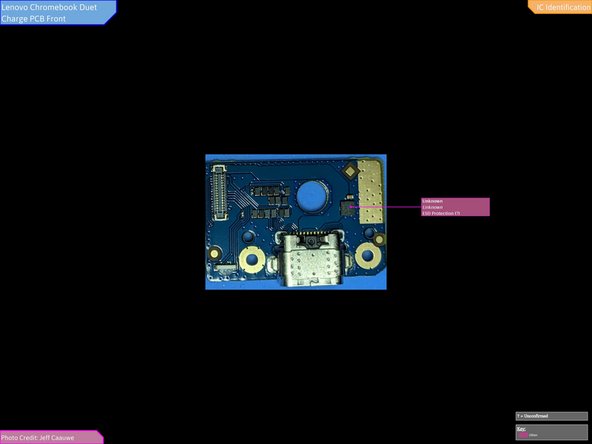
- Charging Port
- The Type-C Charging port, very much modular! Thank you Lenovo!
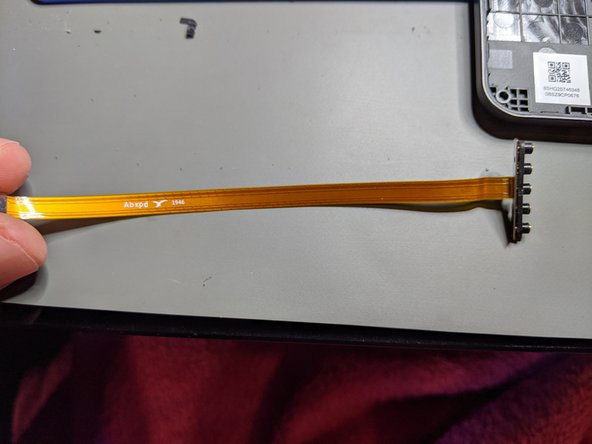
- The text reads 8SSP69A6 P80NHS00 03X00T1 Abxud
- Full IC Identification for Charge Port Board:
- You may need to enlarge it to view the text.
- The Right antenna reads 187373-WIFI1-W-V1.0-B
- The Left reads 187373-WIFI2-W-V1.0-B
- Rear camera reads F8V07S SUNNY I9482
- Front facing camera reads D2V05P
- Front and back of board
- also, are these test points? neat!
- Can't find any reference to this Chip, ITE is all I can seem to read.
- SEC 946 B620 KMDV60010A GHGF689P RAM
- MEDIATEK ARM MT8183V 1932-ZAMAH CTPNUN82-A the CPU
- MTK MT6370P 1945-ABSH ATFPX203 I believe this is a MediaTek WiFi chip of some type?
- MEDIATEK MT6358W 1926-ANAH CCMJ2NPS OT1342 Some sort of power IC
- QUALCOM ATHEROS ModelL QCNFA324 WiFi Chip
- Full IC Identification for Main PCB:
- There were many unknowns here.
- You may need to enlarge it to view the text.
- Looks like some little pull tabs keep the battery in. I guess we can't have everything. But I'm happy for pull tabs and not just some adhesive I'd have to dissolve and slowly pry at. I'm going to keep this part in, since this tablet still works 100%, and I will be reassembling.
- The model reads L16D2P31 It is a 7000mAh
- The little pins the keyboard connects too is held by 3 little screws and looks pretty easy to replace.
- The power and volume buttons aren't even connected to the board, they use the little surface connectors.
- While I'm not office iFixt it, I'd say, in my experience I'd give this a 8 out of 10, for repairabily.
- On the up side, the screen is held in with clips, meaning no adhsive or heating to open the tablet, unlike what seems every other tablet I work on these days. Lets hope repalcemt parts come in the frame, not require we move the plastic frame over to the new screen. Most of the parts are modular, including the charging port and buttons.
- Also on the upside, all the screws are the same size, which makes for easy reassembly. The speakers are also pretty easy replace.
- on the down side, the battery is adhered in, and some parts, like the WiFi chip are soldered on. However, looking at this from a Tablet perspective, and not a PC, that's to be expected. It does look like it might be replaceable, even if it is soldered.
- I hope to provide updates on this device once I see what replacement parts are like, as well as cost.