Honda Light Duty Tiller F220K1AT715492 Carburetor Replacement
ID: 135649
Description: Use this guide to replace the carburetor in a...
Steps:
- Before you begin, make sure the engine is switched off and cool to the touch.
- Pull the spark plug connector straight off of the spark plug.
- Push down on the two tabs at the top of the air filter cover.
- With the two tabs depressed, swing the top of the cover down.
- Remove the cover.
- Pull the air filter out of the housing and remove it.
- Use an 8 mm socket to remove the following fasteners securing the air cleaner housing:
- Two silver nuts
- One black bolt
- Slide the pink breather tube out of its clip on the back of the air cleaner housing.
- Use a flathead screwdriver to gently pry the black breather tube off of its connector on the back of the air cleaner housing.
- Hold the black carburetor hose in place and rotate the air cleaner housing clockwise until you can slide the hose out of its slot on the air cleaner housing.
- Remove the air cleaner housing.
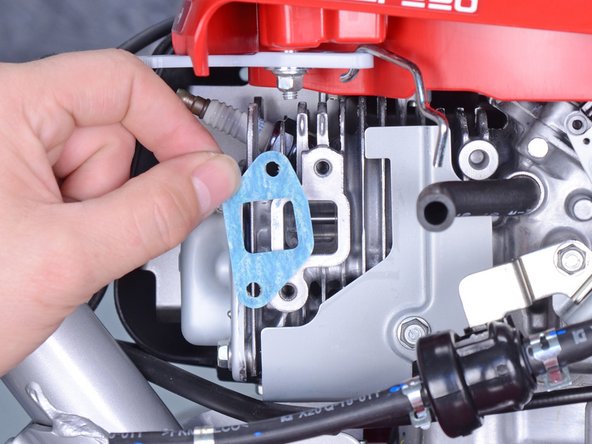
- Remove the air cleaner gasket 17228-Z0G-000.
- This gasket can be replaced as part of the carburetor service kit.
- Use a pair of pliers to pinch the tabs on the carburetor fuel hose clamp together, then slide the hose clamp about an inch down the fuel hose.
- Pull the fuel hose straight down to slide it off of the carburetor's hose connector.
- Slide the carburetor to the end of its bracket.
- The carburetor is still connected to the tiller, so don't try to remove it. Just slide it out until it stops.
- Lift the choke rod out of its hole on the the choke adjuster.
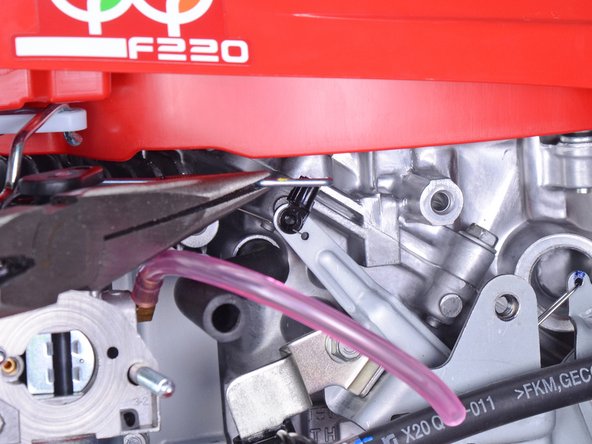
- Rotate the small clip holding the governor rod on the governor arm clockwise.
- With the clip out of the way, slide the governor rod out of the governor arm.
- Remove the governor spring from the carburetor.
- Slide the carburetor off of its bracket and remove it.
- Slide the carburetor gasket 16221-ZG0-801 off of the carburetor bracket and remove it.
- This gasket can be replaced as part of the carburetor service kit.
- Use a Phillips #2 screwdriver to remove the two screws securing the carburetor bracket.
- Remove the carburetor bracket, along with the carburetor nozzle and insulator plate.
- Remove the insulator gasket 16212-ZM7-000.
- This gasket can be replaced as part of the carburetor service kit.