Honda 6500 Watt Generator EG6500CL AT Rear Generator Housing Replacement
ID: 135762
Description: This guide shows how to remove the rear...
Steps:
- Before you work on the device, make sure to switch the engine off.
- Switch the circuit breaker off.
- Grab the plastic housing at the end of the spark plug wire.
- Pull firmly to disconnect the wire from the spark plug.
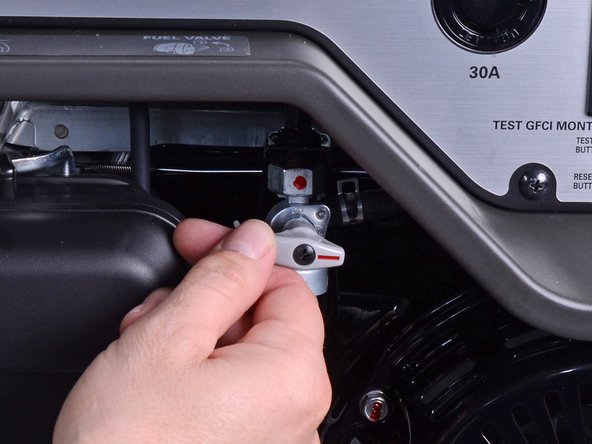
- Twist the fuel valve clockwise into the cutoff position.
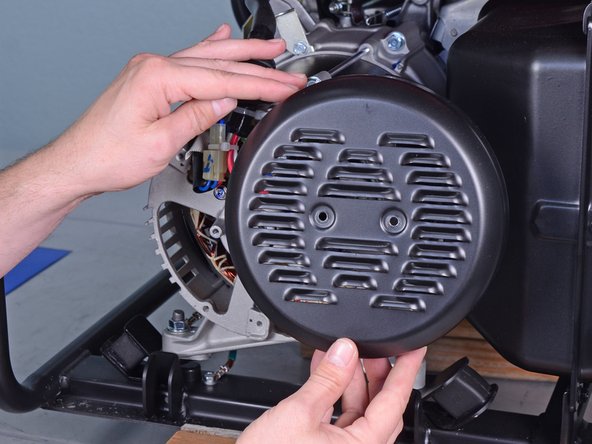
- Use a Phillips screwdriver to remove the two screws securing the generator cover.
- Remove the generator cover.
- Squeeze and disconnect the stator connector from the wiring harness.
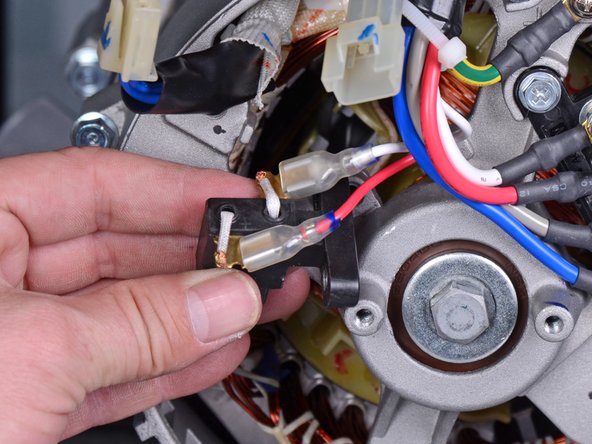
- Use a 10 mm socket to remove the bolt securing the brush assembly.
- Pull the brush assembly out slightly from its recess.
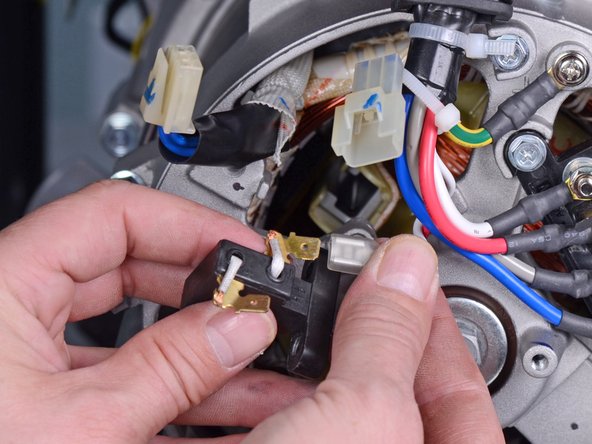
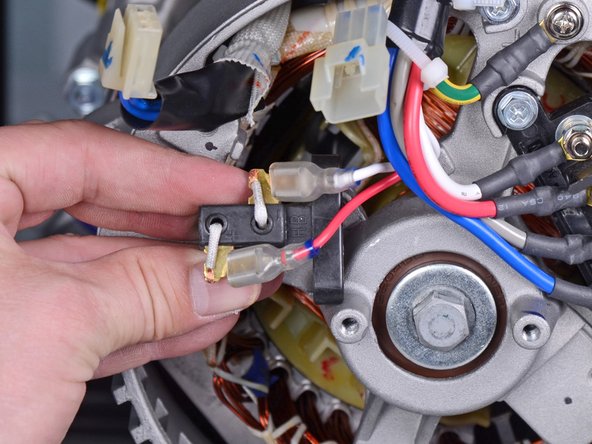
- Disconnect the two spade connectors from the brush assembly.
- Remove the brush assembly.
- During reassembly, use the second photo as reference for how to wire the brush assembly.
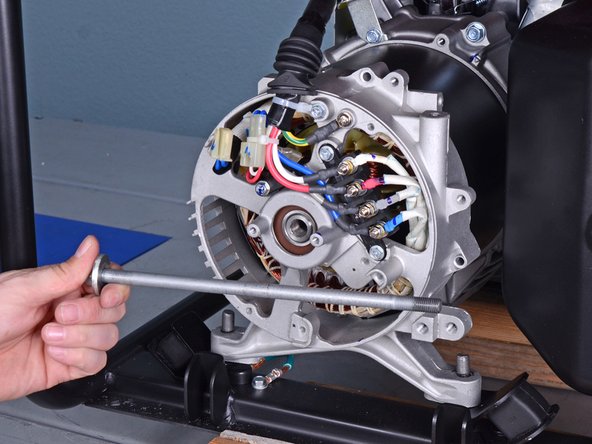
- Use a 10 mm socket to remove the four long bolts securing the generator cover to the generator assembly.
- During reassembly, tighten these bolts to 7 ft-lb (10 N-m).
- Use a 14 mm socket to remove the rotor bolt from the generator assembly.
- This bolt may be difficult to loosen. If you have trouble removing the bolt, use an impact wrench or breaker bar.
- During reassembly, tighten this bolt to 33 ft-lb (44 N-m).
- Remove the rotor bolt and washer.
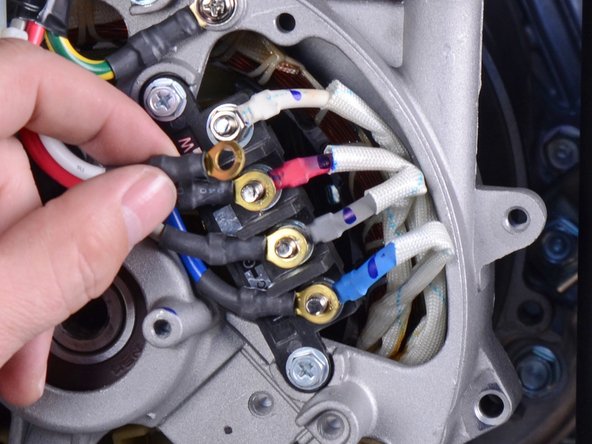
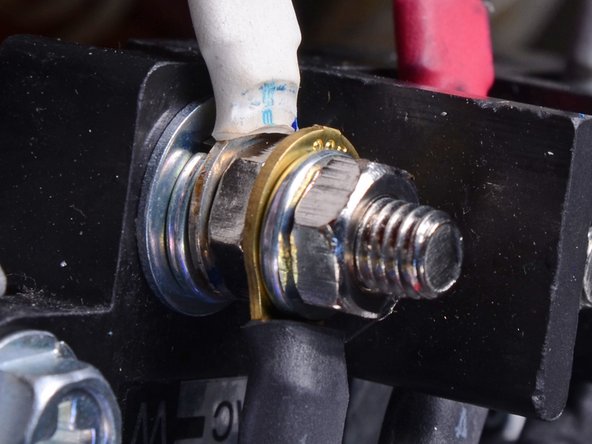
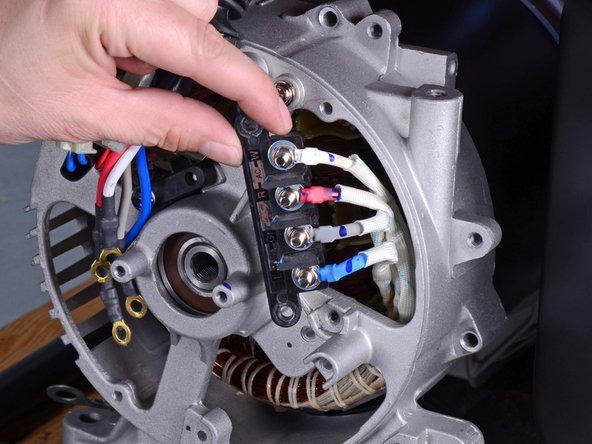
- Use an 8 mm socket to remove the four nuts securing the wiring harness to the terminal.
- Remove only the top nut from each terminal post.
- Be careful not to lose the crush washers behind them.
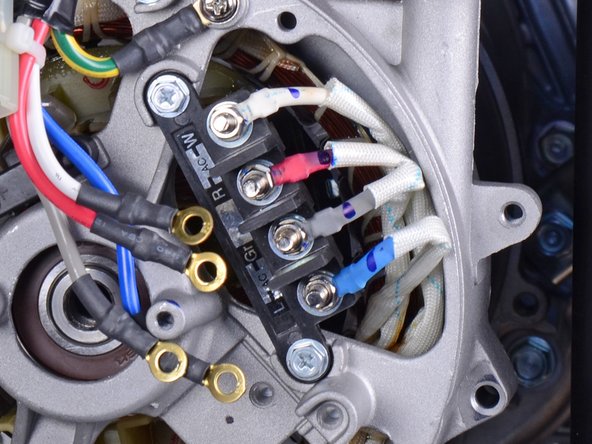
- Remove the wiring harness wires from the terminal.
- During reassembly, use these photos as a reference for how to re-stack the terminal posts. From the terminal base to tip:
- Base washer
- Crush washer
- Stator wire connector
- Nut
- Wiring harness connector
- Crush washer
- Nut
- Use an 8 mm socket to remove the three bolts securing the wiring terminal and harness.
- Remove the Phillips screw securing the harness ground.
- Loosen the wiring terminal and harness from their resting positions.
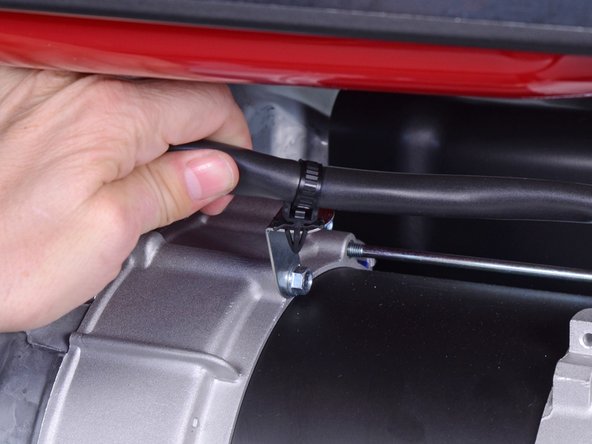
- Use pliers to release the cable tie securing the wiring harness to the generator assembly.
- Carefully tilt the rear of the generator upwards to access the under-frame bolts.
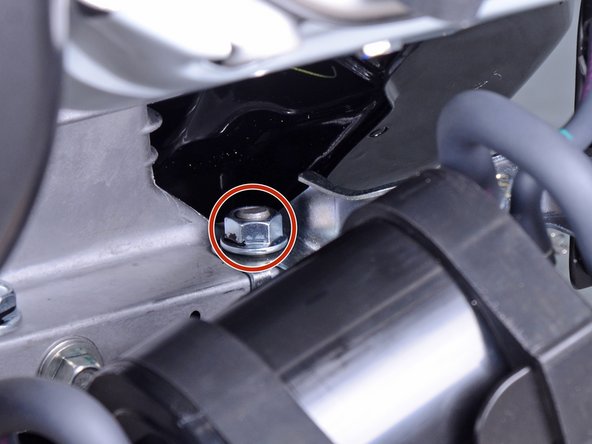
- Use a 12 mm socket to remove the two bolts underneath the frame, which secures the rear generator housing.
- Removing these nuts give the generator assembly enough slack to remove the rear bushings.
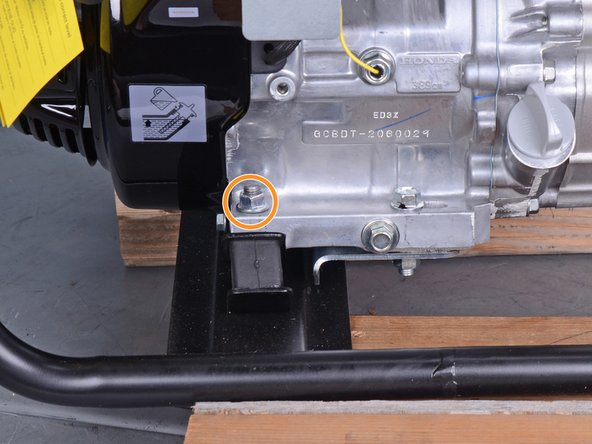
- Use a 14 mm socket to remove the mounting nut next to the emissions canister.
- Use a 14 mm socket to remove the mounting nut near the oil filler hole.
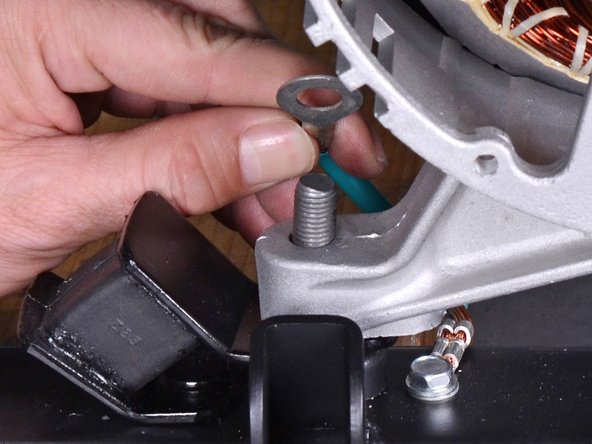
- Use a 14 mm socket to remove the two nuts securing the rear housing to the bushings.
- During reassembly, be sure to re-attach the ground terminal to the left bushing.
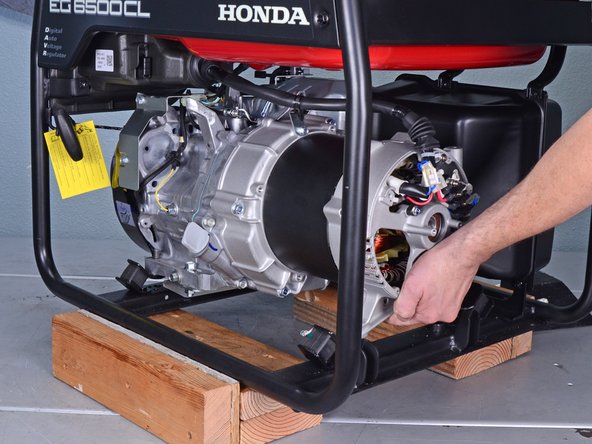
- In these photos, the generator frame is propped on some blocks for ease of access. You do not need to do this for the procedure.
- Tilt the generator assembly by lifting the rear housing slightly.
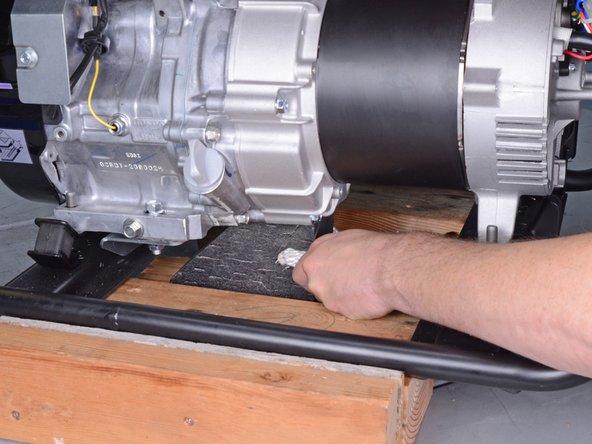
- Place support blocks underneath the silver generator housing to support the generator assembly.
- The generator weight should rest on the support blocks and no longer on the rear bushings.
- Do not support the generator by the black stator cover.
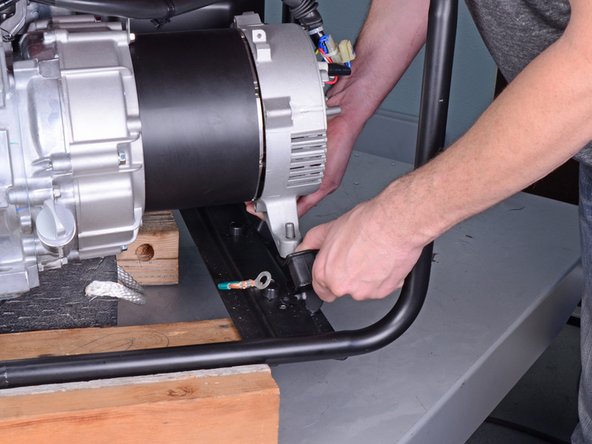
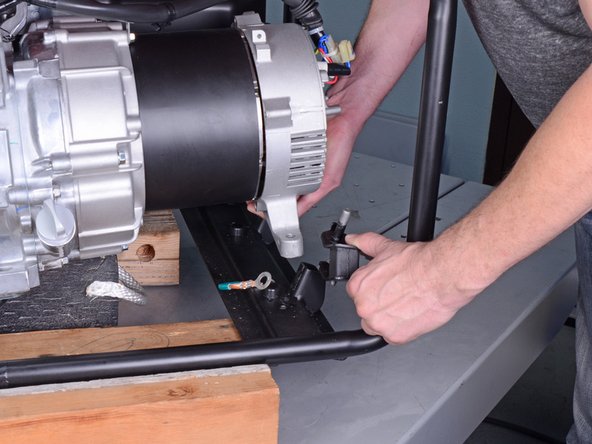
- Lift the rear generator housing up as far as you can and maneuver the left bushing out of its socket.
- Remove the left bushing.
- Repeat the previous step to remove the right bushing from its socket.
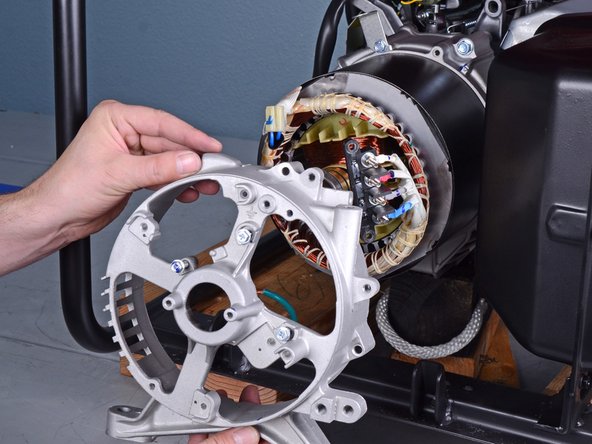
- Remove the rear generator housing from the generator assembly.