How to reduce creaking plastic noises
ID: 135780
Description:
Steps:
- If you are using the headphones wirelessly, turn them off by holding down the power button for a few seconds.
- If you are using them wired, unplug the cable from the headphones.
- Flip the headphones over so the earpads are facing you.
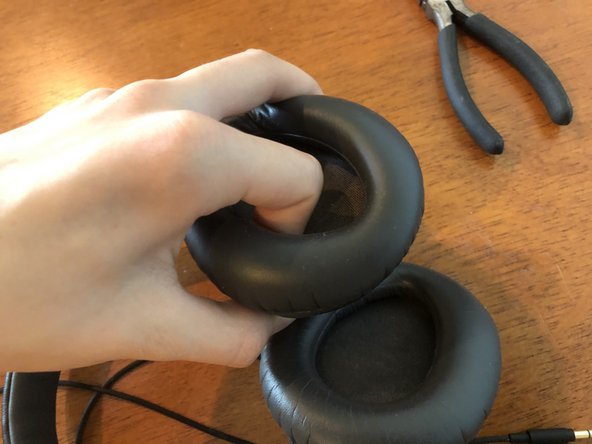
- Grip the edge of the pad and gently pull up and away from the headphone.
- The pad should come off relatively easily, be careful not to be too forceful and damage it.
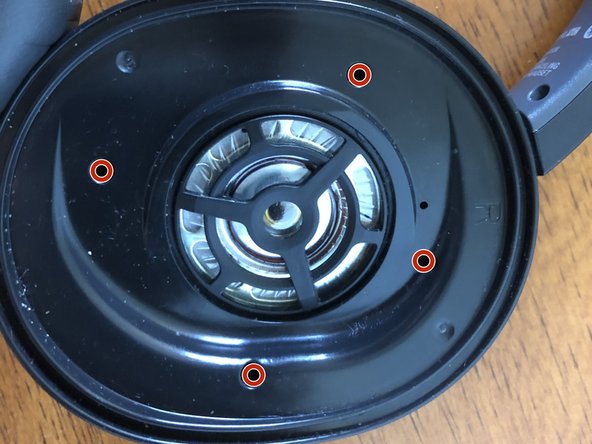
- Use a #0 phillips screwdriver (Preferably JIS type instead of normal phillips) to remove the four screws.
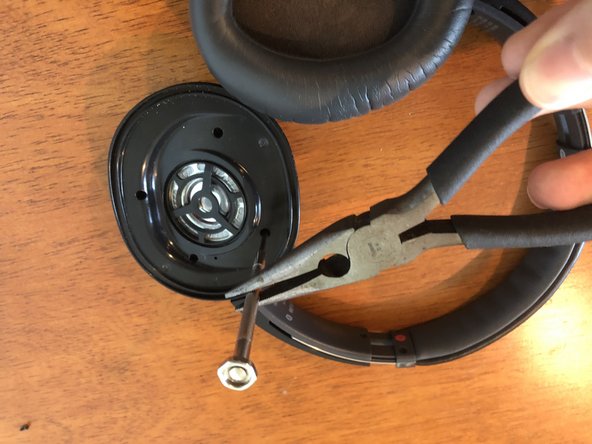
- You may need to use something such as pliers to increase the torque on the screws to get them out. Be careful not to damage them.
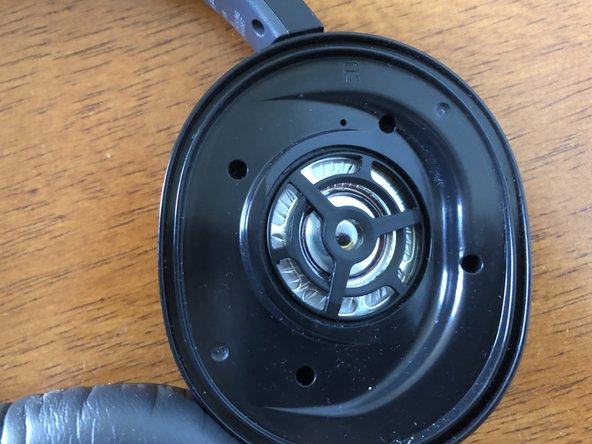
- Separate the two halves of the headphone.
- Be careful not to rip the wires from the speaker off of the circuit board.
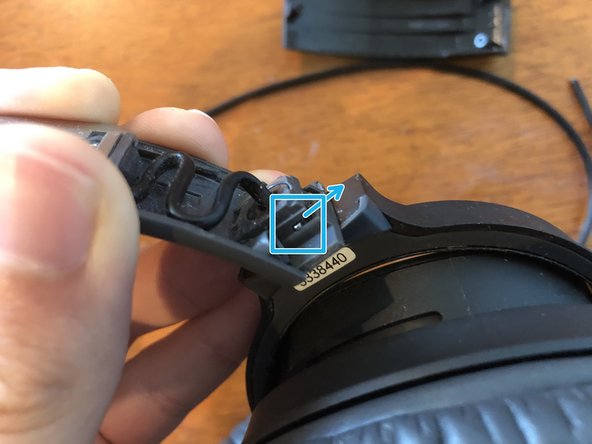
- Pull the outer part of the hinge away from the inner part on the side without the wire going through it. This will require some force.
- Pull the inner part of the headphone partially from the other hinge, being careful not to damage the wire going through it.
- If you were to want to replace the battery, now is a good chance to do it.
- Remove any contaminants from in and around the hinges, especially around the red O-rings.
- Return the hinges to how they were originally by pushing the center part onto the hinge post with the wire going through it, then lifting the other hinge post and putting it in its hole.
- Put the two halves of the headphone back together, and install the four screws.
- Install the ear pad by fitting part of its edge in the lip around the edge of the headphone, and gently stretching it around so that it is completely fitted back in.
- Use the same tool and techniques as in step 3 to remove the three screws in the upper hinge cover.
- Remove the back part of the upper hinge cover.
- Remove the metal clip that holds the lower hinge assembly in place with a small screwdriver.
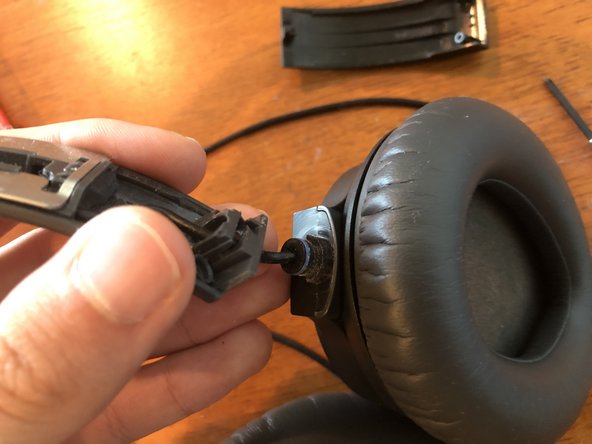
- Pull the lower hinge assembly away from the upper portion of the headphones, being careful not to damage the wire.
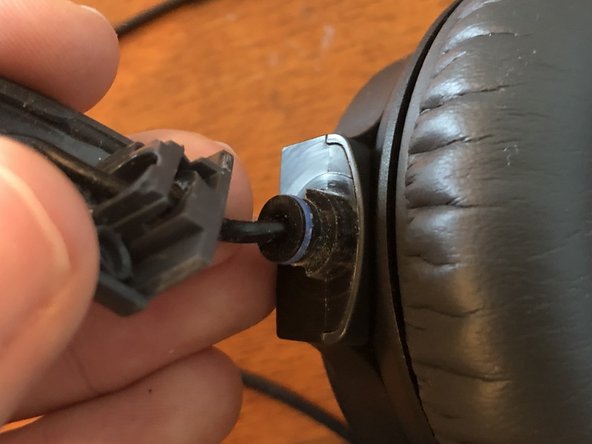
- Clean the hinge in the same way as the lower hinge, making sure to clean the blue O-ring.
- Re-insert the lower hinge assembly into the upper portion, being careful to have it in the correct orientation without any added twists in the wire.
- Install the metal clip to secure the lower hinge assembly.
- Install the back cover to the upper hinge, and install the three screws.
- Repeat steps 3 - 9 for the other side of the headphones to complete the hinge cleaning.