Teddy Bear String Smile Replacement
ID: 135828
Description: To my understanding teddy bears aren’t...
Steps:
- Using the scissors, cut away the existing string smile from the teddy bear.
- Using a water-soluble marker, test a small patch on the teddy bear in the area you will be replacing the smile.
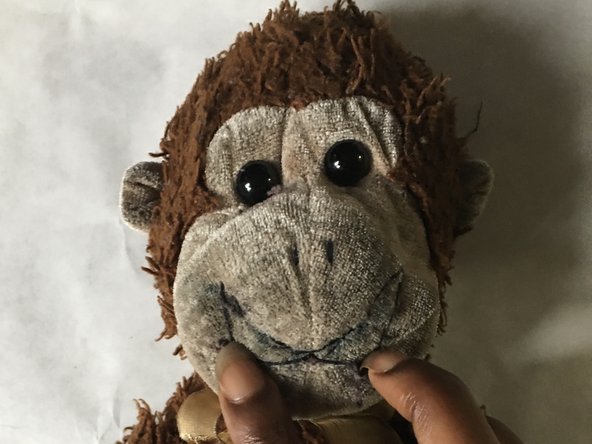
- Once you have tested the patch and made sure the marker washes off the fabric, sketch the smile in the area you desire.
- Take one end of the thread and slide it through the thin hole, or eye, at the top of the needle.
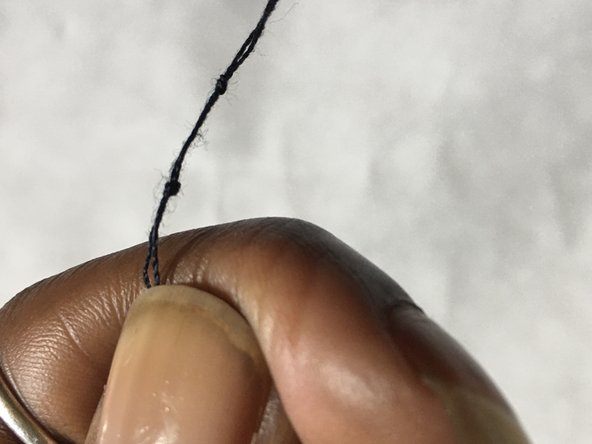
- Once the needle is threaded with your desired length of string (the length of the smile plus a bit more), tie both ends of the string together in a knot.
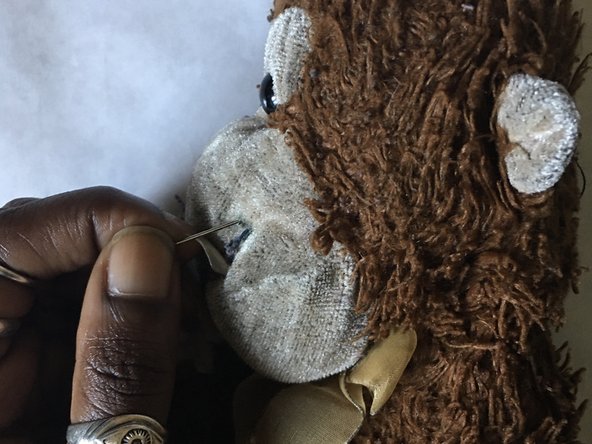
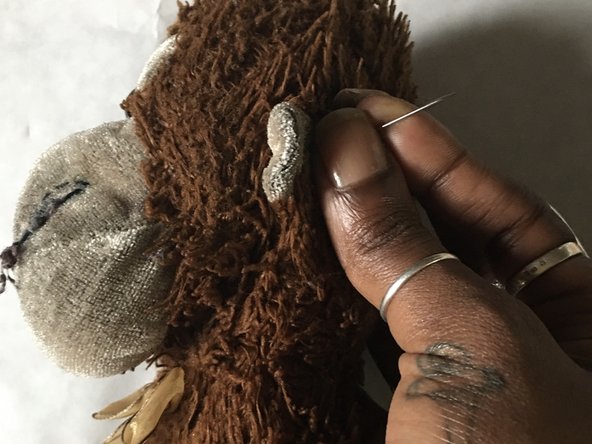
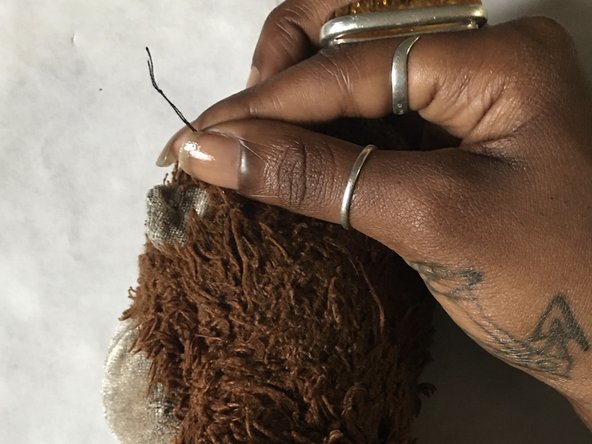
- At an angle, stick the needle through the back of the ear.
- Pull the needle through a stitch-length away from the corner of your drawn on mouth.
- Keep pulling until you feel the tug of the knot on the inside of the smile.
- Stick the needle back through the hole you just made and pull it out a stitch-length away; this starts the backstitch.
- You will be using the drawn on pattern as a reference.
- Continue the backstitch across the smile area until the smile is complete.
- Stick the needle through the second-to-last stitch.
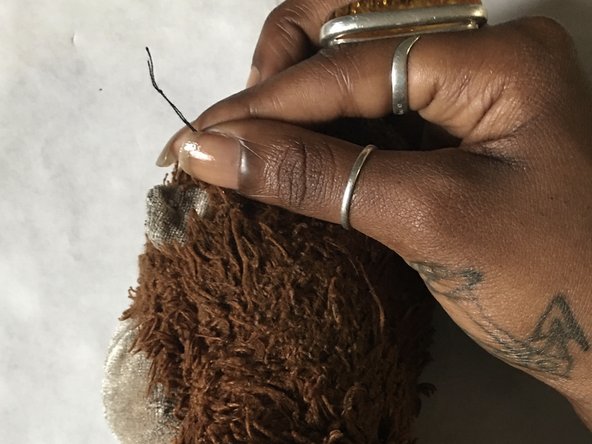
- Pull the needle through, diagonally, and pull it out behind the ear that you started with. This will leave a “tail” hanging from behind the ear.
- At the longest part of the thread, cut the needle away.
- Tie the two pieces of thread together into a knot against the back of the ear.
- Cut away the remaining thread.