Honda 3000 Watt Inverter Generator EU3000IS1AWK Fan Cover Replacement
ID: 136208
Description: This guide shows how to remove and replace the...
Steps:
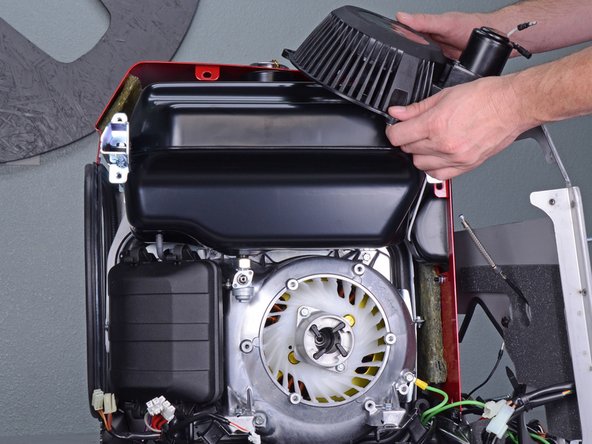
- Use a 10 mm socket to remove the three bolts securing the recoil starter.
- Remove the recoil starter and move it out of the way.
- Be careful not to lose the metal collar in each of the recoil starter's bolt holes.
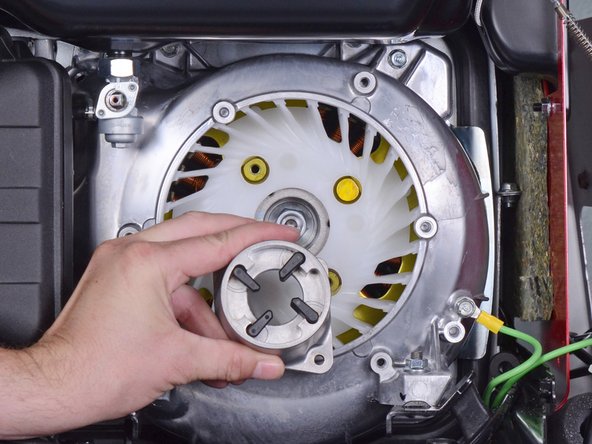
- Use a 10 mm socket to remove the two bolts securing the starter pulley.
- Remove the starter pulley.
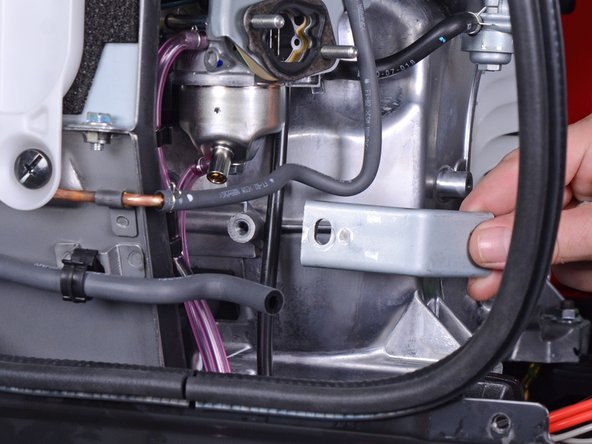
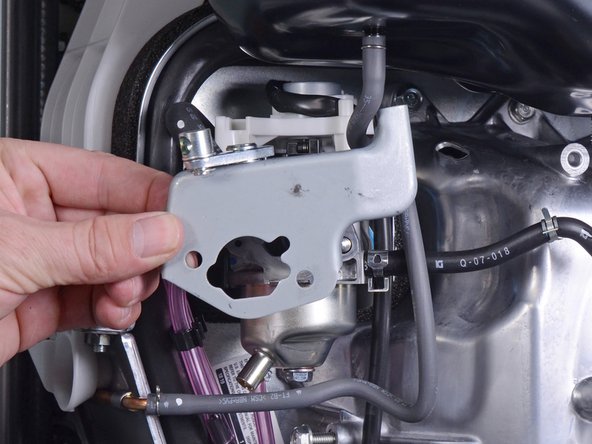
- Use a 10 mm socket to remove the bolt securing the air cleaner housing bracket.
- Remove the air cleaner housing bracket.
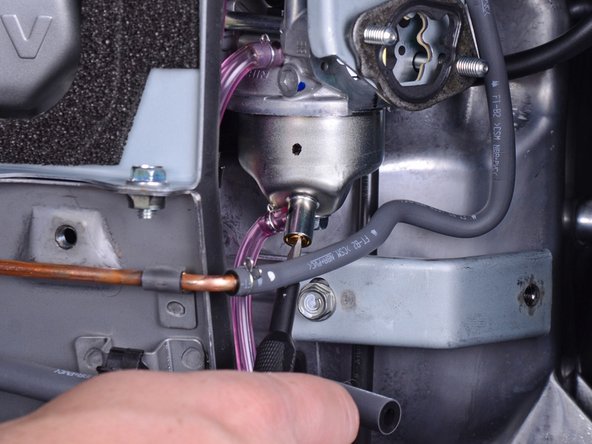
- Fuel may leak out when you disconnect this hose. Be ready to catch any spillage.
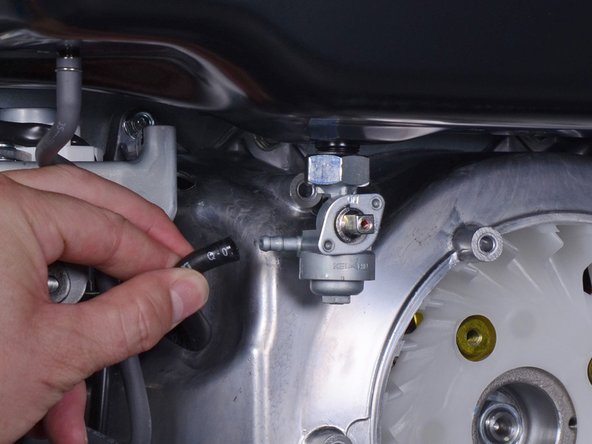
- Use pliers to squeeze and loosen the hose clamp securing the carburetor fuel line.
- Pull and disconnect the carburetor fuel line from the petcock assembly.
- Be sure to drain the fuel tank before you perform this step.
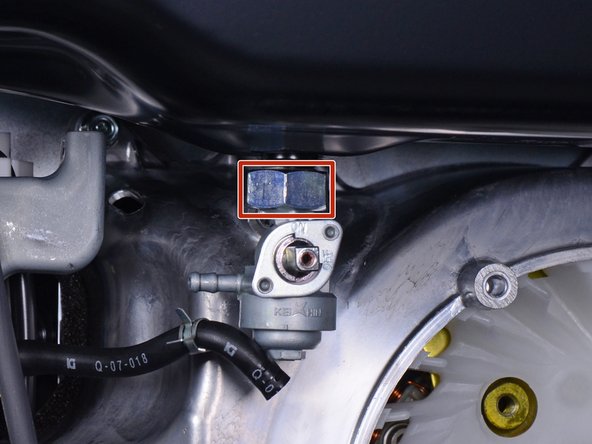
- Use a large crescent wrench to loosen the petcock assembly from the fuel tank.
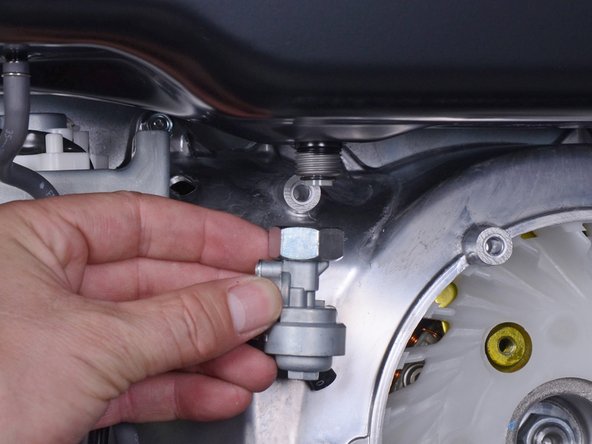
- Residual fuel will leak out as you remove the petcock assembly. Be ready to catch any spillage.
- Remove the petcock assembly.
- Place a container below the carburetor drain tube to catch the excess fuel.
- The carburetor drain screw is located at the bottom of the carburetor.
- Use a flathead screwdriver to loosen the brass fuel drain screw until fuel begins to drain out of the carburetor.
- Once you drain the fuel bowl, re-tighten the fuel drain screw.
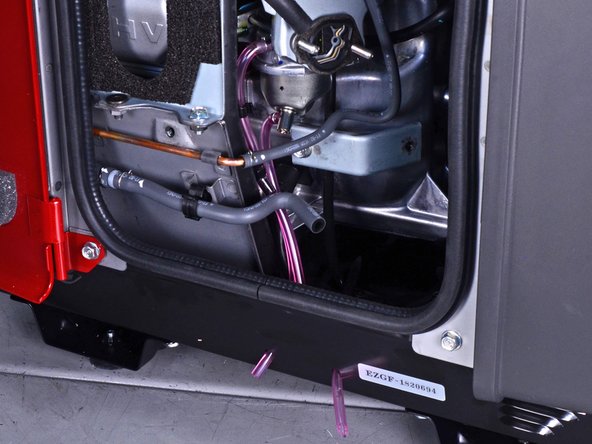
- Be sure to replace any gaskets that are torn or worn out.
- Remove the carburetor spacer gasket.
- Replacement part: Honda Spacer, Carburetor 16220-ZE1-020
- Remove the choke stay.
- Remove the air cleaner gasket.
- Replacement part: Honda Gasket, Air Cleaner 16269-ZE1-800
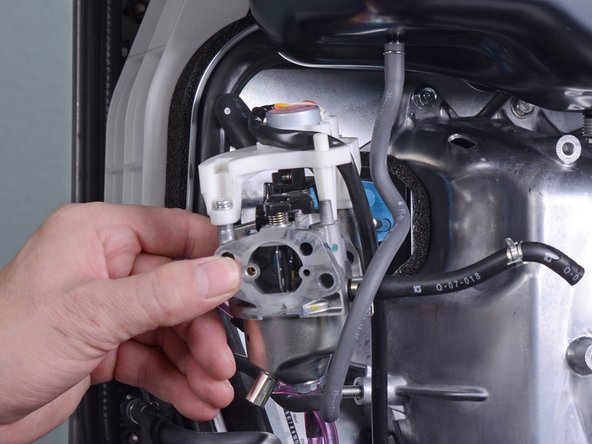
- Slide the carburetor off the mounting bolts.
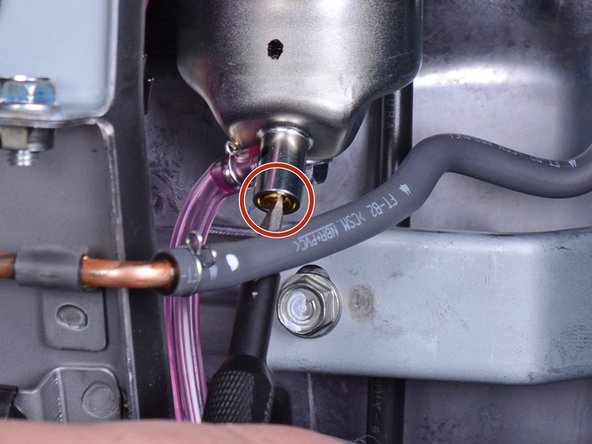
- During reassembly, use the third photo as a reference for how to route the carburetor tubes.
- Disconnect the throttle control connector from the top of the carburetor.
- Unwrap the throttle control wires from the carburetor.
- Remove the carburetor.
- Remove the carburetor gasket.
- Replacement part: Honda Gasket, Carburetor 16221-ZH8-801
- Remove the carburetor insulator.
- If the carburetor insulator gasket is worn, remove and replace it.
- Replacement part: Honda Gasket, Insulator 16212-ZH8-800
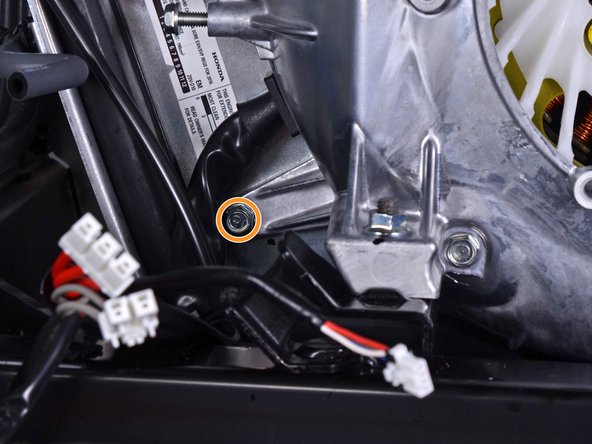
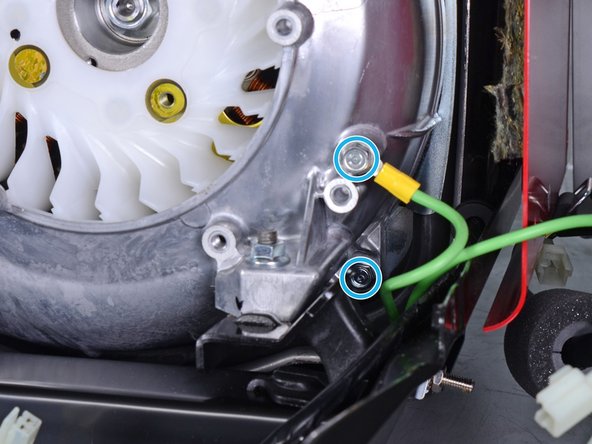
- Use a 10 mm socket to remove the seven bolts securing the fan cover:
- Four bolts on top
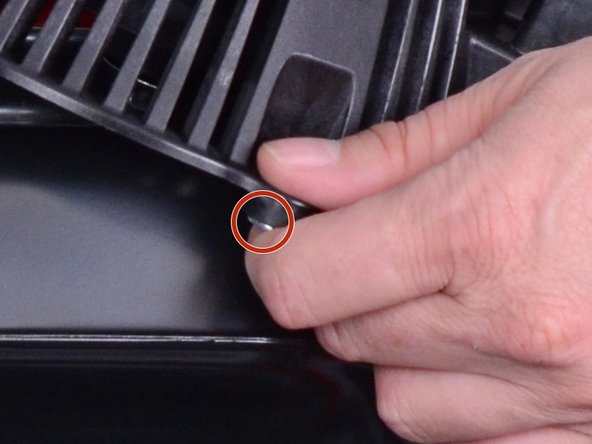
- One recessed bolt in the bottom left corner
- Two bolts in the bottom right corner
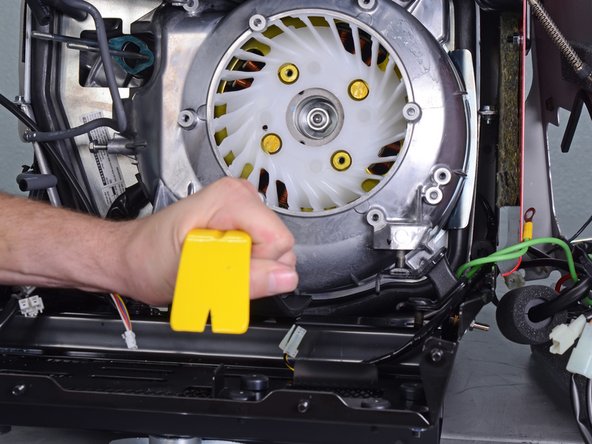
- During reassembly, be sure to reattach the ground wire.
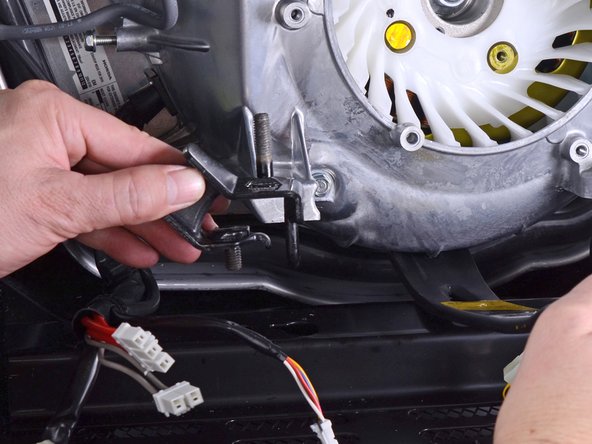
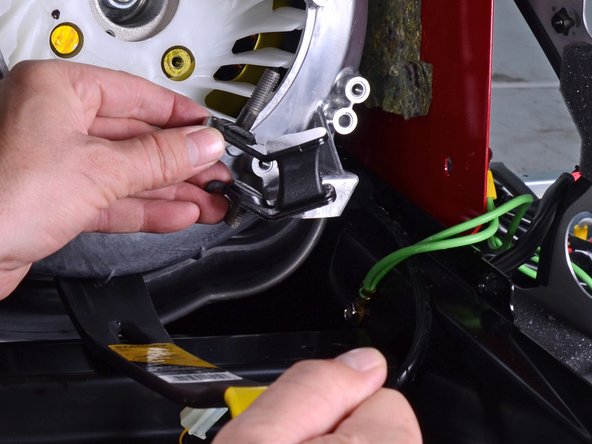
- Use a 12 mm socket to remove the mounting nuts securing the front bushings.
- Insert a pry bar underneath the fan cover.
- Pry upwards to lift the generator assembly slightly.
- As you lift the generator assembly with the pry bar, maneuver and remove the two generator mounts from their recess.
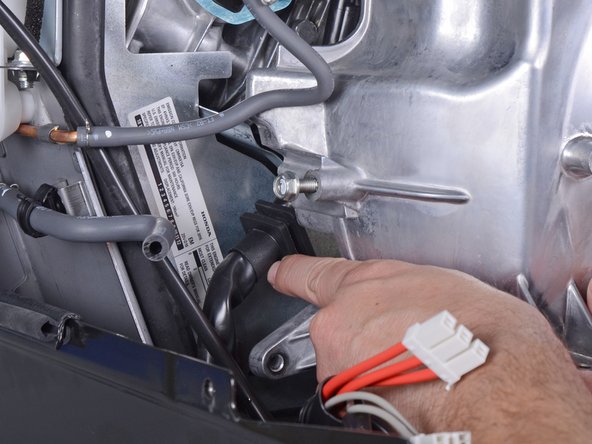
- Use a 10 mm socket to remove the long bolt from the fan cover.
- Carefully pull the fan cover away from the generator assembly.
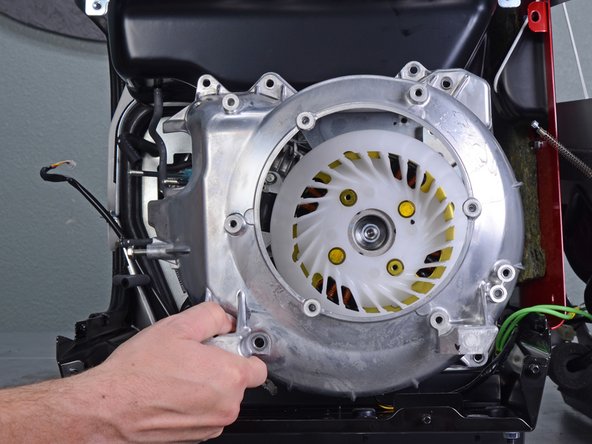
- During reassembly, make sure that the cord grommet is properly slotted into the fan cover.
- The fan cover is a tight fit. You may need to push the gas tank upwards as you maneuver the fan cover out.
- Remove the fan cover.