Biolite BaseCamp Stove Battery Replacement
ID: 136310
Description: If you find that the stove’s fan fails to start...
Steps:
- Press where indicated to release the air filter and reveal the fan.
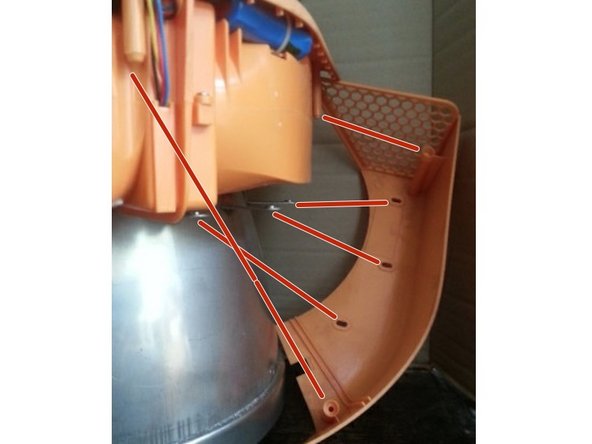
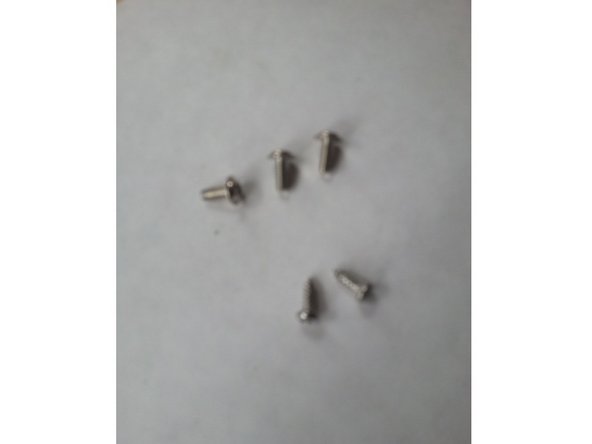
- Remove the five screws indicated using a Phillips screwdriver. You'll need one that's long enough to reach the two screws that are recessed.
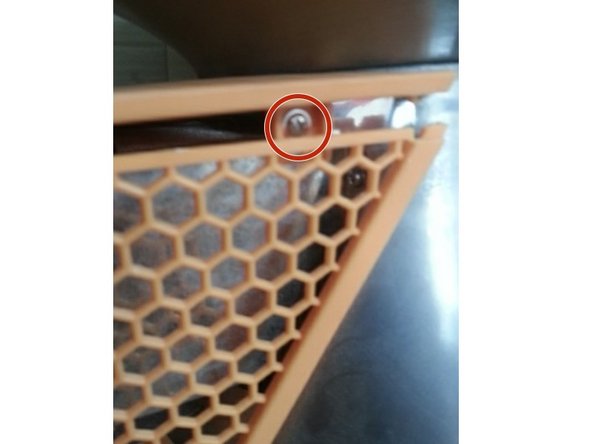
- Remove the indicated screw, at the rear of the lid. Then lift off the lid, to reveal the battery to be replaced.
- Now detach the battery wires from the circuit board, by gently prising the connector away from its post, in the direction of the arrow.
- Then carefully undo the cable tie using a suitably small screwdriver.
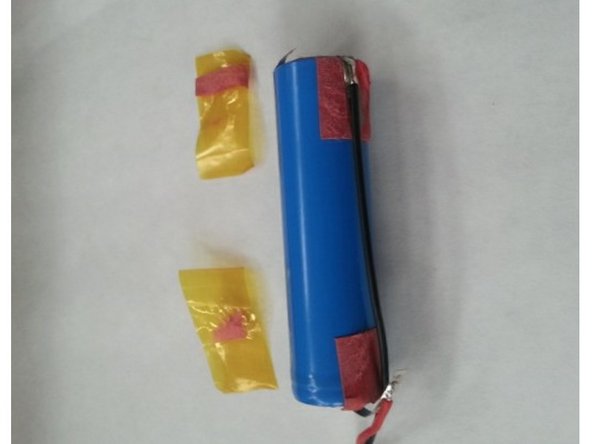
- Using a craft knife, make an incision along the length of the plastic sheath, on the opposite side to wires, and remove the sheath.
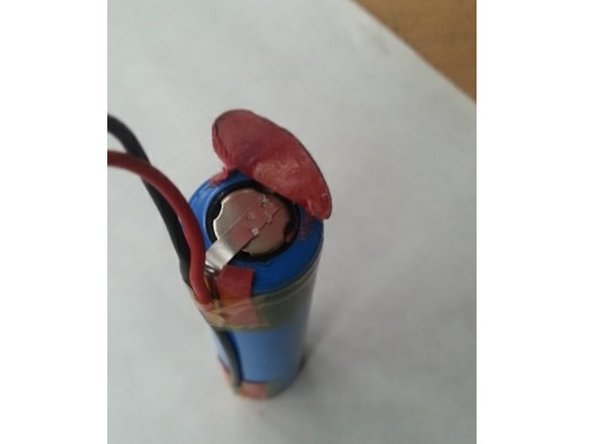
- Now use the craft knife to remove the cap at each end of the battery.
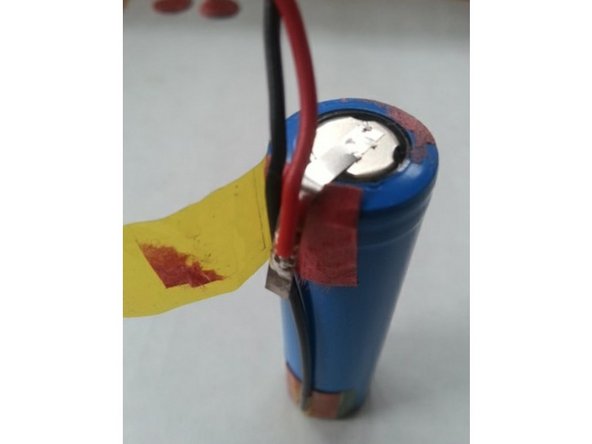
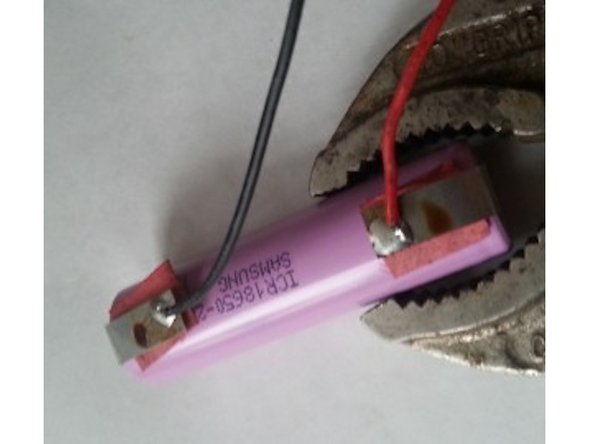
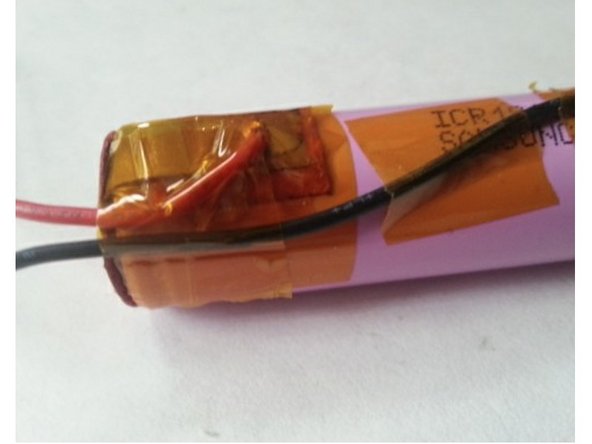
- Removed the heat-resistant tape to reveal the soldered area on each battery prong. Try not to damage the red squares of insulation under each prong.
- Use a soldering iron to free the wires from the prongs.
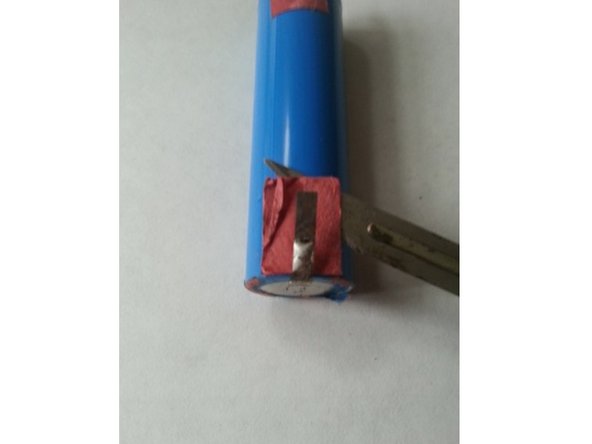
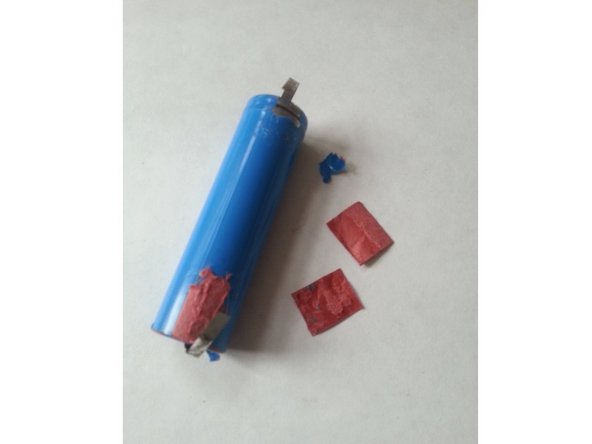
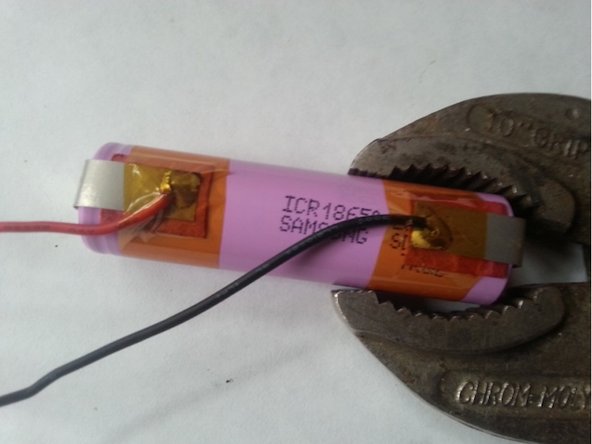
- Using the craft knife, carefully separate the insulation squares from the battery.
- With the insulation square in place under the prong, solder the red wire to the prong at the end with the four indentations. This may be achieved by first applying a blob of solder to the prong, and then inserting the wire into the blob.
- Solder the black wire to the other prong, again with the insulation square in place under the prong.
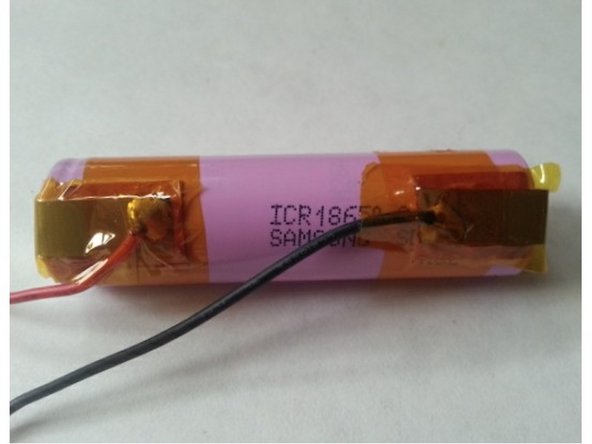
- Cover each soldered area with heat-resistant tape.
- Cover the rest of each prong with more heat-resistant tape,
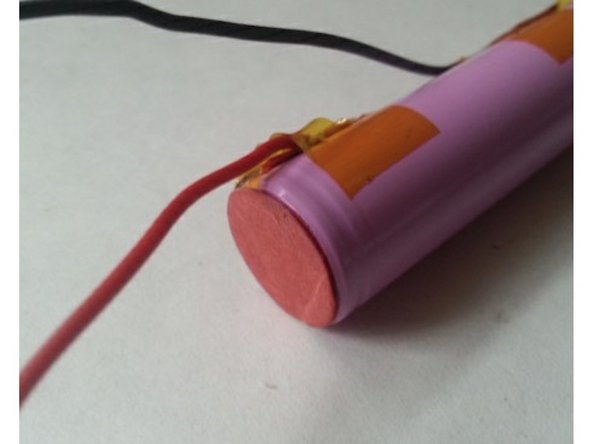
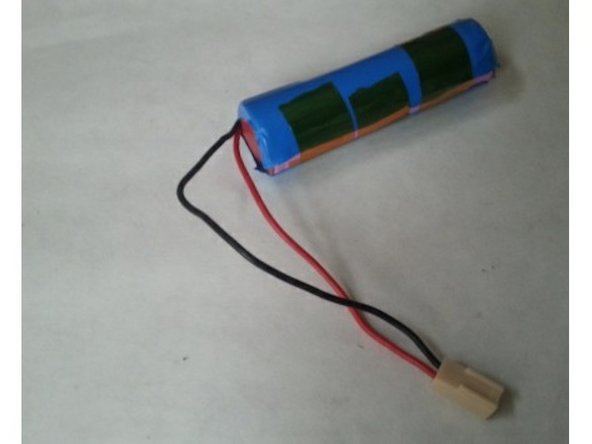
- Fit the insulation caps, which should have retained some stickiness, over the ends of the battery.
- Use more heat-resistant tape to position the wires as shown.
- Fit the sheath from the old battery. Ensure that it covers the edges of the insulation caps at each end, then use more heat-resistant tape to ensure it is tightly wrapped around the battery.
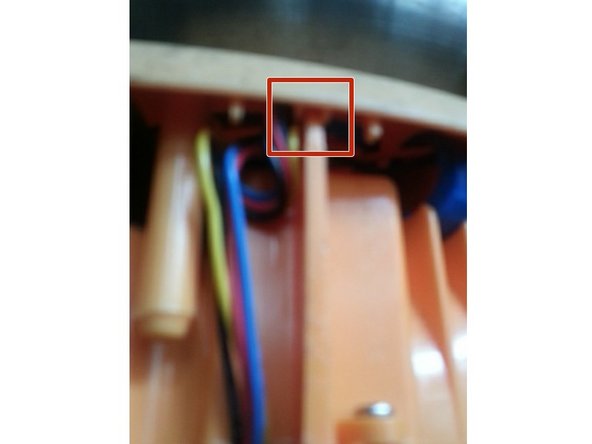
- Carry out step 3 in reverse. When refitting the lid, which incorporates the stove's control panel, make sure the panel's space for the USB port lines up with the port itself. Also make sure the top of the partition goes into the slot in the lid (indicated).
- Carry out step 2 in reverse.
- Carry out step 1 in reverse.
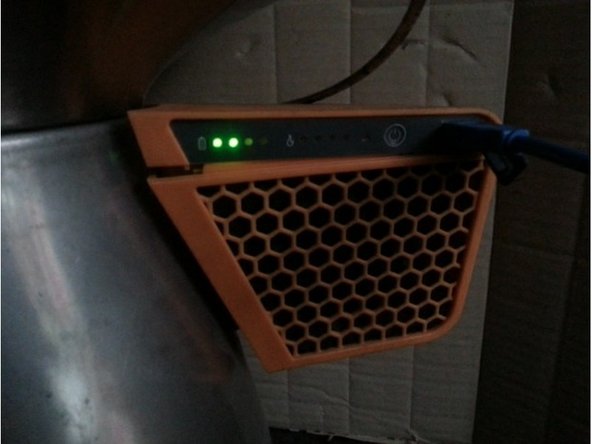
- Insert one end of the male-to-male USB cable into the port on the stove, and the other into a port that can supply power, such as a laptop.
- Leave to charge for 8-10 hours.
- Press the power button on the stove, and at least two of the four battery indicator lights should light up.