Lenovo P1 Gen2 Laptop Basic Disassembly For RAM and SSD Access
ID: 136553
Description:
Steps:
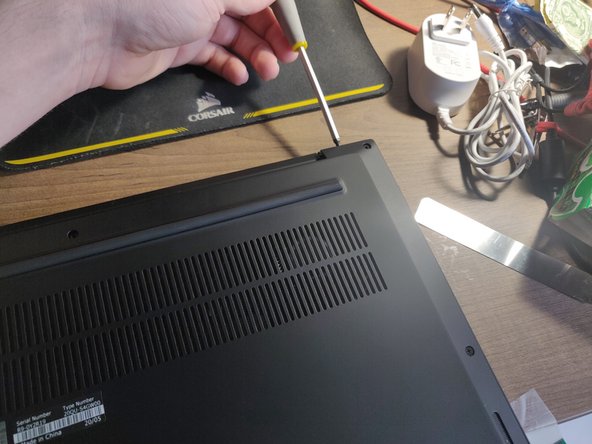
- After powering off the device, remove the 7 PH#0 screws on the bottom.
- The screws are captive, so they will stay attached to the bottom lid and won't get lost. Nice touch by Lenovo.
- There are clips holding the bottom on. They are located on in the top corners. Lightly pry with a spudger. The clips only require a small amount of force to release.
- Always disconnect the battery. On this device, the connector slides to right and pops up. Don't use a metal tool for this!
- M.2 slots are on the right center. Remember to remove the plastic film before adding a new drive in the bottom slot.
- The SO-DIMM ram slots are in the center covered by plastic shields. If you are changing the ram, remember to buy 2 matching ddr4 so-dimm sticks.
- My ram configuration is 2 by 8 gb of 2666MHz.