Toro Stump Grinder 22615HD 2017 Guard Plate Replacement
ID: 139262
Description: Follow this guide to replace the guard plate on...
Steps:
- Before you begin, ensure the machine is powered down and cool to the touch.
- Turn the ignition switch to the off position.
- Flip the fuel cutoff valve switch into the off position.
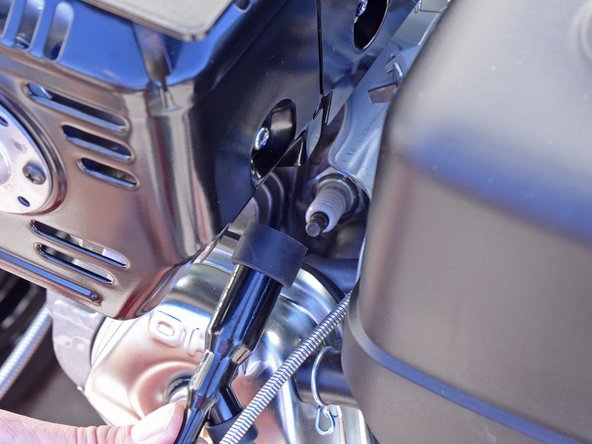
- Grab the plastic housing at the end of the spark plug wire.
- Pull firmly to disconnect the wire from the spark plug.
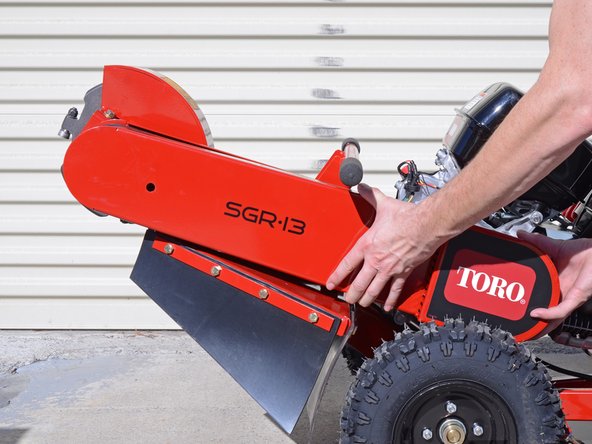
- Tilt the machine so that it is resting on the handle with the cutter wheel raised.
- Use a 14 mm socket to remove the fasteners securing the belt guard:
- One 10 mm bolt
- One 10 mm nut
- Remove the belt guard.
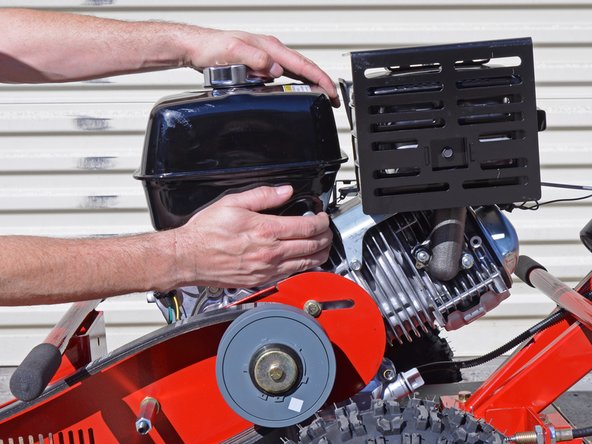
- Use a 9/16 inch socket to loosen the four nuts securing the bottom of the motor enough to allow the motor to slide freely. Do not remove the nuts.
- Use a 1/2 inch wrench in combination with the socket wrench to hold the bolts in place.
- Use a 1/2 inch wrench to loosen the two bolts behind the centrifugal clutch enough to allow the motor to slide freely. Do not remove the bolts.
- Wrap a piece of tape around the upper half of the tensioner bolt to mark the location of the second nut.
- Use a 9/16 inch wrench to loosen the nut on the lower half of the tensioner bolt until the motor can slide forward as much as possible.
- During reassembly, reference the tape to position the outer nut into the same location as before to ensure proper belt tension.
- Slide the engine towards the cutter blade to loosen the drive belt.
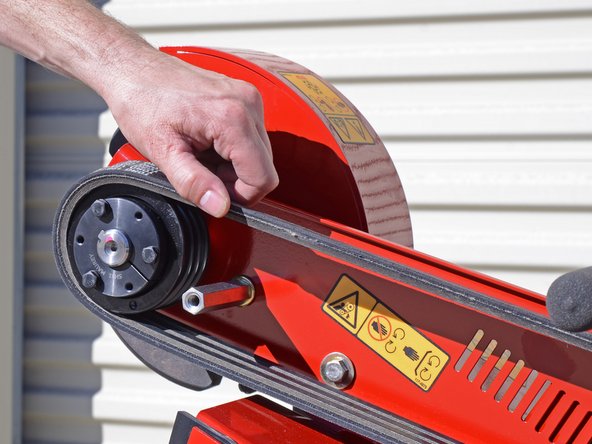
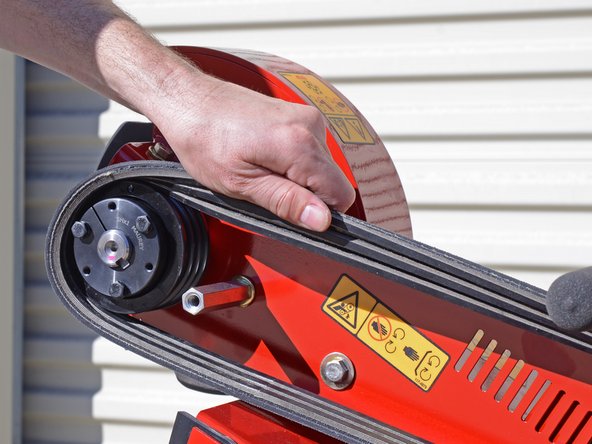
- Lift the drive belt up and away from the machine while rolling it towards the cutter head to gradually roll it off of the pulley.
- Remove the drive belt.
- Use an impact wrench with a 9/16 inch socket to remove the bolt and washer securing the centrifugal clutch to the spindle.
- Use a jaw puller to extract the centrifugal clutch from the spindle:
- Place the center screw so that it is in line with the center of the spindle.
- Hook the jaws around the back edge of the clutch assembly.
- Tighten the center screw until the centrifugal clutch is removed from the spindle.
- Remove the centrifugal clutch and shaft key from the spindle.
- Use a 1/8 inch hex key to remove the pulley set screw.
- Use a universal puller to remove the pulley from the cutter wheel shaft:
- Attach the universal puller to the pulley using the three bolts provided on the pulley.
- Use a wrench to torque down the center screw to slowly loosen the pulley.
- This may take a lot of force.
- If the pulley seems to be stuck after significant pressure is applied with the universal puller, use a blowtorch to apply heat where the pulley contacts the shaft.
- If heat was used to loosen the pulley, use gloves when removing it.
- Pull the pulley off of the shaft to remove it.
- Remove the shaft key.
- Use a 9/16 inch socket to remove the two bolts and washers securing the guard plate to the motor.
- During reassembly, do not tighten these bolts all the way down until the belt is tensioned.
- Use a 9/16 inch socket to remove the bolt and washer securing the guard plate to the frame.
- Use a 5/8 inch wrench in combination with the 9/16 inch socket to hold the standoff in place.
- Remove the bolt, washer, and standoff.
- Use a 9/16 inch socket to remove the bolt and accompanying washer securing the guard plate to the frame.
- Use a 5/8 inch socket to remove the nut securing the guard plate to the frame.
- Use a 1/2 inch socket to remove the bolt next to the cutter wheel shaft securing the guard plate to the frame.
- Remove the guard plate from the frame.