Revive a GeoBlade 500 Battery Pack that is Not Charging
ID: 139305
Description: Use this technique to “revive”, “awaken”,...
Steps:
- Press down on the power button annotated in the red circle. Ensure to do this when the GeoBlade is on level ground, on its side. A blue light on the power button will show if it the GeoBlade is on, make sure this is not showing.
- Lay the board down in a way that you can easily access the battery packs. Push in on the battery pack clip annotated in the red rectangle.
- Use your thumb to leverage the battery pack out of the board
- Remove the pack completely.
- Use an Electrostatic Discharge mat to prevent damage to the electronics because we will be opening up the battery pack case.
- Properly ground yourself by plugging the snap connector to the ground of your outlet and placing the wristband around your wrist.
- Be sure to use proper protective equipment for handling Lithium batteries, for example rubber insulated gloves and a face shield are recommended.
- Ensure to do the following steps in an area where you are prepared to handle a battery fire if it occurs.
- Remove the four screws annotated by red circles using a phillips screw driver.
- Remove the top cover.
- Carefully pull the battery cells and circuitry outside the case as one unit.
- Flip the battery unit over, taking special care to not lose the insulators that will come loose (annotated with red boxes).
- Rotate the battery unit 180 degrees so the main leads are closer to you. These can be found as shown in red circles.
- Use a multi-meter to probe the voltage across the two large solder pads to see just how low voltage your pack is at. The positive lead is on your right and the negative lead is on your left when looking at the pictures with red circles
- I initially read 6.85V on my battery pack. Take note of this voltage for the next step.
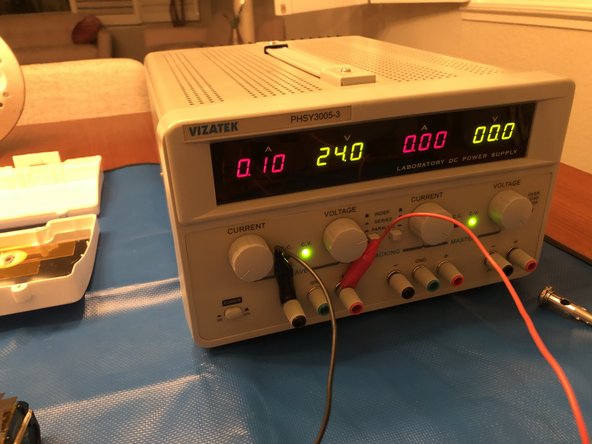
- With the Power Supply disconnected from the battery pack main leads, set the voltage to 12V Constant Voltage (CV) and a maximum of 2A Constant Current (CC). You can ensure this is set correctly if you touch the Power Supply leads together. It should go into Constant Current mode where the maximum amperage is set and the voltage will drop.
- I chose 12V here because my pack read 6.85V. Ensure to set a Power Supply voltage higher than your battery pack, otherwise sparks will fly due to the battery pack filling the capacitor of the Power Supply.
- Connect the negative terminal of the Power Supply to the negative pad of the battery pack.
- Connect the positive terminal of the power supply to the positive pad of the battery pack
- Be sure to STOP if the battery cells expand, temperatures increase, or if a fire breaks out.
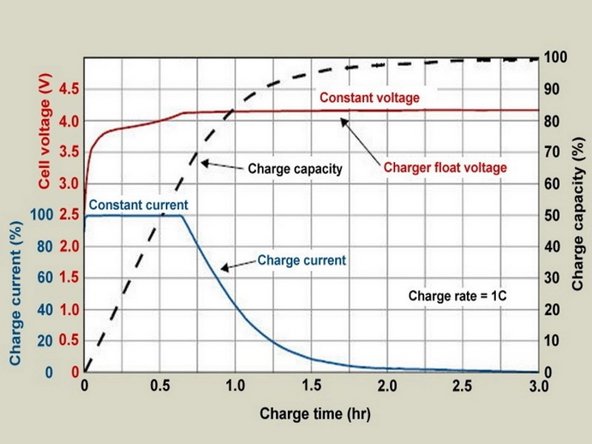
- Witness the Power Supply amperage displaying the maximum of 2A initially, but then slowly plateau to ~ 100mA.
- When the amperage reaches ~100mA, it is safe to increase the voltage described in the next step.
- Witness the Power Supply amperage displaying the maximum of 2A initially, but then slowly plateau to ~ 100mA.
- When the amperage reaches ~100mA, it is safe to increase the voltage described in the next step.
- When the amperage reaches ~100mA, it is safe to increase the voltage described in the next step.
- Increase the voltage of the pack to ~30V, but not to exceed 35V
- Remove the negative and positive terminals from the battery pack and turn off the power supply
- To reassemble your device, follow these instructions in reverse order.
- Ensure to re-install the loose insulator pieces shown annotated in the red rectangles.
- Use the intended charger provided with the GeoBlade 500 for 2.5 hours to reach 5 green bars indicating it is fully charged. Power cycle a few times to ensure the lights blink green indicating you are ready to ride.