Creality CR-10S Stepper Motor Dampener Replacement
ID: 139357
Description: This guide will show you how to replace or...
Steps:
- Using the 3mm Allen key, remove the two 3mm Allen head screws on either side of the y-axis bracket to undo the tensioner. Push forward to give the belt slack.
- Using the 2mm Allen key, remove the four 2mm Allen head screws holding the motor and set down with the gear wheel facing up.
- Install the damper using two of the 2mm Allen head screws. Make sure that the wider opening of the dampener is facing the motor.
- The two holes without threads go flush with the motor and the two holes with threads go flush against the plastic bracket.
- Reinstall the motor using the remaining two 2mm Allen head screws by mounting the damper onto the bracket.
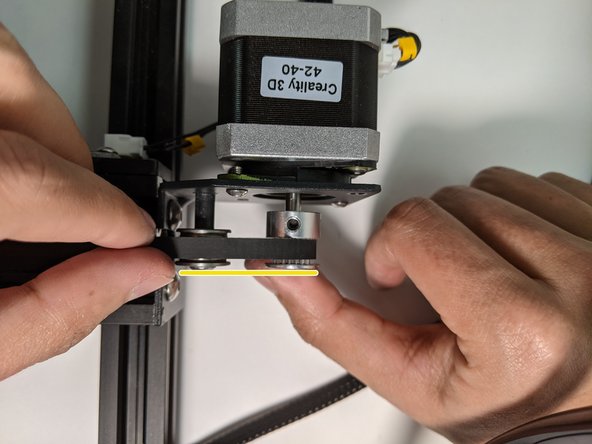
- Adjust the gear wheel by undoing the two 2mm Allen head screws, centering the wheel, and re-tightening the screws.
- Once the gear wheel is centered, reinstall the belt.
- Tighten the belt by pulling on the tensioner bracket and tightening the two 3mm Allen head screws.
- Unscrew the 3mm Allen head bolts on the x-axis tensioner and push the bracket toward motor to create slack on the belt.
- Unscrew the four 2mm Allen head bolts holding the motor and sensor to the chassis.
- Undo the belt and remove the stepper motor from the mount.
- You will have to hold the sensor cover and motor in place when performing this installation.
- Install the damper onto the motor as explained in Step 2.
- Ensure that the gear wheel is centered similarly to Step 3 before doing the final assembly.
- Reinstall the motor onto the bracket by re-using two of the long 2mm Allen head screws.
- Tighten the belt by pulling on the tensioner bracket as you tighten the two 3mm Allen head screws.