Toro Log Splitters 22618HD 2019 Control Valve O-Rings Replacement
ID: 139454
Description: This guide shows how to remove and replace the...
Steps:
- Before you begin, ensure that the engine is powered down and cool to the touch.
- Grab the plastic housing at the end of the spark plug wire and pull firmly to disconnect it.
- Flip the red engine ON/OFF switch to the OFF position.
- Flip the fuel valve lever to the OFF position.
- Use a 3/8 inch socket to remove the three bolts securing the control valve to the control valve bracket.
- Use a 9/16 inch socket to remove the two bolts securing the control valve bracket to the frame.
- Remove the control valve bracket.
- Residual hydraulic fluid will be trapped in the hoses connected to the control valve, and may drip during the following procedure.
- Place a bucket underneath the device, below the control valve to catch any hydraulic fluid drips.
- Have rags handy to stop drips and clean up affected areas.
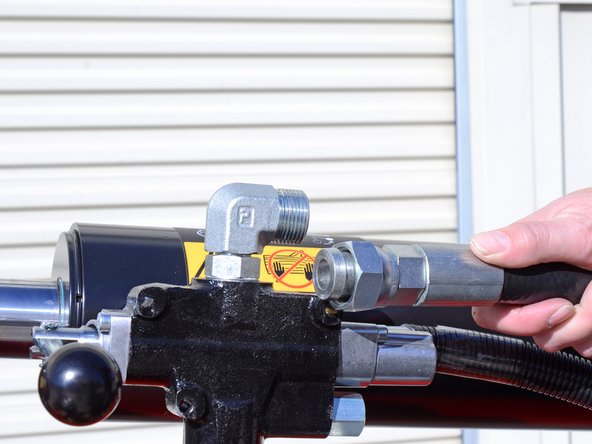
- Use an adjustable wrench to loosen the nut securing the output hose to the L-fitting on top of the control valve.
- Remove the output hose from the top L-fitting.
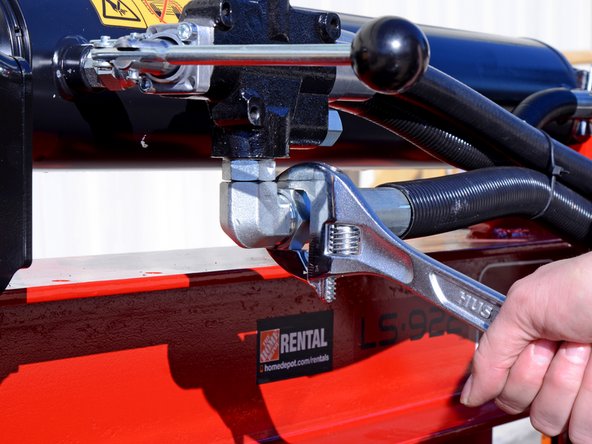
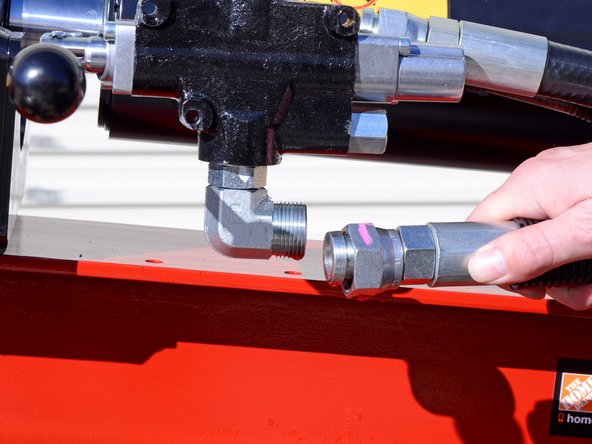
- Use an adjustable wrench to loosen the nut holding the input hose to the L-fitting on the bottom of the control valve.
- Remove the input hose from the bottom L-fitting.
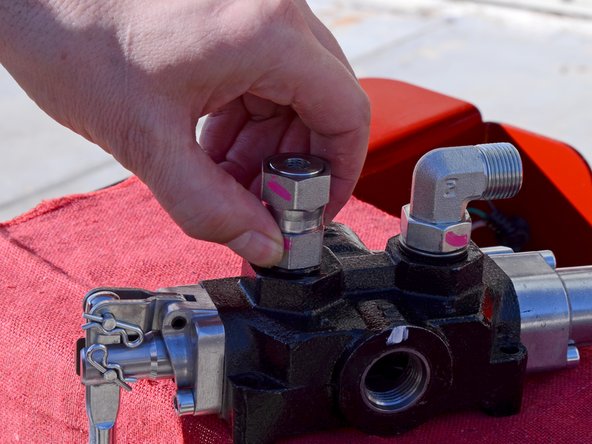
- Use an adjustable wrench to loosen the nut securing the top L-fitting to the control valve.
- Spin the top L-fitting counter-clockwise to remove it.
- This fitting is part number 340-16.
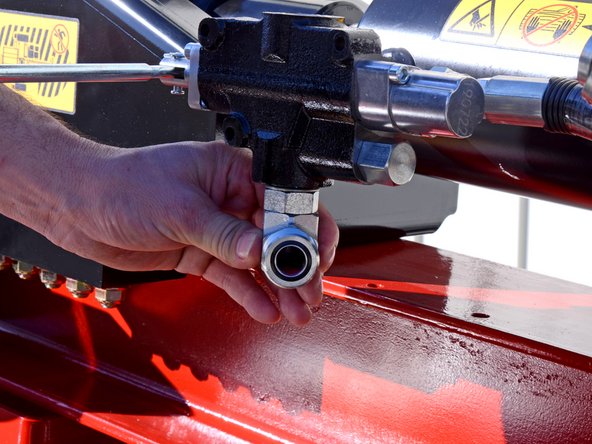
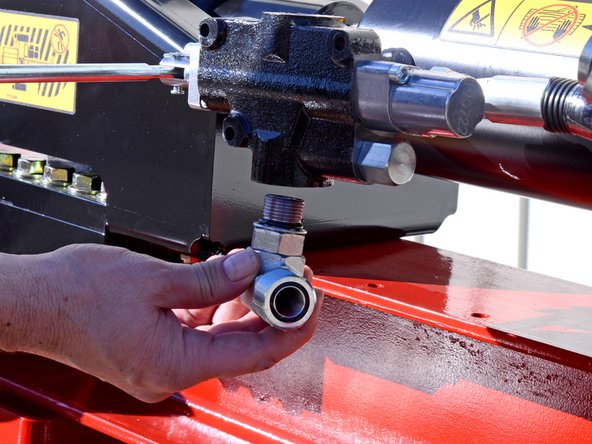
- Use an adjustable wrench to loosen the nut securing the bottom L-fitting to the control valve.
- Remove the bottom L-fitting.
- This fitting is part number 340-16.
- Use an adjustable wrench to loosen the nut securing the piston extension hose to the L-fitting on the rear of the control valve.
- Remove the piston extension hose from the rear L-fitting.
- Use an adjustable wrench to loosen the nut securing the control valve to the cylinder.
- This connection is the last part holding the control valve to the device, so keep the control valve supported during removal.
- Remove the control valve.
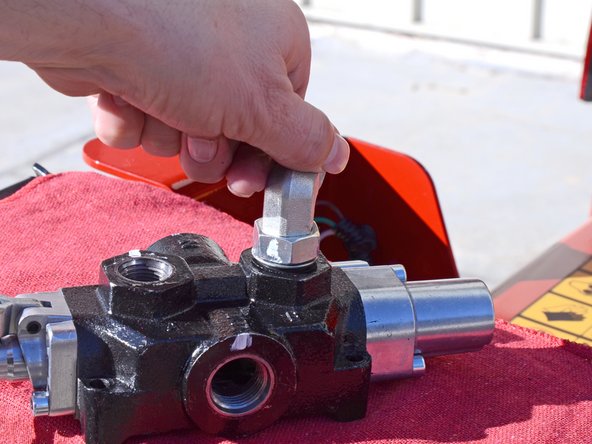
- Use an adjustable wrench to loosen the nut securing the piston contraction fitting to the control valve.
- Spin the piston contraction fitting counter-clockwise to remove it.
- This fitting is part number 100-7671.
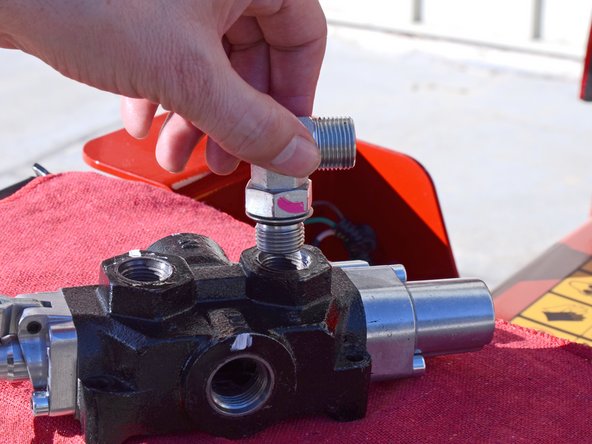
- Use an adjustable wrench to loosen the nut securing the L-fitting to the rear of the control valve.
- Spin the L-fitting counter-clockwise to remove it.
- This fitting is part number 340-98.
- Only the control valve remains.
- Use a pick tool to remove the O-ring from the output hose L-fitting, on the side that connects to the control valve.
- This O-ring is part number 237-80.
- The O-ring between the L-fitting and the hose is part number 237-58. Only replace this O-ring if it is visibly damaged.
- Use a pick tool to remove the O-ring from the input hose L-fitting, on the side that connects to the control valve.
- This O-ring is part number 237-80.
- The O-ring between the L-fitting and the hose is part number 237-58. Only replace this O-ring if it is visibly damaged.
- Use a pick tool to remove the O-ring from the cylinder contraction fitting, on the side that connects to the control valve.
- This O-ring is part number 237-79.
- The O-ring between the L-fitting and the hose is part number 237-30. Only replace this O-ring if it is visibly damaged.
- Use a pick tool to remove the O-ring from the cylinder extension hose L-fitting, on the side that connects to the control valve.
- This O-ring is part number 237-79.
- The O-ring between the L-fitting and the hose is part number 237-30. Only replace this O-ring if it is visibly damaged.