MacBook Air 13" Retina Display 2020 Display Assembly Replacement
ID: 139598
Description: For the official, updated iFixit guide, click...
Steps:
- Before starting this procedure, you must disable your Mac's Auto Boot feature. Auto Boot powers on your Mac when you open the lid, and may be accidentally triggered during disassembly. Use this guide or follow the abbreviated instructions below to disable Auto Boot.
- Completely power off and unplug your MacBook Air before you start. Close the display and flip the entire laptop upside-down.
- Use a P5 driver to remove the following screws:
- Two 7.6 mm screws (with a 2.7mm collar)
- Two 7.1 mm screws
- Six 2.3 mm screws
- Wedge your fingers between the display and the lower case and pull upward to pop the lower case off the Air.
- Remove the lower case.
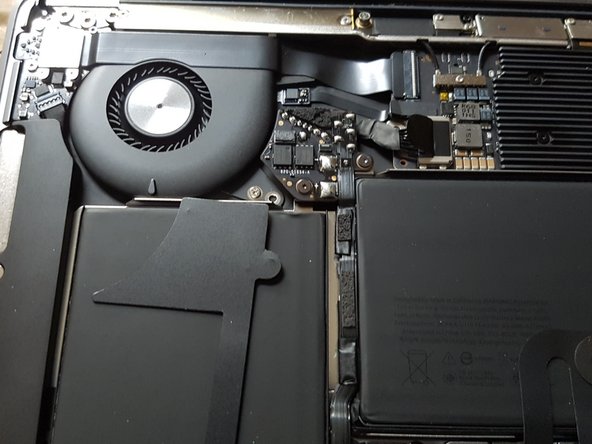
- Remove the plastic shield covering the battery PCB.
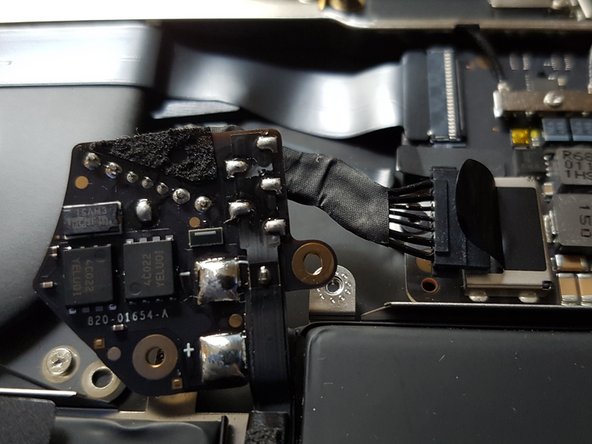
- Use a T3 torx driver to remove two 2.3mm screws from the battery PCB:
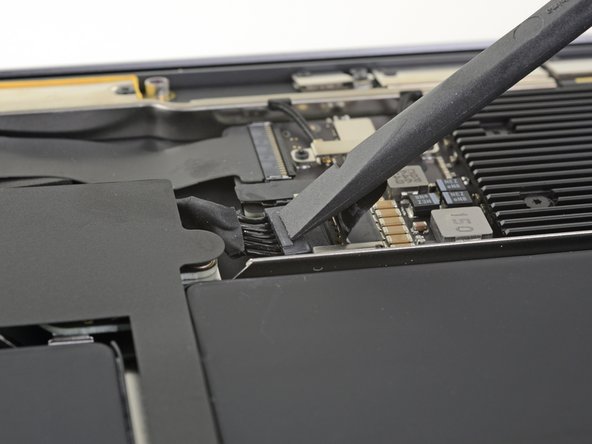
- Use a spudger to slide the battery connector parallel to the logic board and out of its socket on the logic board.
- Use a T3 Torx driver to remove the one 1.1 mm screw securing the antenna cable bracket.
- Remove the antenna cable bracket.
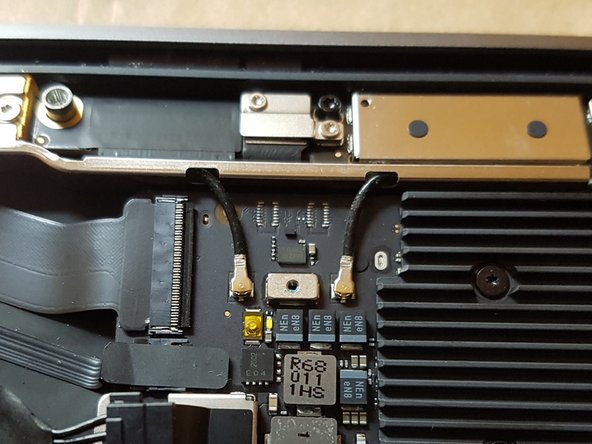
- Insert the point of a spudger under one of the antenna cables close to the connector.
- Pry straight up to disconnect the cable.
- Repeat for the other antenna cable.
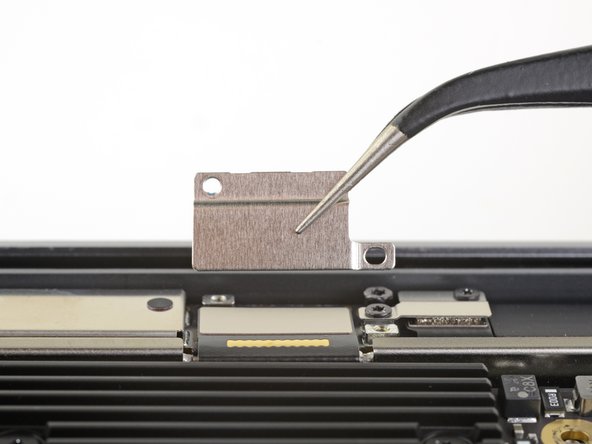
- Use a T3 Torx driver to remove the two 1.3 mm screws securing the display cable connector bracket.
- Remove the display cable connector bracket.
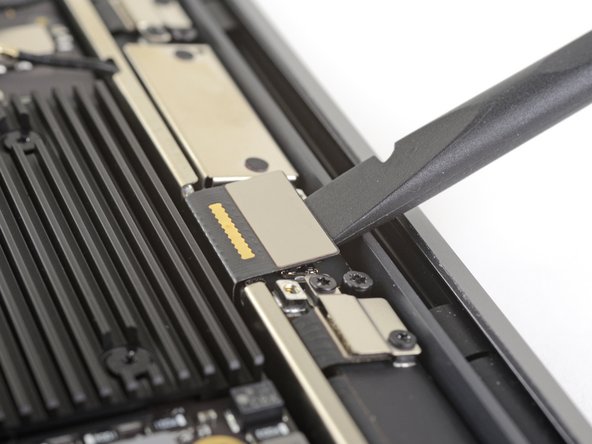
- Use the flat end of a spudger to pry up the display cable connector.
- You can skip this step if your replacement display assembly comes with these two brackets preinstalled.
- Use a T3 Torx driver to remove the two 1.1 mm screws securing the flex cable brackets.
- Remove the two brackets.
- Use a T5 Torx driver to remove the following screws:
- Four 7.1 mm screws
- Two 4.2 mm (Black) screws
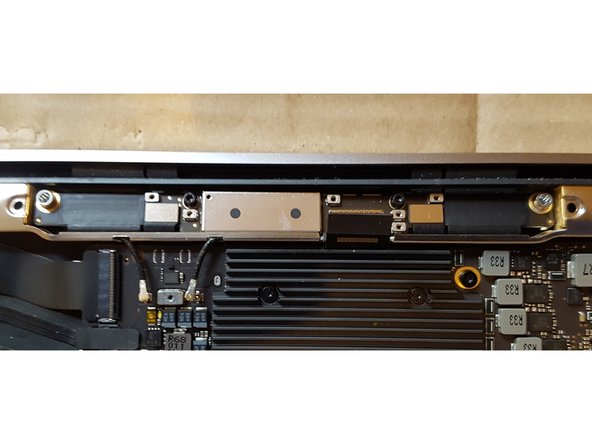
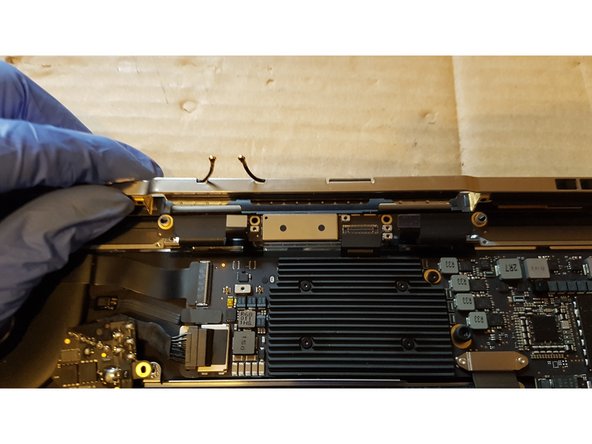
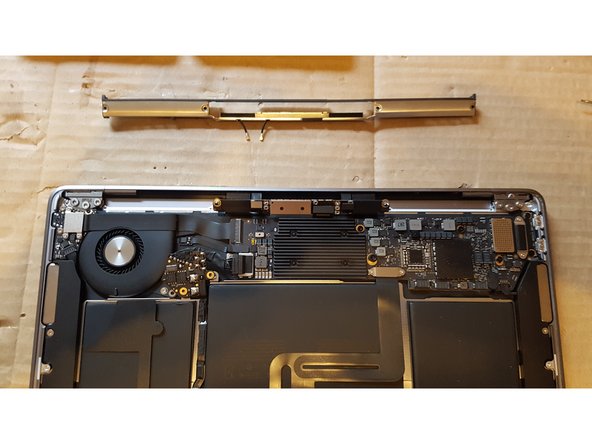
- Lift the antenna bar straight up and out of the case. Take care not to snag the antenna bar on any cables or connectors.
- You may encounter resistance from the clips in the middle of the antenna bar holding it in the case. You may pull hard without damaging anything as long as you pull straight up, perpendicular to the case.
- Remove the antenna bar.
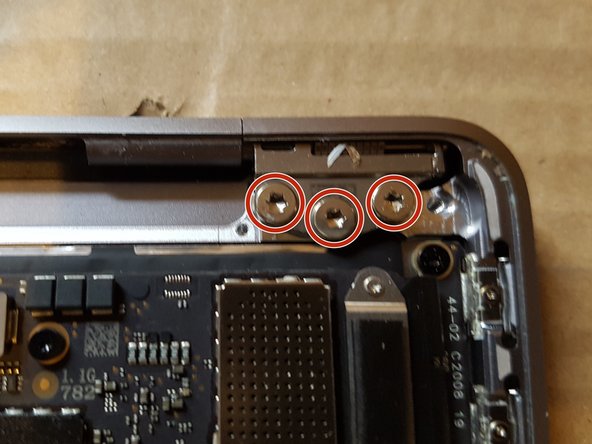
- Use a T9 Torx driver to remove the six 4.7 mm screws securing the display hinges to the upper case.
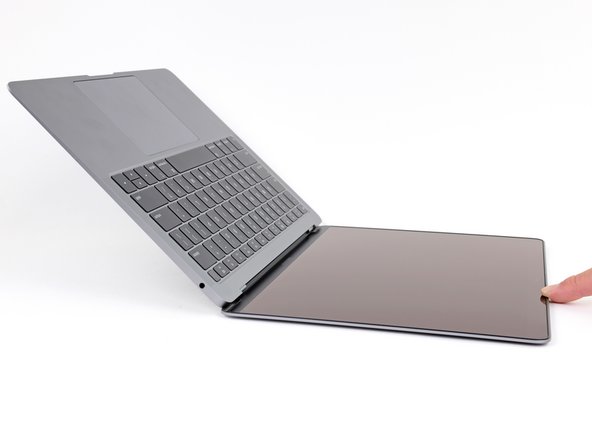
- With the MacBook still screen-side down, carefully lift the upper case to open the MacBook as far as possible.
- Carefully rotate the upper case to a 90 degree angle with the display.
- The hinges should not move in relation to the display, and should rotate out of the case slightly.
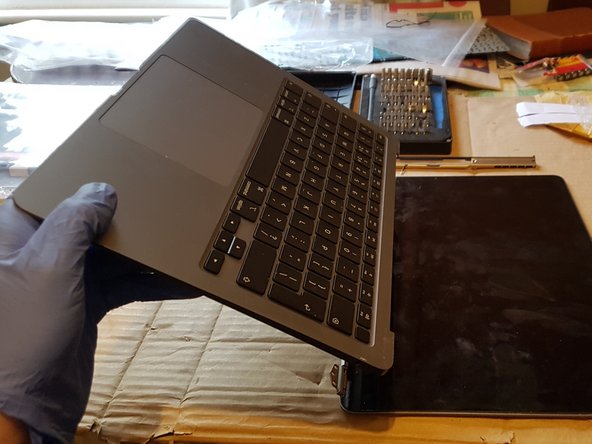
- Keeping the display flat, tilt the upper approx 5-10 degrees to the left. Move the upper case to the right, the hinges should easily slide out of the upper case.
- Display should now be separate from the upper case.