DeLonghi Coffee Maker grindstones replacement
ID: 139753
Description: These instructions show how to replace the...
Steps:
- If the bean hopper is still attached, it must be removed.
- Use a pointed tool to remove the cap on the adjustment dial.
- There is a Phillips screw underneath. Unscrew it.
- Note the position and pull the dial upwards.
- Pull the bean container upwards.
- On some models, there are two more Phillips screws in the bean hopper.
- Mark the settings of the wheels with a pencil.
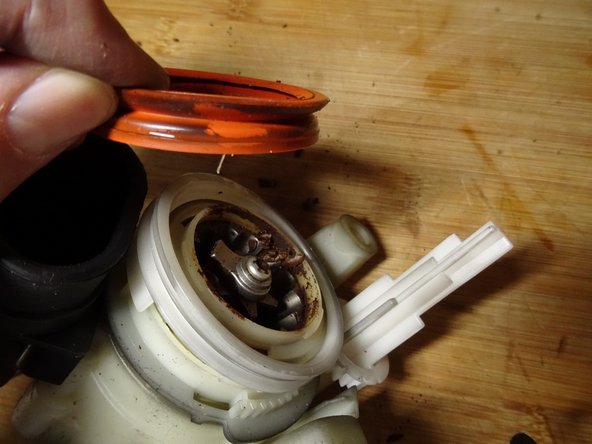
- Use a spatula to loosen the two detents on the sides.
- Pull off the red silicone seal.
- Lift off the white plastic ring.
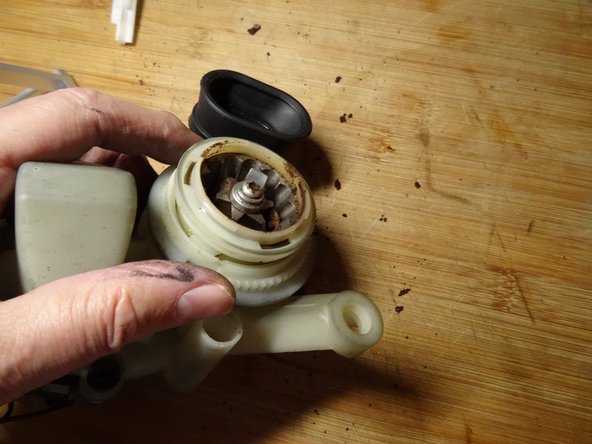
- Turn the white ring with the ring gear counterclockwise as far as it will go.
- The grinding ring is free and you can lift it out upwards.
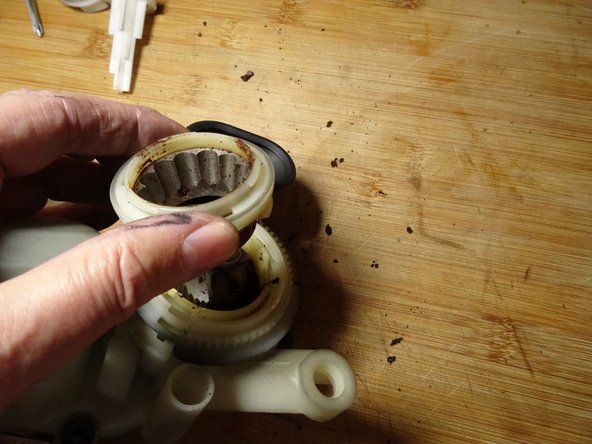
- The grinding ring can be completely removed from the plastic holder. To do this, lift the three detents to the side and push the ring out.
- The ring has three flattened sides. Unfortunately, such a ring is not commercially available anywhere. If it is still good, you may be able to use it in another mill.
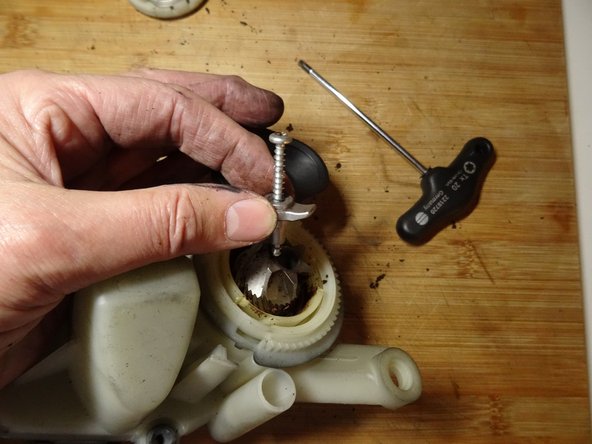
- The grinding cone is fastened with a Torx T20 screw with left-hand thread.
- Unscrew the screw clockwise, i.e. the wrong way round.
- When assembling, make sure that the screw with its fastening part fits exactly into the intended groove.
- Carefully lift the grinding cone upwards.
- This grinding cone is the same as on the Jura and can now be replaced.
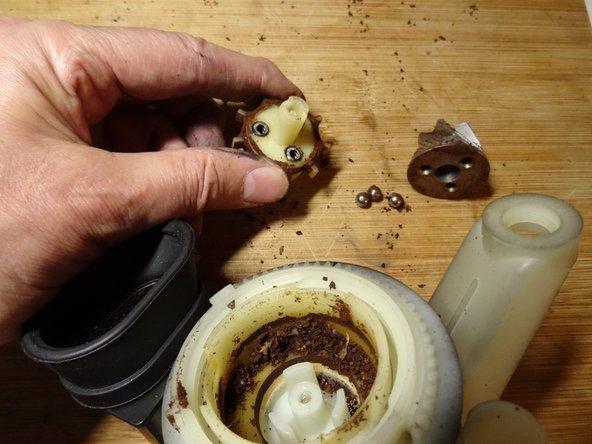
- There are three metal balls on springs under the grinding cone. They are stuck in three sleeves in the plastic driver. Make sure that none of these parts get lost.
- Lift the driver up and out.
- Now you can clean all parts thoroughly.
- When reassembling, make sure that the metal balls fit into the corresponding recesses in the cone.