Sony SEL55210 Camera Lens Disassembly
ID: 139921
Description: Identification: This lens can be identified by...
Steps:
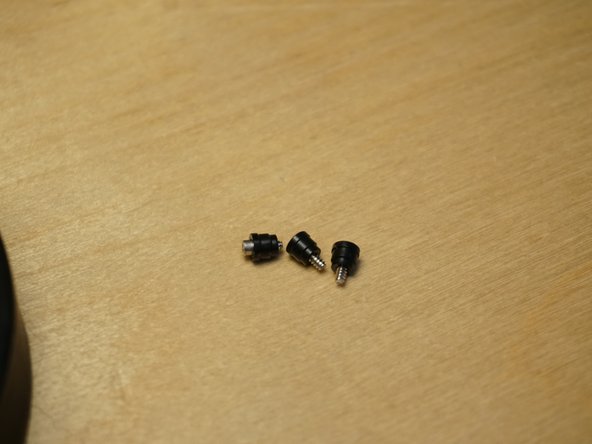
- Remove the four screws holding the lens mount on.
- Gently disconnect cable from ZIP connector.
- iFixit connector guide.
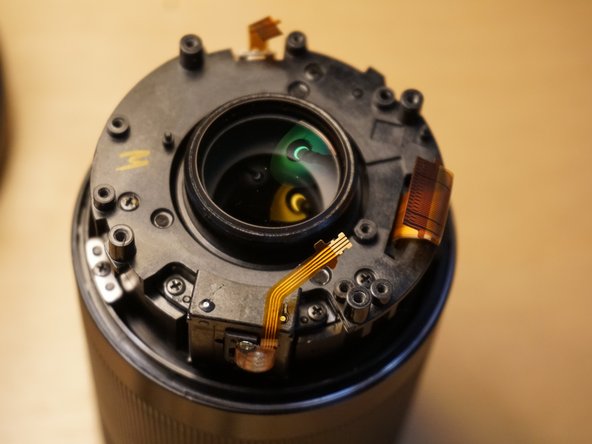
- Remove E-mount bezel.
- Avoid stressing flat cables.
- Sensitive electronics - avoid static discharge.
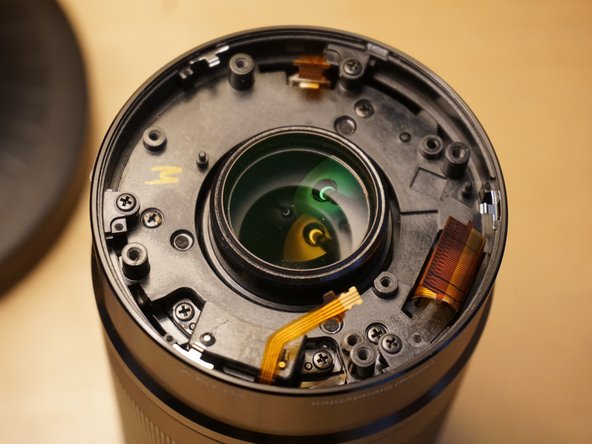
- Gently disconnect three cables from ZIP connector.
- The two wider connectors open from the cable side, the thinner connector opens from the back side.
- iFixit connector guide.
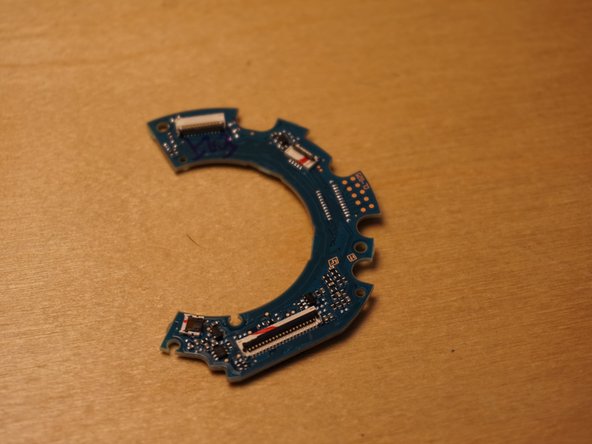
- Remove three screws
- Remove printed circuit board.
- Sensitive electronics - avoid static discharge.
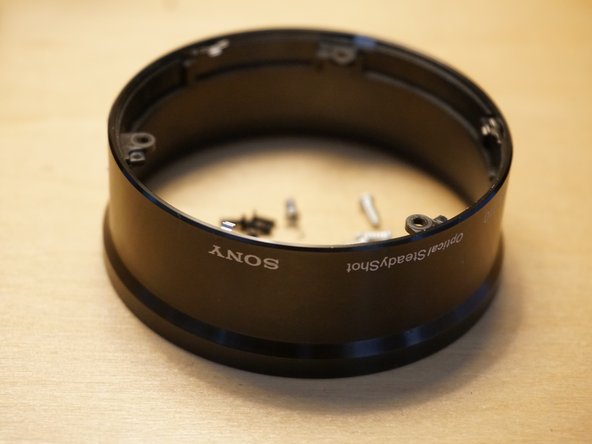
- Remove three screws from outer bezel ears.
- Gently remove bezel.
- Be mindful of cables when removing bezel.
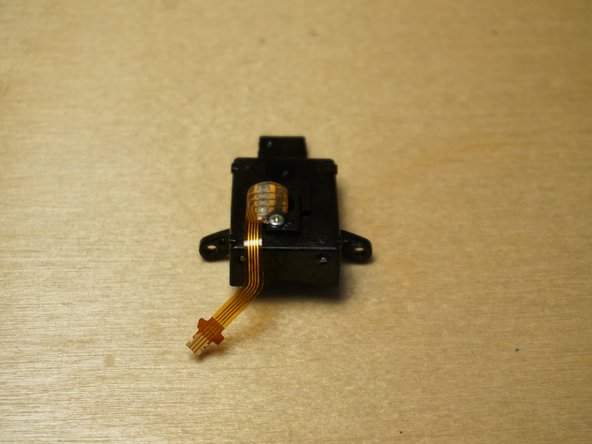
- Remove two screws from lens park sensor.
- Remove lens park sensor.
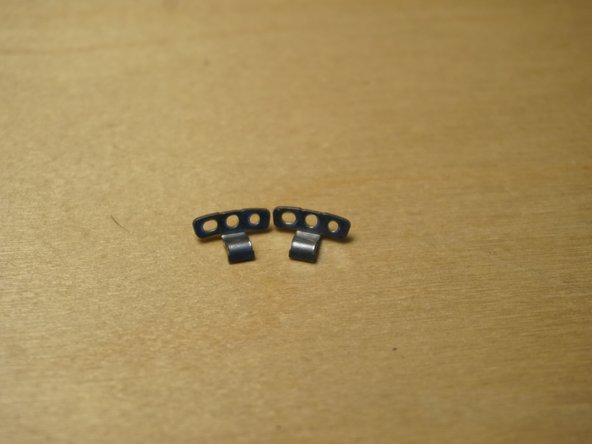
- Remove two screws from two lens brackets.
- Remove brackets.
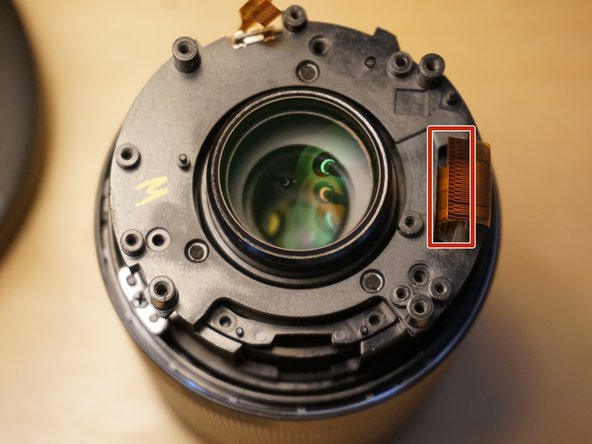
- Loosen (or remove) two telescope sensor screws.
- Do not remove this sensor - it is connected via a flat cable to the focus ring.
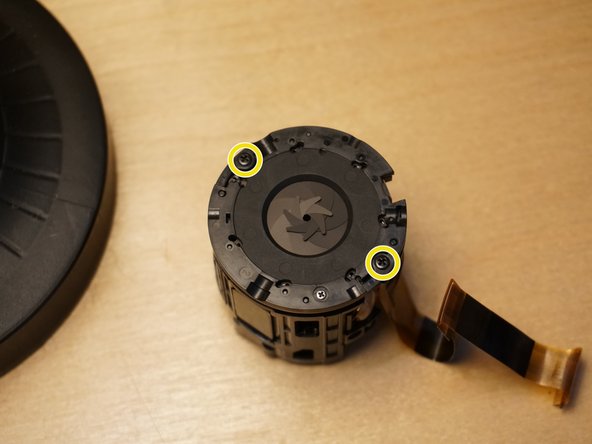
- Remove three screws.
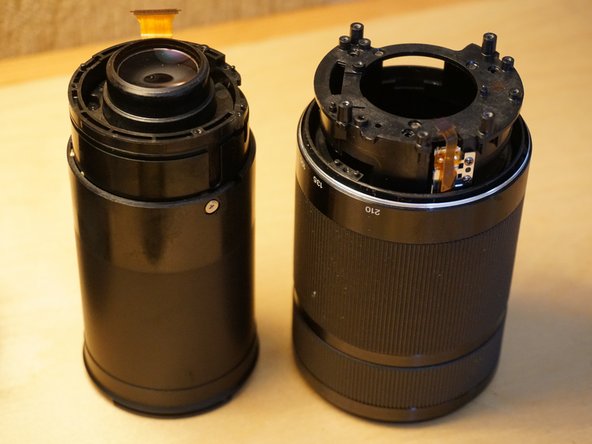
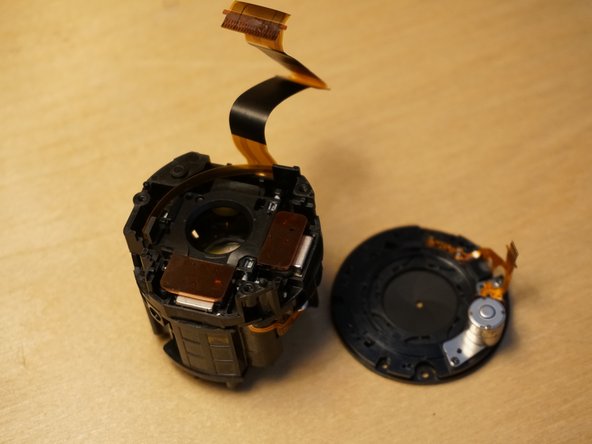
- Pull lens out of external encasement.
- Maneuver the telescope sensor so that it unmates from the slot in the internal lens body
- Carefully feed the OSS/AF motor wire through the slot.
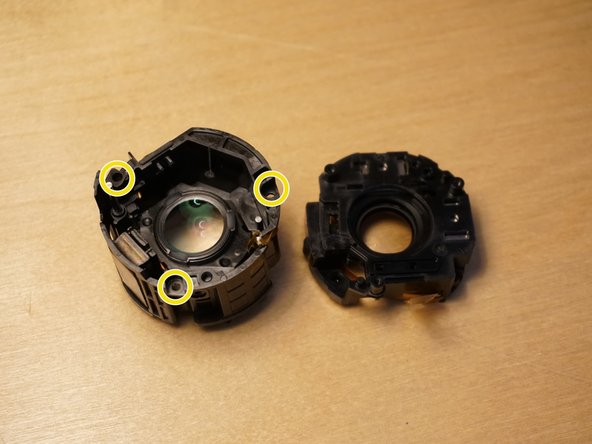
- Remove three screws
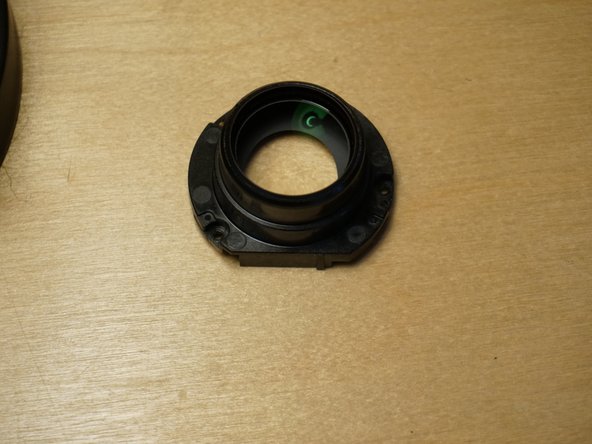
- Remove the lens element.
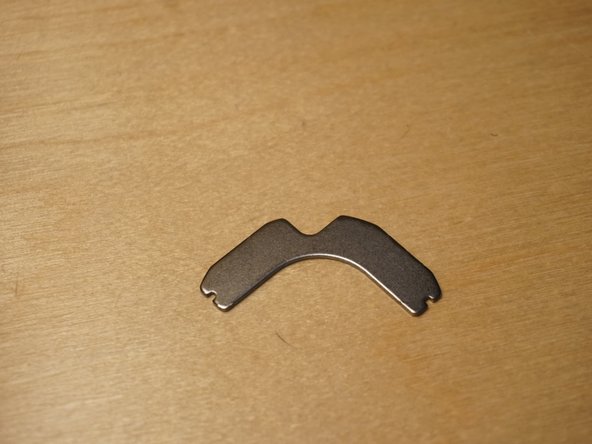
- Gently pry up magnetic OSS retaining bracket.
- Remove three screws from the aperture end of the telescoping mechanism.
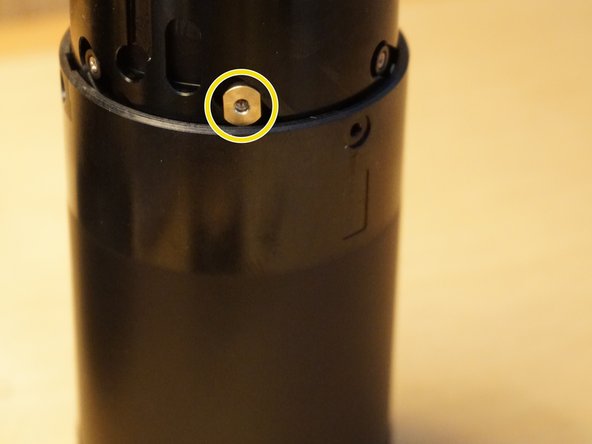
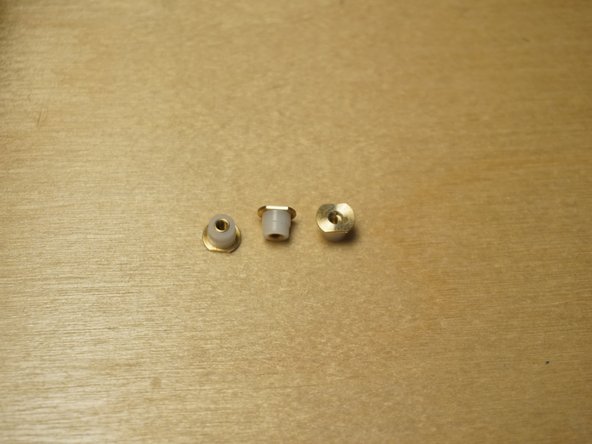
- Lift lens to reveal and remove three brass/nylon nuts.
- Remove outer optical lens sleeve.
- Remove three screws from the slide guides on the aperture end of the lens.
- Remove three black nylon slide washers from the lens encasement.
- Remove the OSS/AF mechanism.
- Gently pull the cable up and out from the lens encasement groove.
- Remove Kapton tape from aperture motor connector.
- Save tape for reassembly
- Disconnect aperture connector.
- Remove two screws from aperture ring.
- Remove aperture mechanism.
- Disconnect three cables.
- Remove three screws
- Gently separate the OSS mechanism.