Nintendo Switch Motherboard Replacement
ID: 139955
Description: Follow this guide to replace the motherboard in...
Steps:
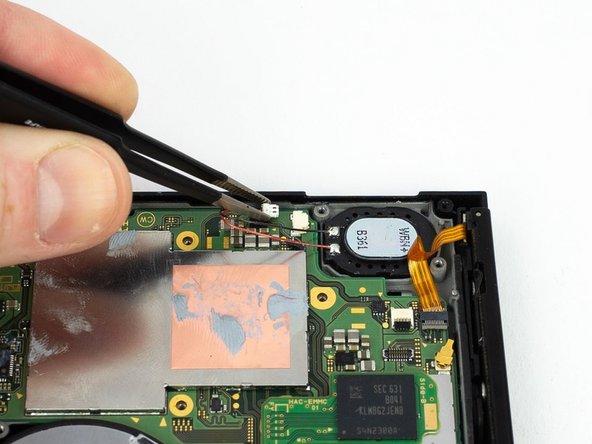
- Disconnect the right loudspeaker from the motherboard.
- Disconnect the left speaker from the motherboard.
- Use a spudger to flip up the small beige locking flap on the display ZIF connector.
- Use the pointed end of a spudger to slide the display ribbon cable out of the ZIF connector.
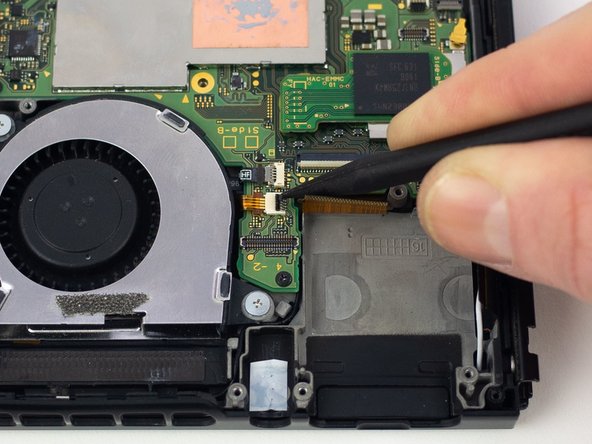
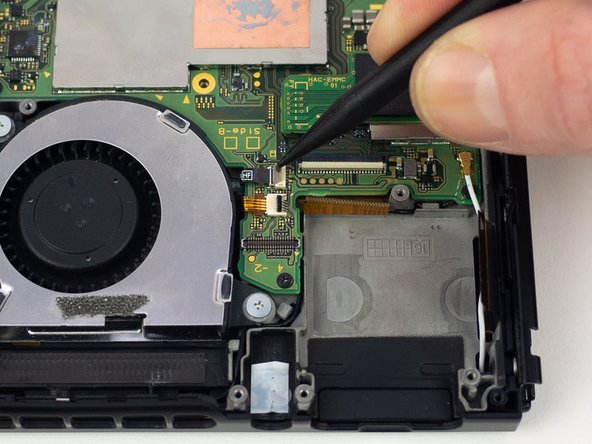
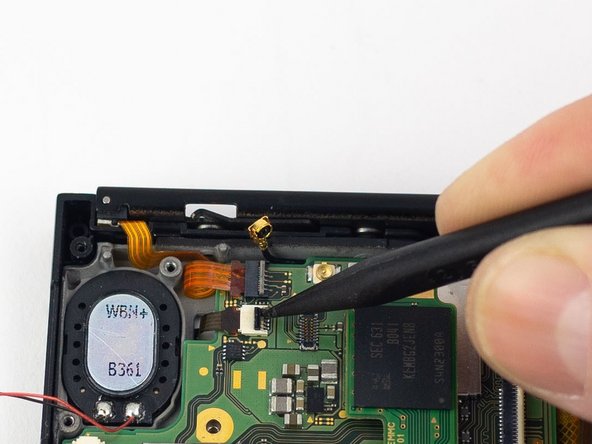
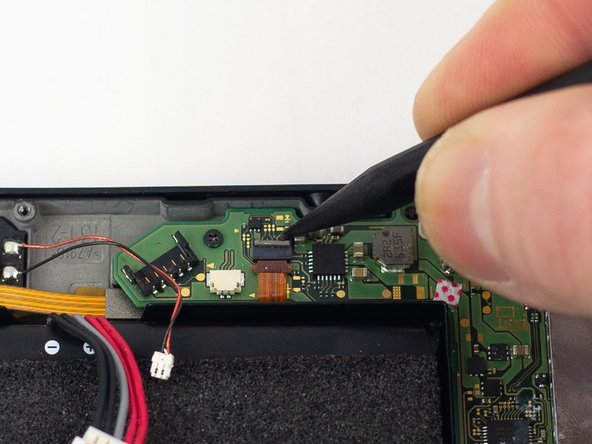
- Use a spudger to flip up the small black locking flap on the power/volume button ZIF connector.
- Use a spudger to flip up the small gray locking flap on the fan ZIF connector.
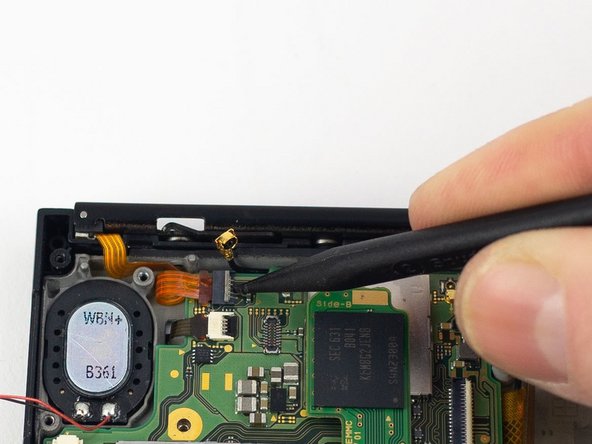
- Use the flat end of a spudger to disconnect the white coaxial antenna cable from the motherboard.
- Use the flat end of a spudger to disconnect the black coaxial antenna cable from the motherboard.
- Use a spudger to flip up the small gray locking flap on the right Joy-Con rail ZIF connector.
- Use a spudger to flip up the small black locking flap on the ZIF connector.
- Use a spudger to flip up the small gray locking flap on the left Joy-Con rail ZIF connector.
- Remove the four 2.50 mm JIS #000 screws from the motherboard.
- Remove the two 3.14 mm JIS #000 screws from the USB-C port.
- Gently lift and wiggle the motherboard to remove.

