2009 - 2014 Acura TSX Spark Plugs Replacement
ID: 140044
Description: Most people do not think twice about their...
Steps:
- Pull the hood latch under the dashboard on the driver's side, to the left of your gas and brake pedal to open the hood of your Acura.
- If your Acura has a hood prop rod, place it in the correct location. Most Acura's have hood lifts to help keep the hood in the up position.
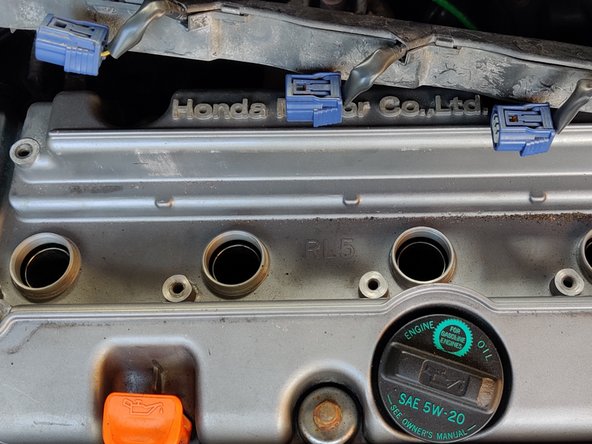
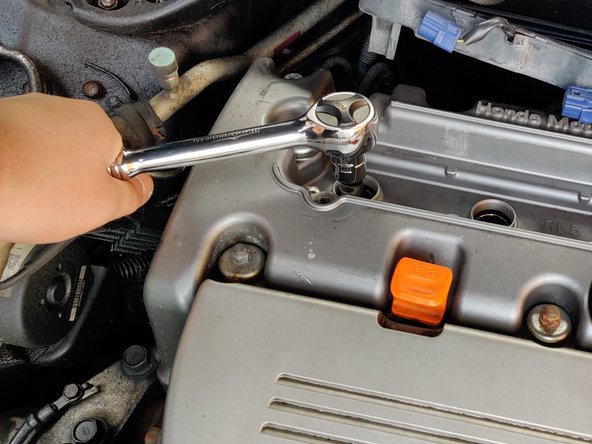
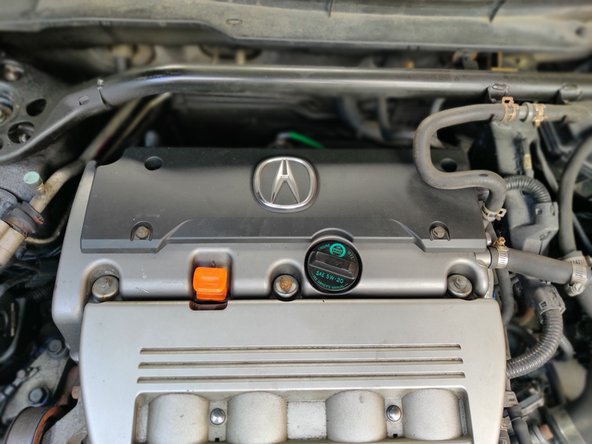
- Using the 10mm socket, remove the four bolts from the cover where spark plugs are located.
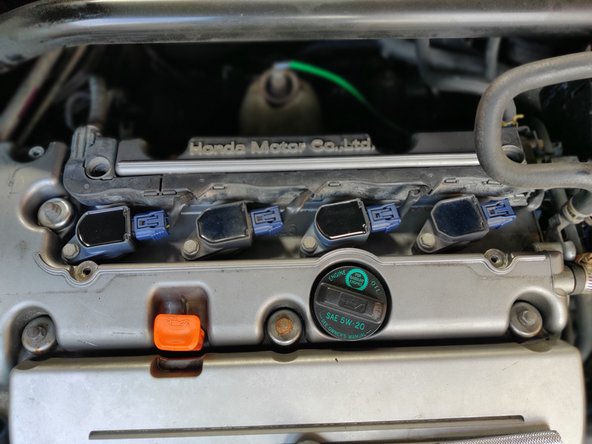
- Remove the cover and place it in a safe place for reassembly.
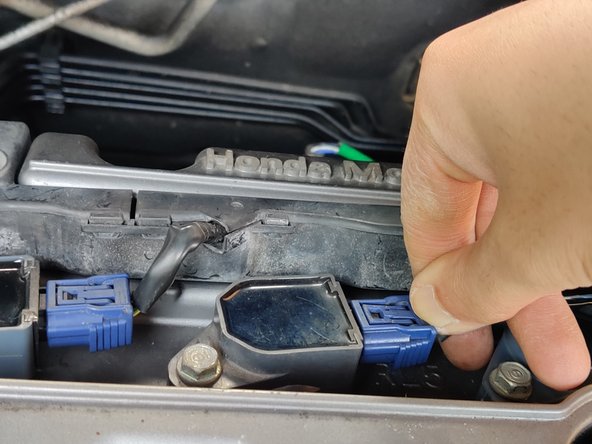
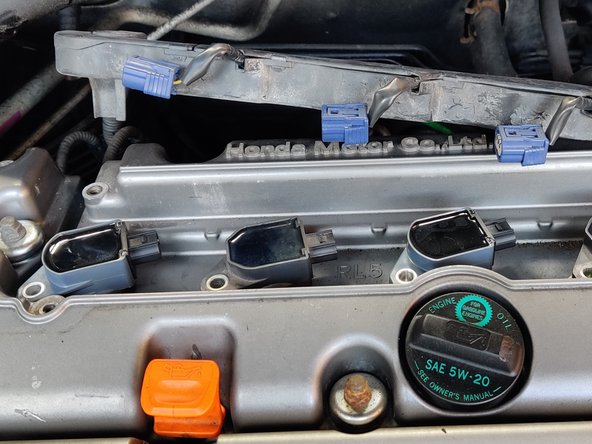
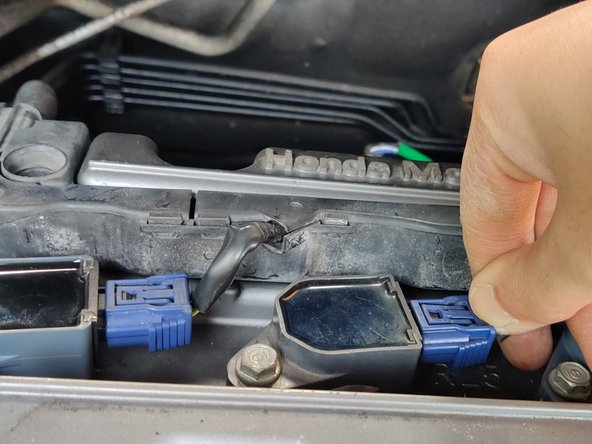
- Use your thumb to push down the latch with your thumb and pull the connector
- Don't pull the connector without pressing the latch.
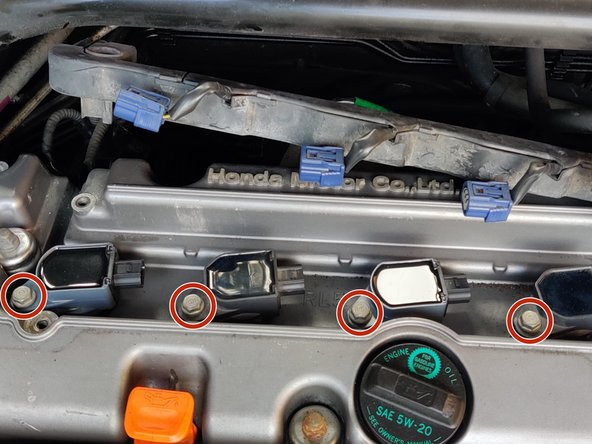
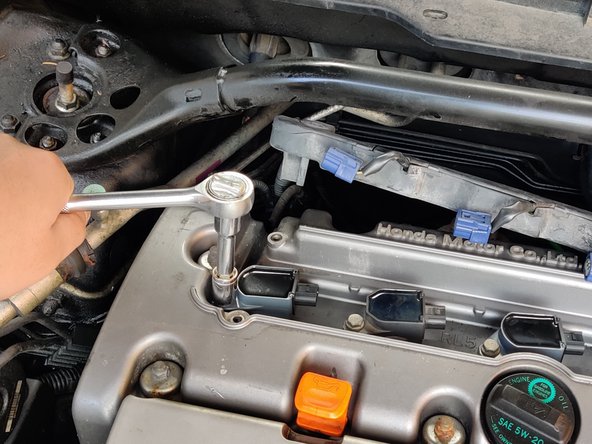
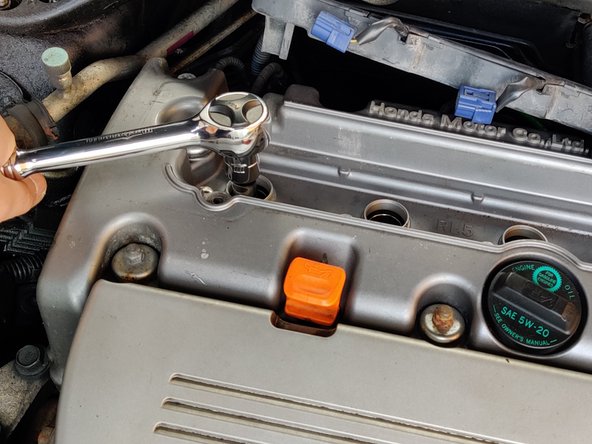
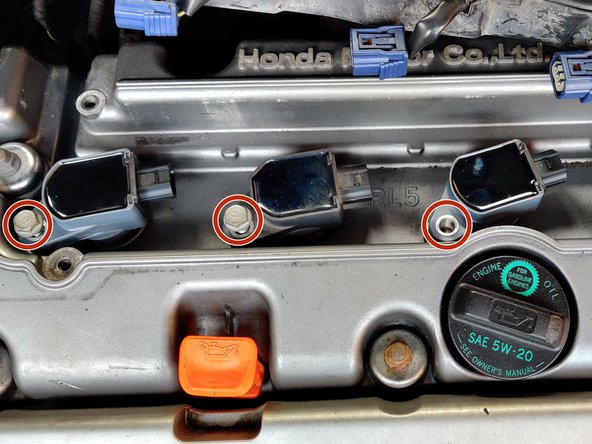
- Use a 10 mm socket to remove the bolts that are securing the coils.
- Pull the ignition coils out.
- Place Ignition Coils in order the way you have pulled them out.
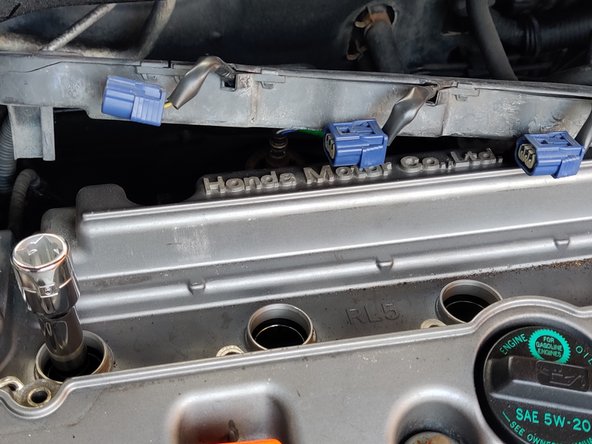
- Use the ratchet extension and 5/8" socket to reach the spark plug and loosen it.
- Rotate it counter-clockwise.
- Pull the extension up and the spark plug should come up attached to the socket.
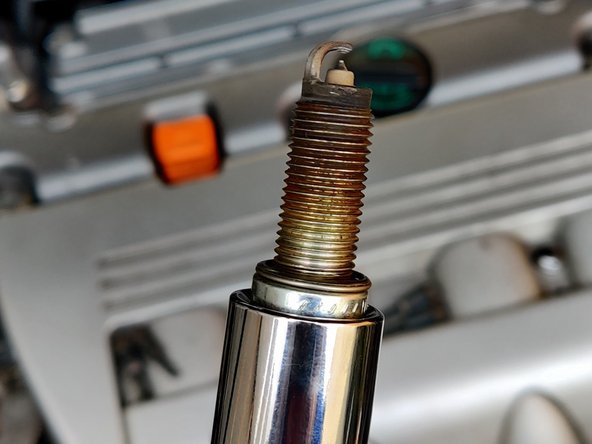
- Check the old spark plug gap using the spark plug gap gauge.
- Inspect the old spark plug for blackening or other damage.
- The new spark plugs should come pre-gapped and have a cardboard cylindrical sleeve protecting the electrode/air gap.
- Insert the new spark plug in the 5/8" spark plug socket and screw it in by hand first.
- Rotate it clockwise.
- Tighten with only the extension and hand. Then attach the ratchet after to gently tighten it.
- Do not screw the spark plugs in too tight.
- Insert the coil packs into the chamber.
- Press down on them firmly so that they sit nicely on the top of the plug.
- Use the 10 mm deep socket with a wrench and put the 10 mm bolts back in to hold the coils in place and tighten them.
- Reattach the wire connectors.
- Press the connectors in, and they will click into place.
- Put the engine cover back on.
- Insert 4 x 10mm bolts into their place and tighten them with a 10 mm hex driver or socket.