How to Replace Missing Reeds in a Hohner 280C Chromonica 64
ID: 140072
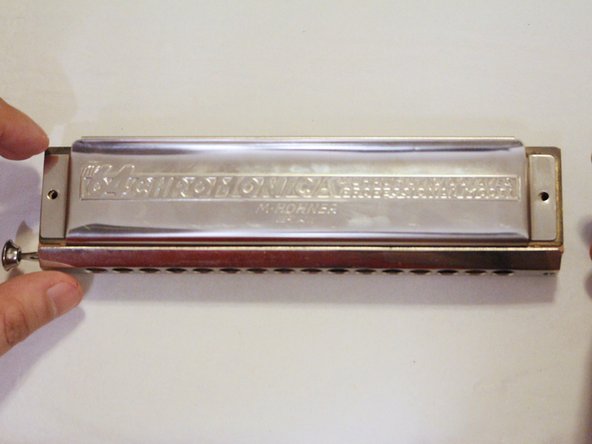
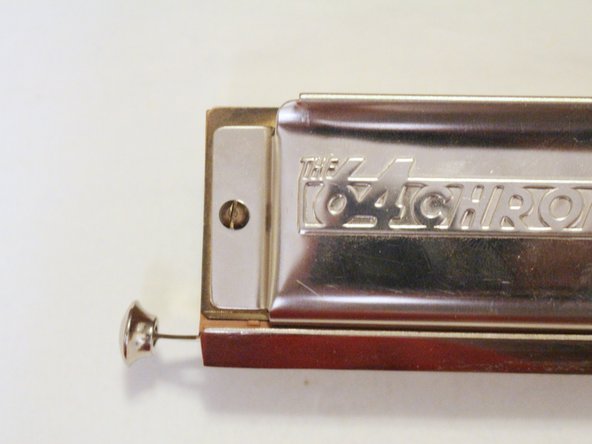
Description: The Hohner 280C Chromonica 64 Chromatic...
Steps:
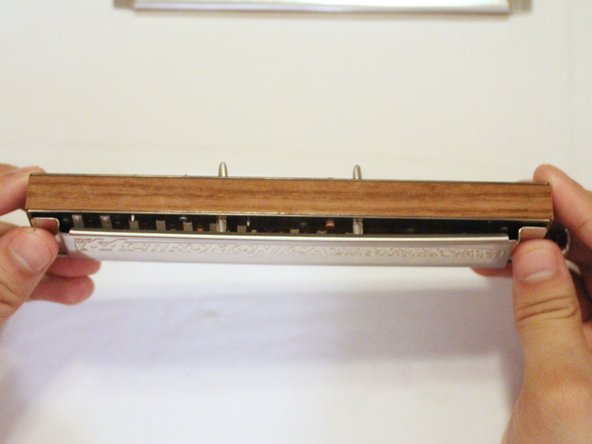
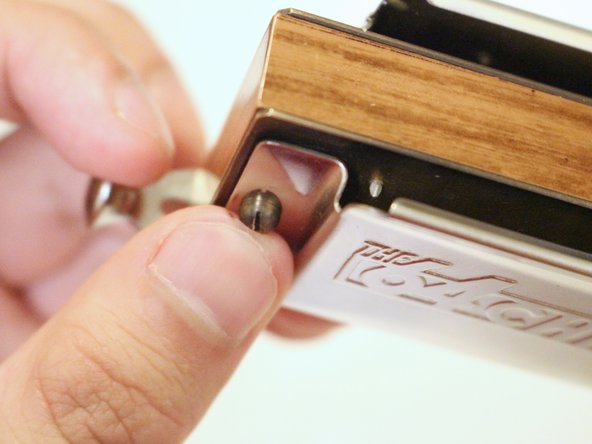
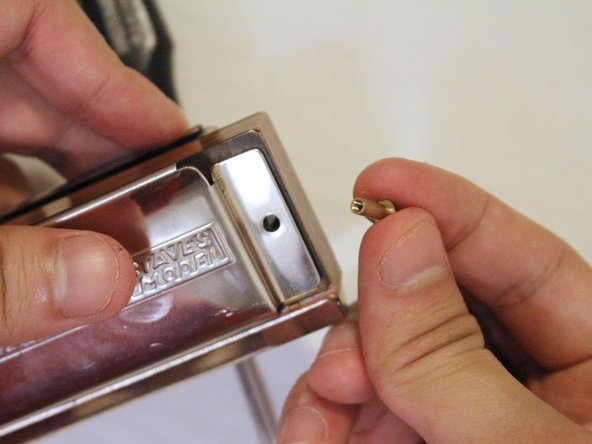
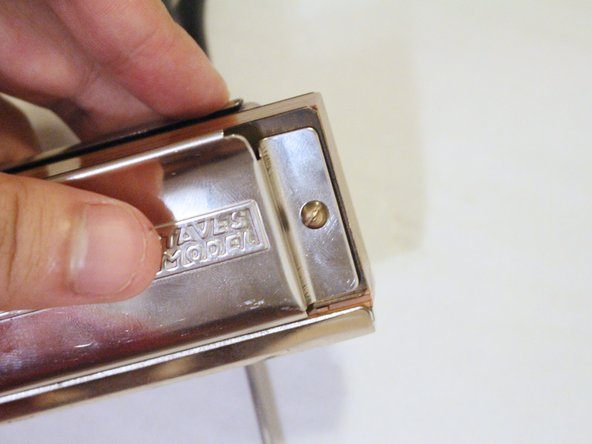
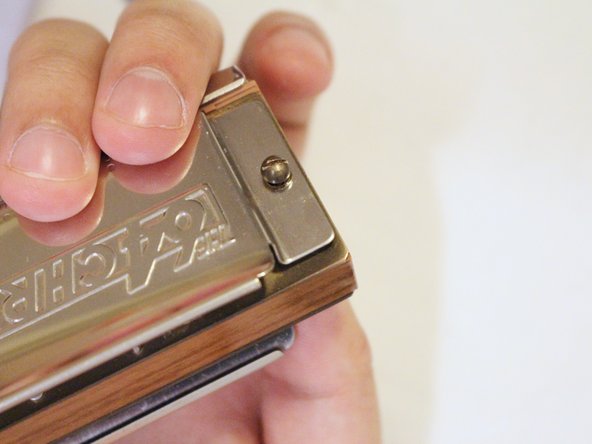
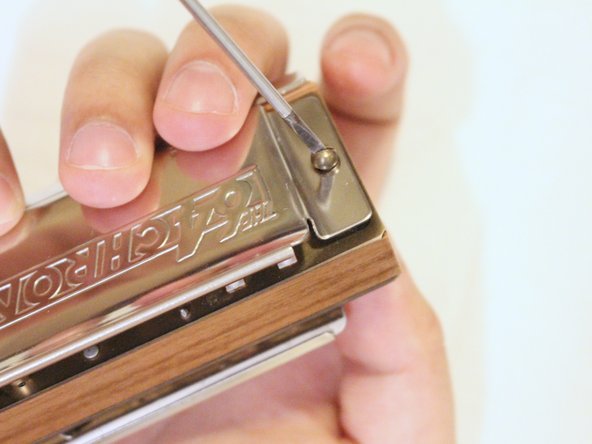
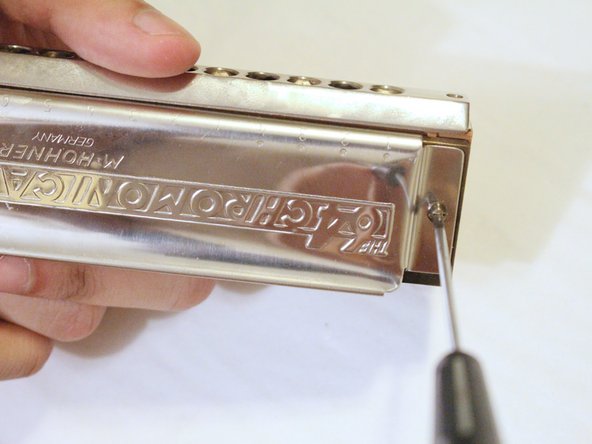
- Using a flat-head screwdriver, remove the four 2.4 mm round head screws on left and right of the harmonica plates.
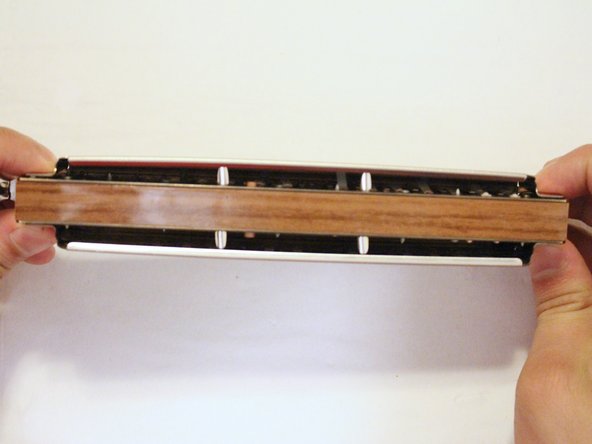
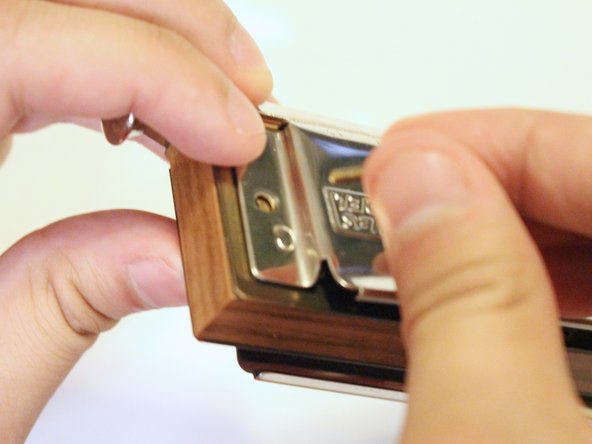
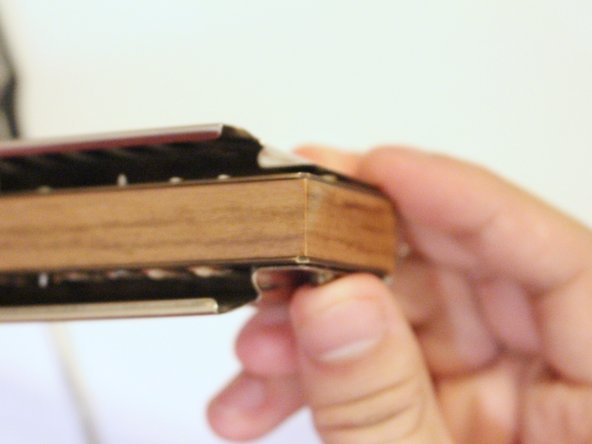
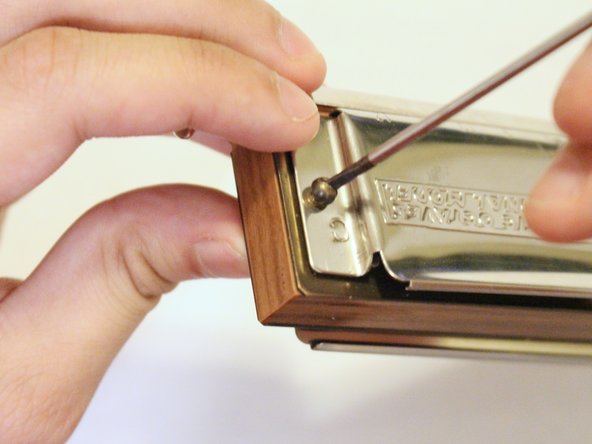
- Move the harmonica plates to the side until needed for reassembly.
- The screws are connected, and unscrewing one side will cause the directly connecting side to unscrew as well.
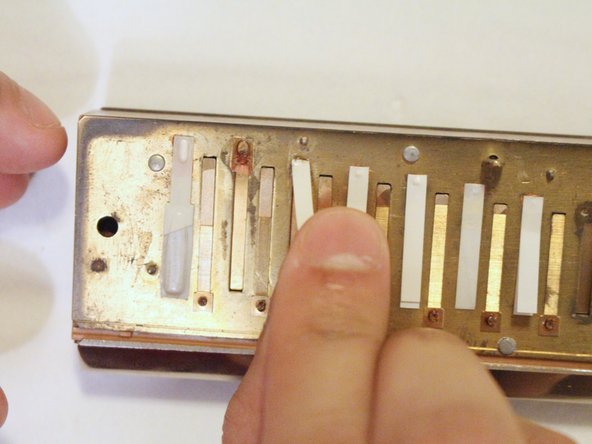
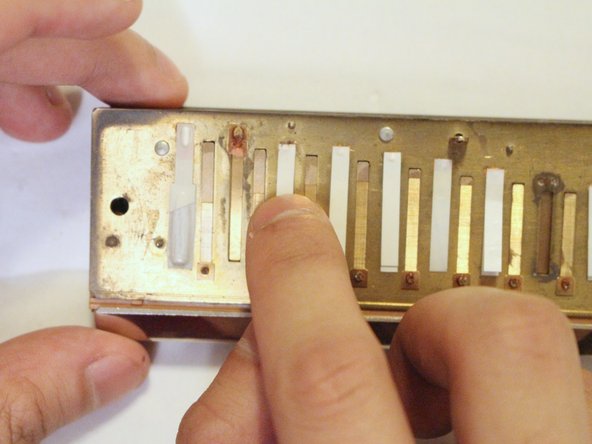
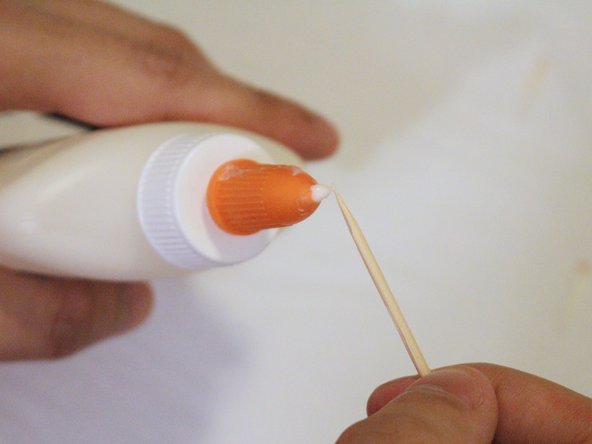
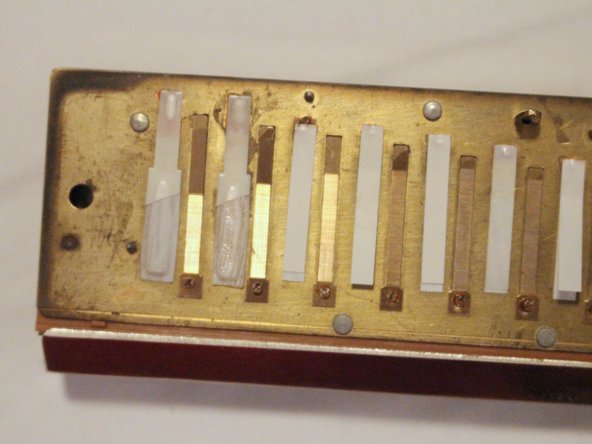
- Place a very small amount of glue on the end of a toothpick.
- Using the toothpick, spread the glue gently on the top of the reed without the split end, with the longer piece facing up.
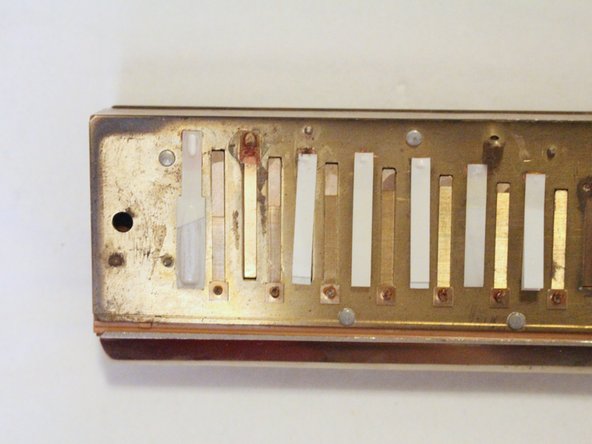
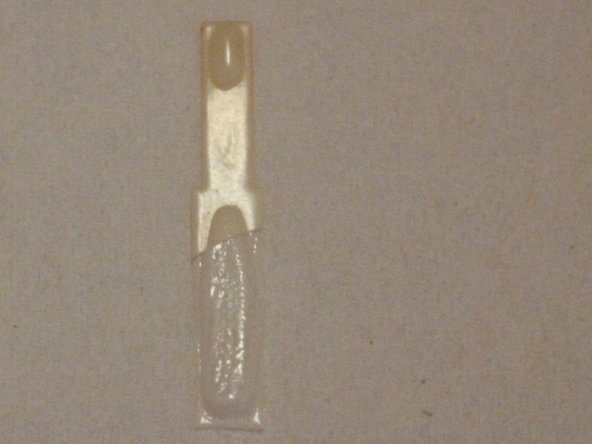
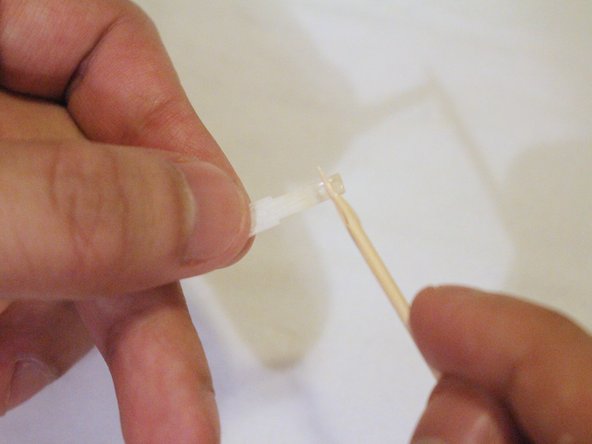
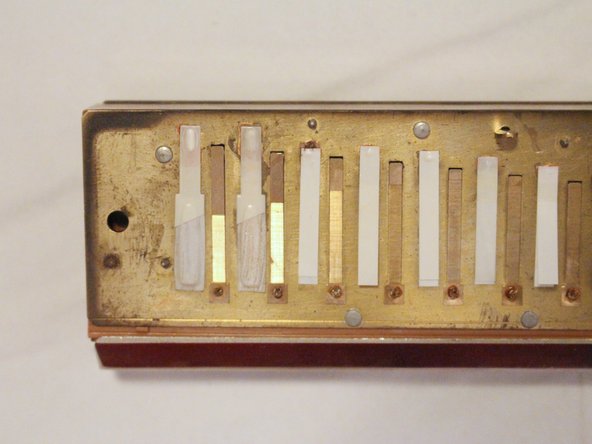
- The split end reed is 2 pieces of plastic glued together, with one slightly longer. They belong to the middle of the reed plate, from hole 3 to 12.
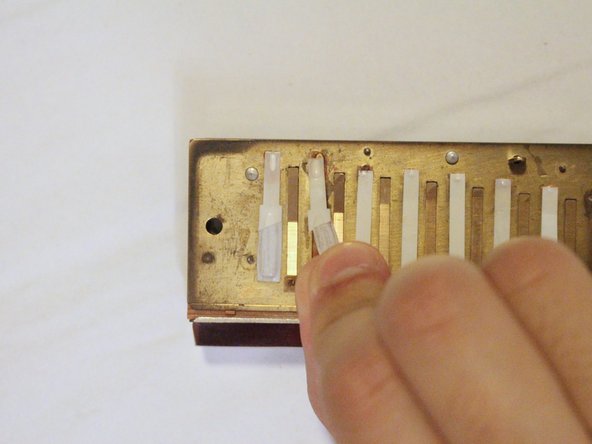
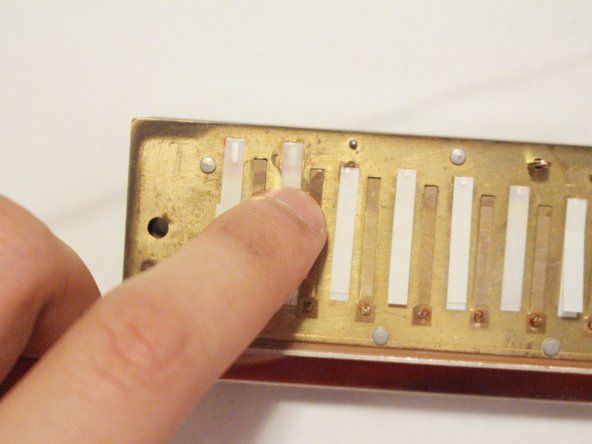
- Place the glued reed on the harmonica’s reed plate where the reed is missing.
- Gently press down on the reed to adhere the glue.
- Place a very small amount of glue on the end of a toothpick.
- Using the toothpick, spread the glue gently on the top of the bump reed without the bump, with the bump laying down.
- The bump reed is a reed with a large bump. They belong to the left of the reed plate, from hole 1-2.
- Place the glued reed on the harmonica’s reed plate where the reed is missing.
- Gently press down on the reed to adhere the glue.
- Let the glue set and dry for 10-20 minutes.
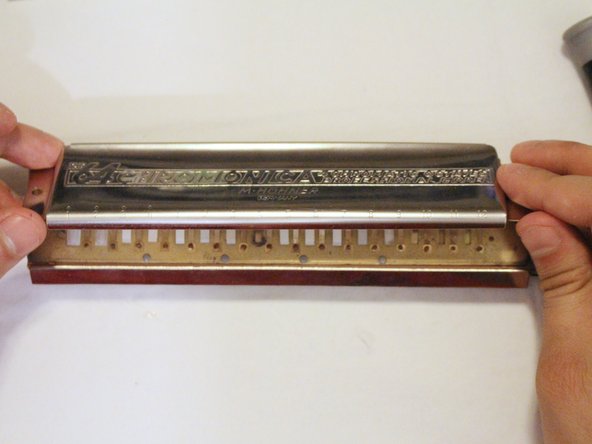
- To reassemble the side plates, align the top plate (the one with numbers) with the harmonica comb, with its open end facing down and the harmonica button on the right next to the 12.
- Align the bottom plate with the harmonica comb, with its open end facing down.
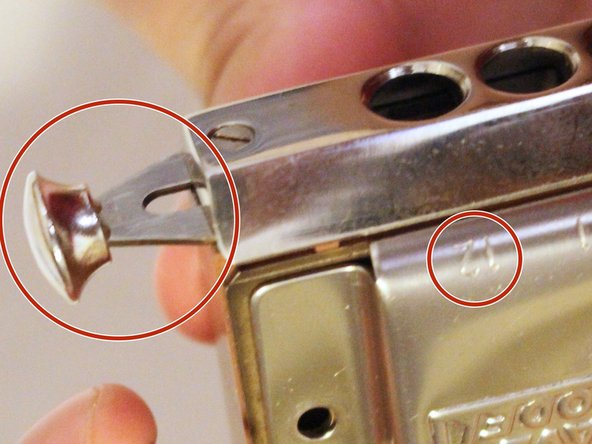
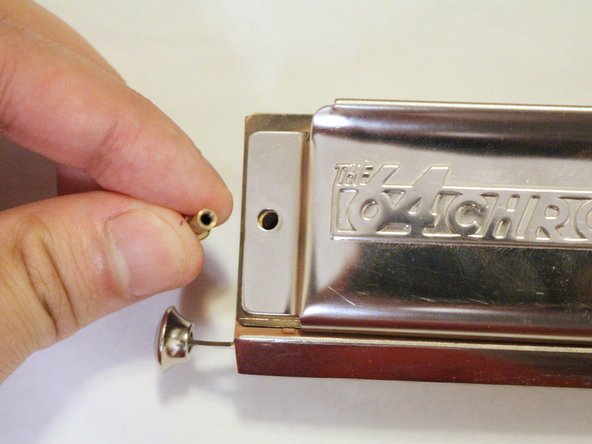
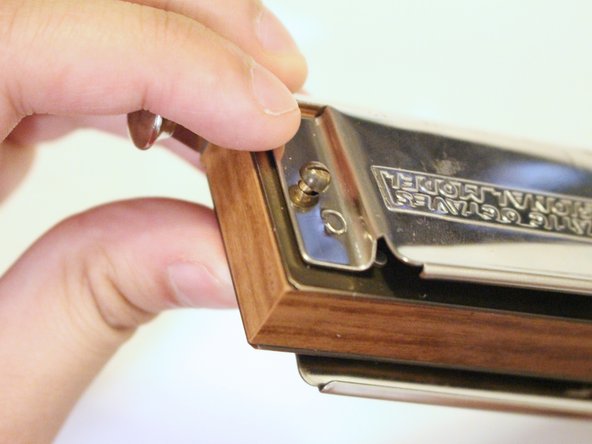
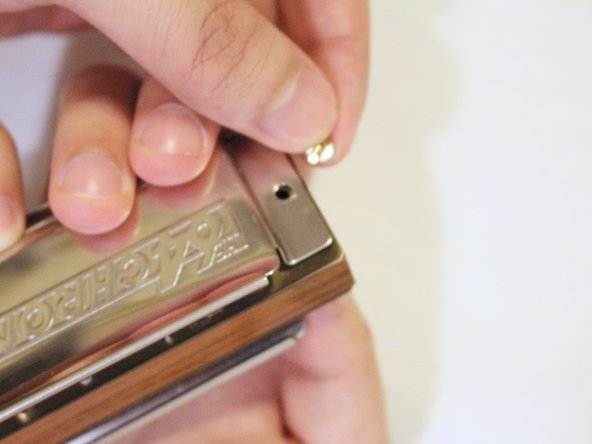
- Slot one of the hollow round head screws into the aligned holes.
- Keep the hollow round head screw in place by pressing down on the screw with your finger, resting the harmonica on a table, etc.
- Using the screwdriver, screw one of the round head screws into the opposite hollow round head screw. Leave enough slack that the plate does not rise.
- Slot the other hollow round screw into the aligned holes on the opposite end.
- Keep the hollow round head screw in place by pressing down on the screw with your finger, resting the harmonica on a table, etc.
- Using the screwdriver, screw one of the round head screws into the opposite hollow round head screw.
- Using the flathead screwdriver, tighten the round head screws into the harmonica.