Replacing a Nintendo GameCube Controller Stickbox
ID: 140128
Description: This guide will show you how to replace the...
Steps:
- Using the Tri-Wing, remove the six 9.2mm Tri-wing Y0 screws at the back of the controller
- Remove the backplate with the motherboard and take out the motherboard.
- Removing it this way will make it easier to reassemble later on.
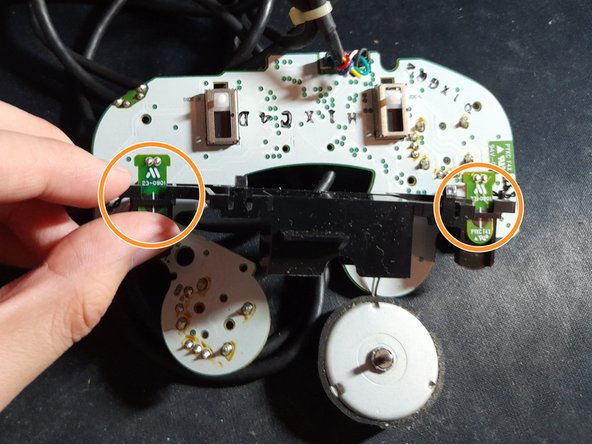
- Unhook the two trigger wires on the black plastic piece.
- Unhook the rumble motor wire.
- Be careful with the motor wires, they are fragile.
- Turn the motherboard around and push the two black pins down to unlock the plastic piece.
- Take out the rumble motor from the black piece.
- Be careful with the rumble wires, they are fragile.
- Slide the two triggers forward and the black piece is now removable.
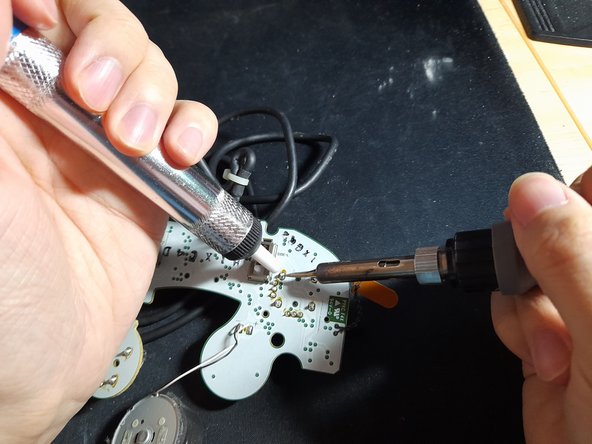
- Set your soldering iron to around 420c.
- Using your soldering iron and desoldering pump, remove the 10 pins and take out the stick box.
- There might be some solder left making it hard to pull out. Use of a flat hard object to help push the pins out might be necessary.
- Line up and insert the new stick box.
- Resolder the 10 pins.
- Make sure there is no connection between the pins