Barreto Tillers E1320HTRLR 2016 Outboard Internal Bearings Replacement
ID: 140138
Description: This guide shows how to remove and replace the...
Steps:
- Before you begin, ensure that the engine is powered down and cool to the touch.
- Grab the plastic housing at the end of the spark plug wire and pull firmly to disconnect it.
- Flip the red engine ON/OFF switch to the OFF position.
- Flip the fuel valve lever to the OFF position.
- Flip the ignition switch to the OFF position.
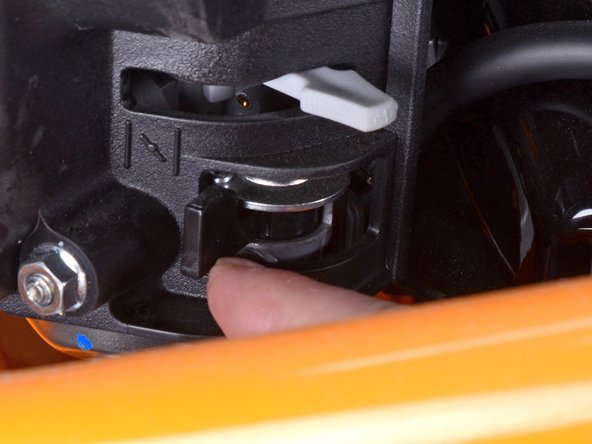
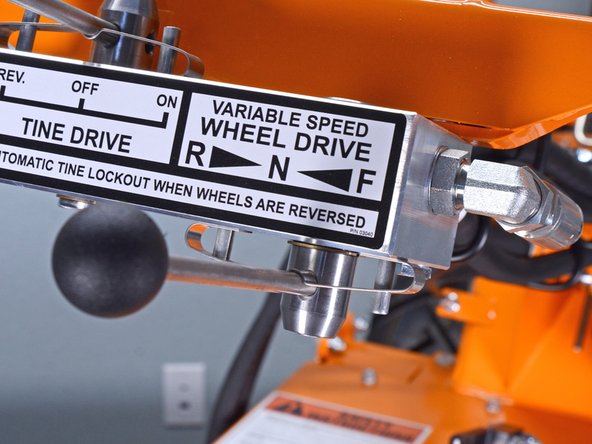
- Ensure the wheel drive control lever is set to the neutral position.
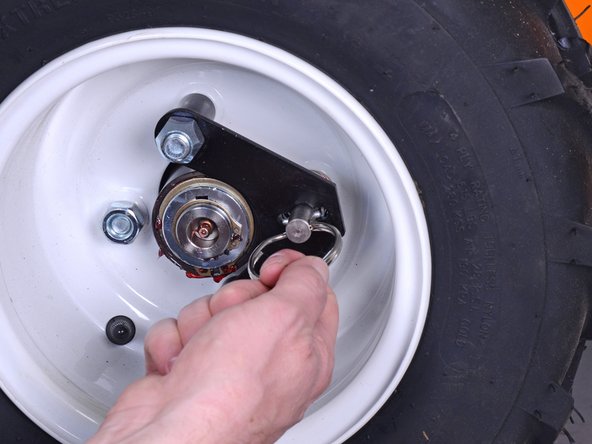
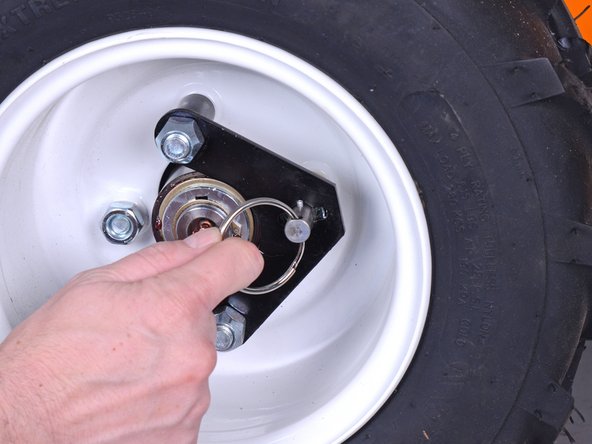
- Pull the locking pin out and rotate it 90˚ to unlock the right wheel from the hub.
- Repeat for the left wheel.
- Insert wheel chocks underneath each wheel to keep the device stationary during disassembly.
- Use an 8 mm socket to remove the outboard bearing grease fitting.
- Use a 9/16 inch socket to remove the four bolts securing the tine shaft to the side plate.
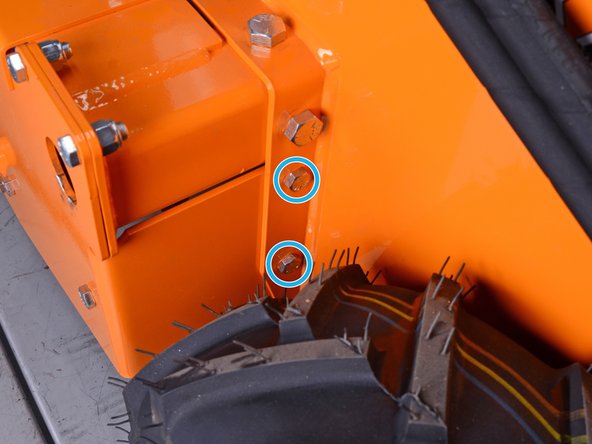
- Use a 9/16 socket and wrench to remove the five bolts and accompanying nuts securing the side plate to the frame, three on the outside and two in the wheel well.
- Tilt the tiller up so the motor side is resting on the work surface with the tines raised.
- Use a 1/2 inch socket and wrench to remove the four bolts and accompanying nuts securing the side plate to the tine cover.
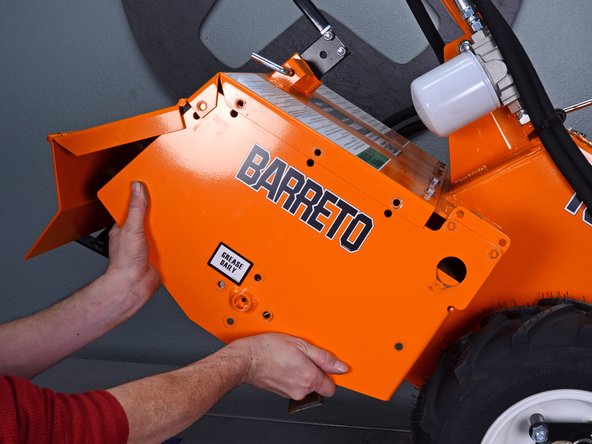
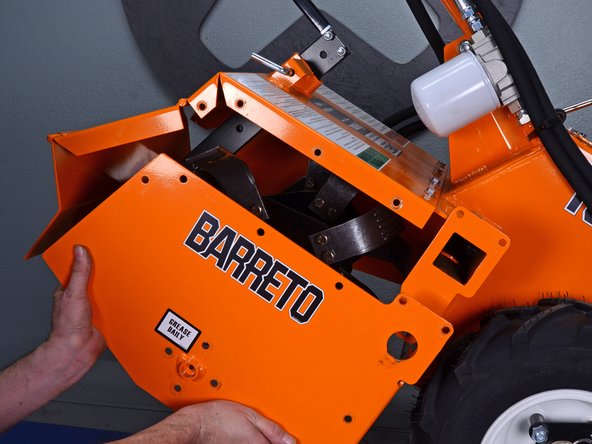
- Slide the side plate down and away from the device to remove it.
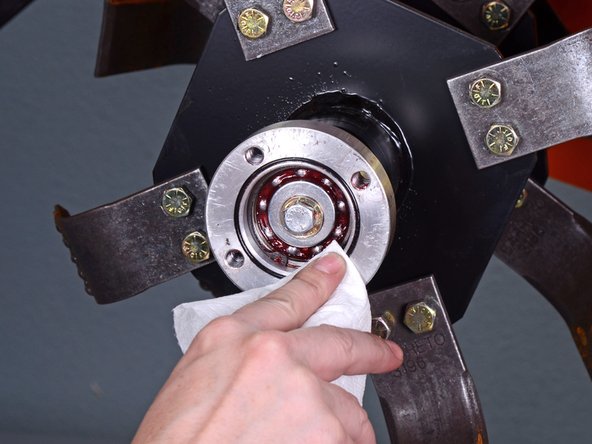
- Use a clean paper towel or shop rag to remove the grease from the outboard bearing assembly.
- Use a 9/16 inch socket to remove the bolt securing the outboard bearing assembly to the tine shaft.
- Remove the three washers, held in place by the bolt, from the outboard bearing assembly.
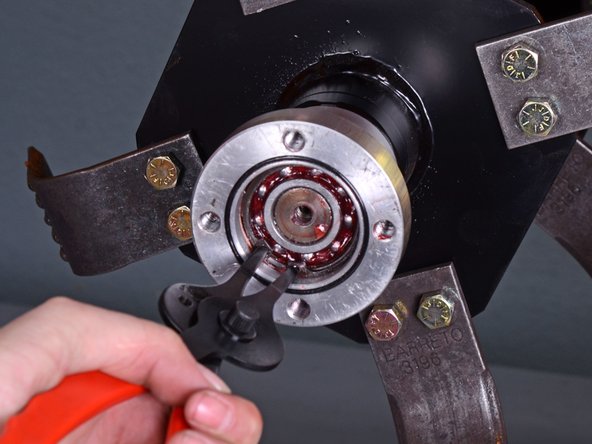
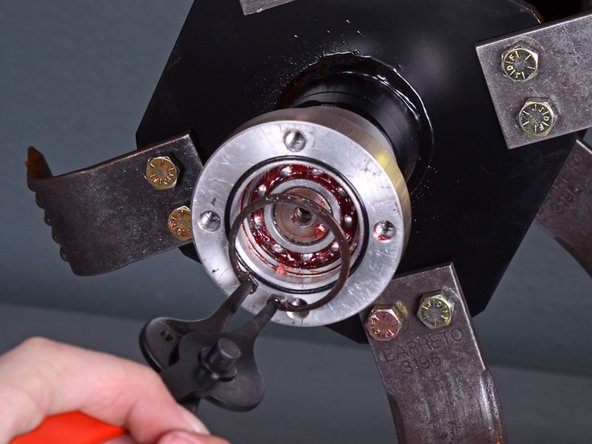
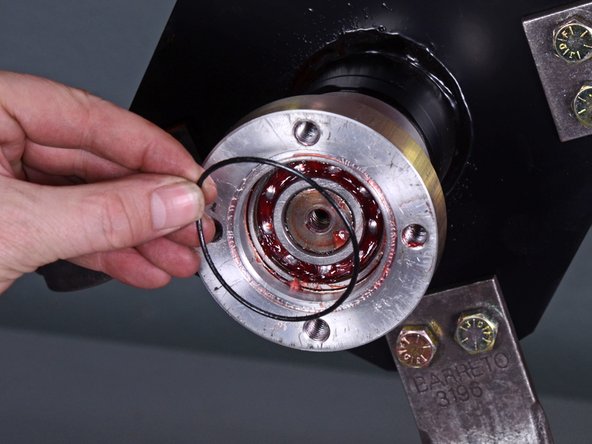
- Use a pair of snap ring pliers to remove the snap ring from the outboard bearing assembly.
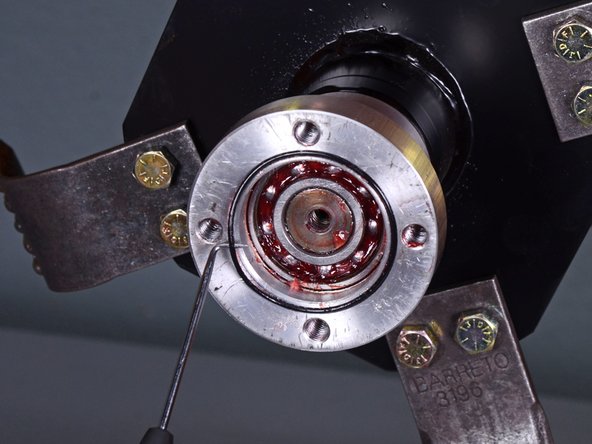
- Use a pick tool to remove the O-ring from its recess on the outer edge of the assembly.
- During reassembly, install a new O-ring.
- Pull the assembly off of the tine shaft to remove it.
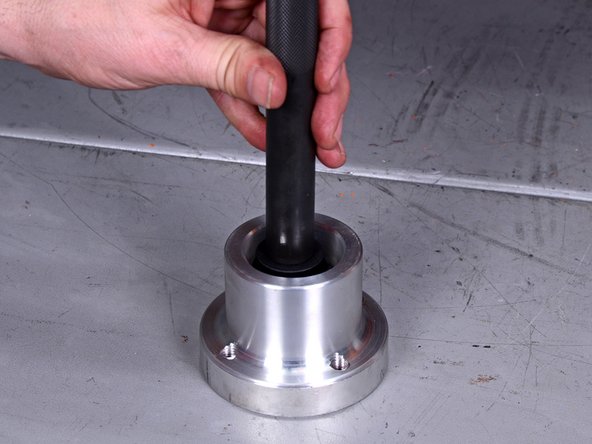
- Set the assembly flange-down onto the work surface.
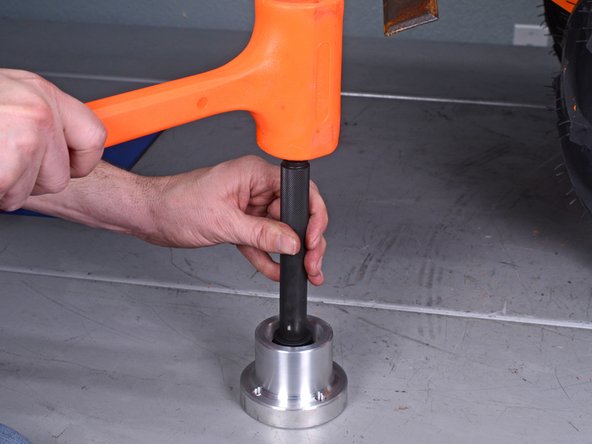
- Use a bearing removal tool or bearing press to remove the ball bearings from the housing.
- Grease the internal walls of the outboard bearing housing before installing new bearings.
- During reassembly, ensure the new bearings sit flush along the inner lip of the housing.
- With the bearings removed from the housing, remove the dust shield.
- During reassembly, install the dust shield after both bearings are pressed into place.