2018-2020 Honda Accord Taillight Bulb Replacement
ID: 140152
Description: This guide provides step by step instructions...
Steps:
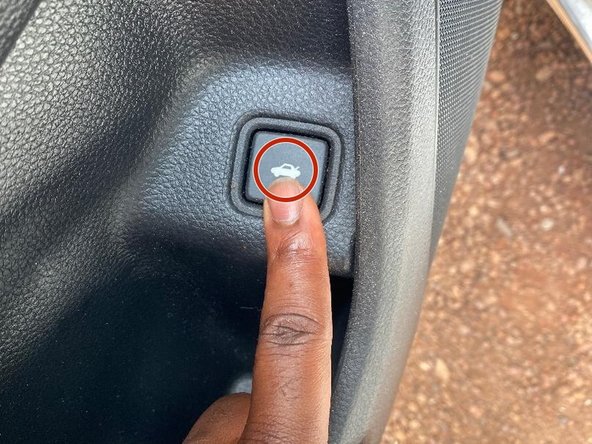
- Press the trunk lever button on the driver's side door to open the trunk.
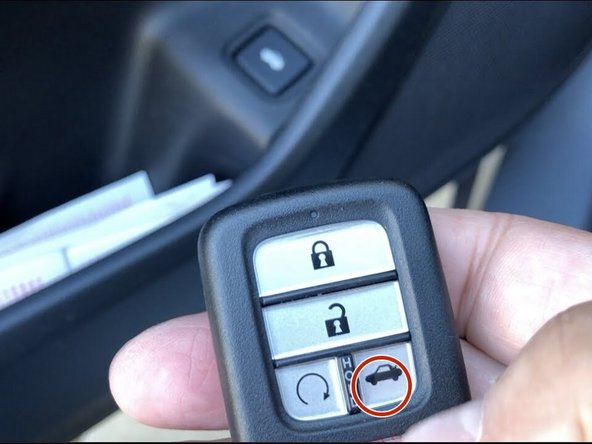
- Alternately, press and hold the trunk release button on the key fob for 3-5 seconds to open the trunk.
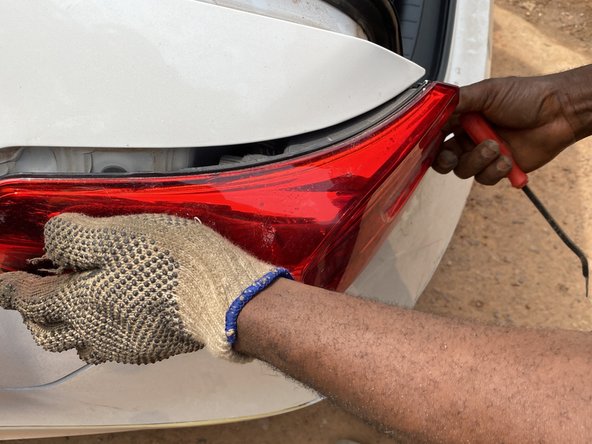
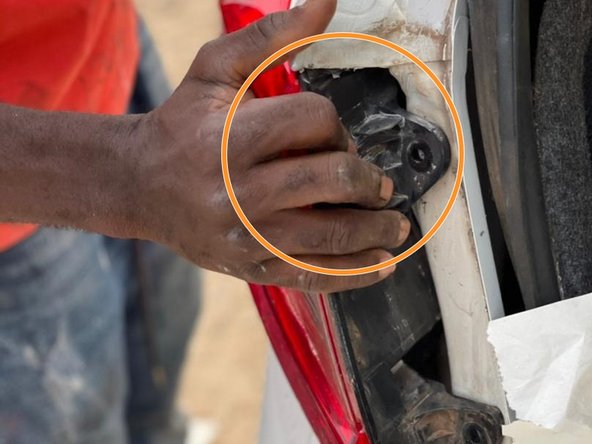
- There is a little grey/black plastic trim cover behind the taillight that will need to come off.
- Using a plastic pry bar, pry out on the edge (top and bottom) of the plastic trim cover to remove it.
- You could also stick your flat head screwdriver behind the plastic cover and gently pull it from the top and then from the bottom.
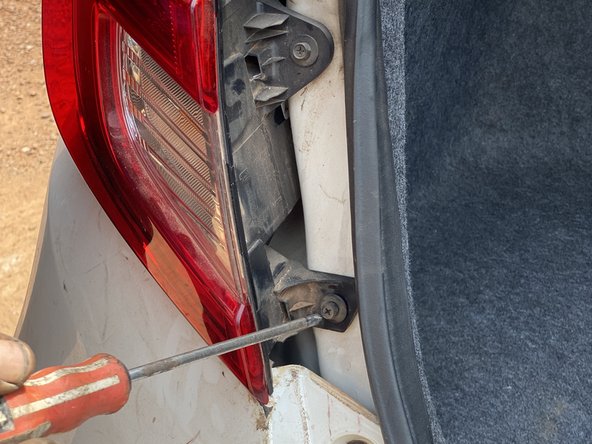
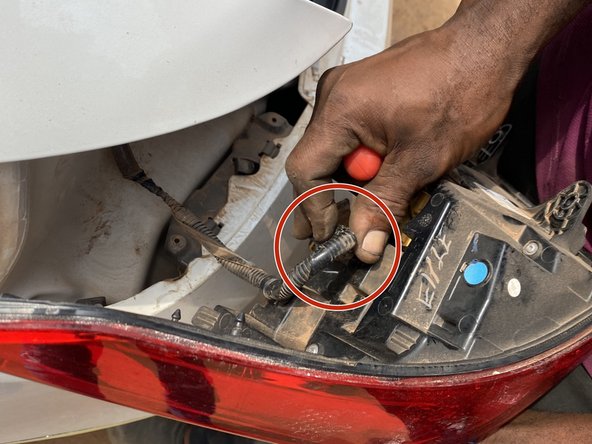
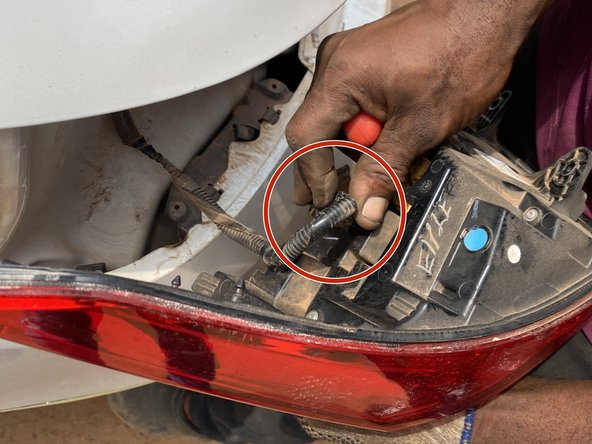
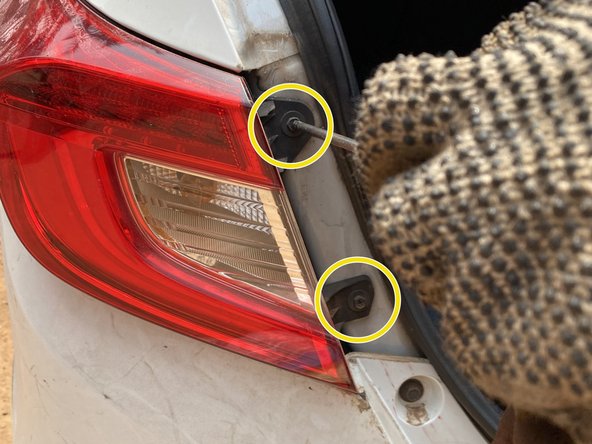
- Remove the two 8 mm screws behind the tail light assembly using a Phillips #2 screwdriver.
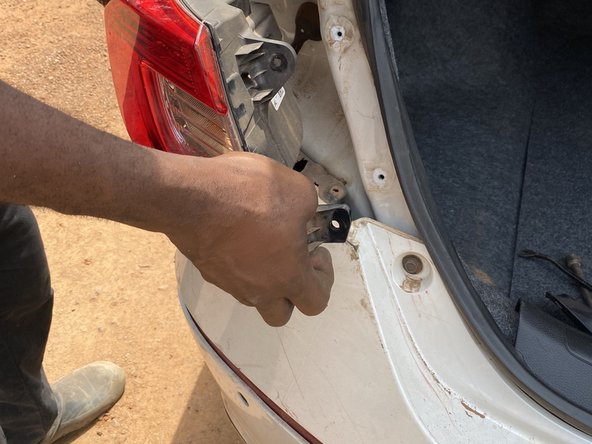
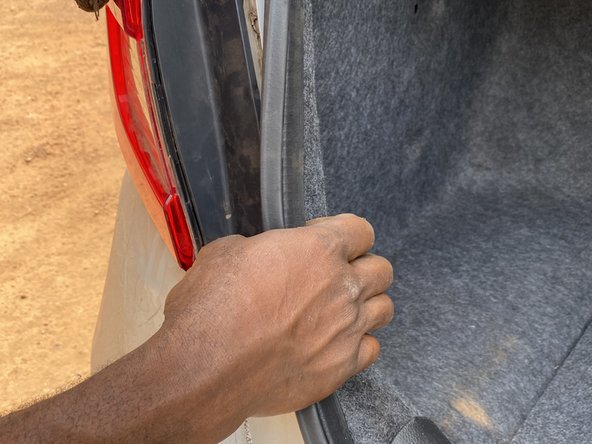
- Remove the taillight assembly by sliding or pushing the taillight towards the outside of the car.
- Apply gentle force to remove the taillight to prevent it from breaking.
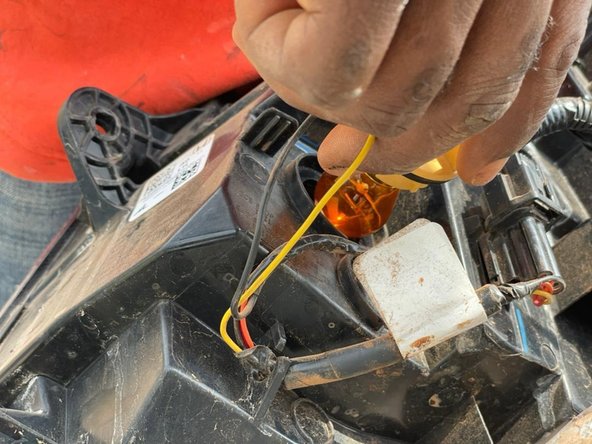
- Unplug the wire harness (coloured black) that connects to the taillight by squeezing on the sides and pulling out.
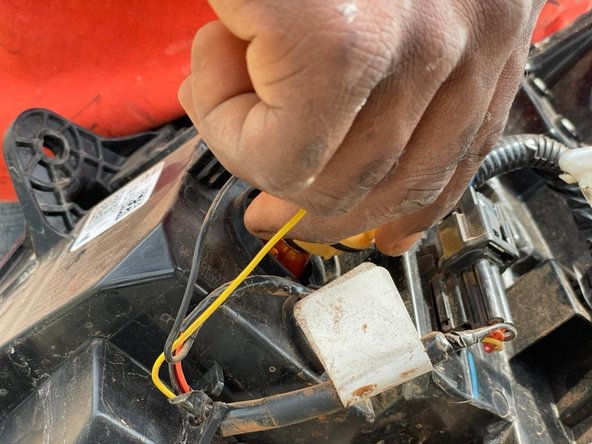
- Rotate the light bulb socket (yellow) counterclockwise and carefully pull it out to remove the bulb.
- Replace the light bulb
- Insert the wiring harness back into its socket.
- Insert the bulb housing back into the taillight housing.
- Lock the bulb housing in place by turning the bulb clockwise (about 1/4 to 1/2 turn).
- Re-insert the taillight by sliding the light gently into the slot.
- Press firmly to ensure the taillight is in place and the screw holes line up.
- Use the Phillips #2 screwdriver to re-attach the two 8 mm screws back into the back of the taillight.
- Reinstall the plastic trunk trim panel by lining the two clips up, and pressing down to snap them back into place.
- Re-attach the rubber lining behind the plastic trim by pressing the rubber firmly to fit.
- Close the trunk and test the light to make sure it works.