Curtain Rail Clipper Replacement
ID: 140208
Description: If your curtain rail clipper can not support...
Steps:
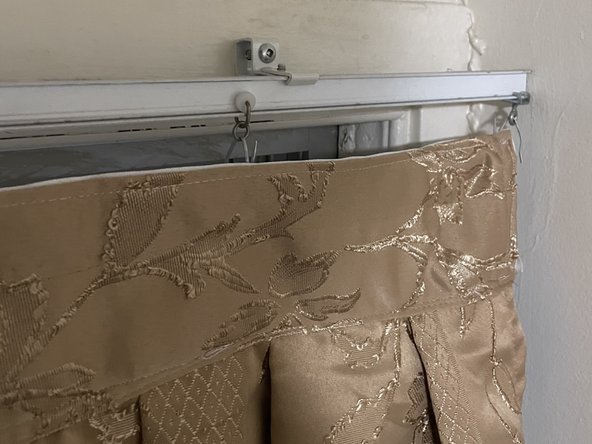
- Unhook the curtain hooks and move your curtain aside for working space.
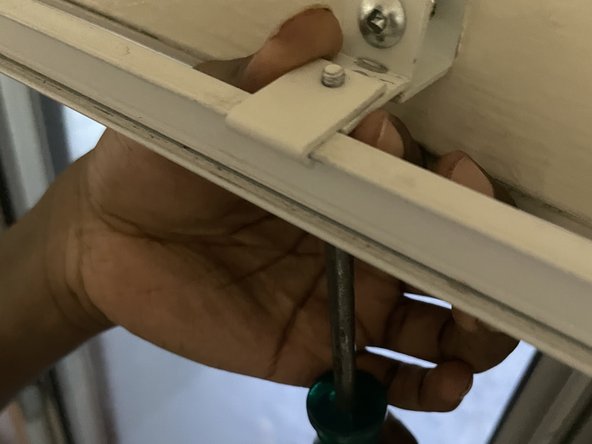
- Using a Square #0 Screwdriver, unscrew the faulty curtain clipper from the wall in a counter clockwise motion.
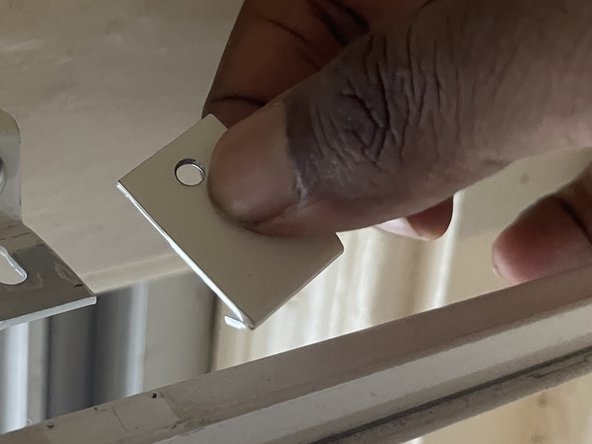
- Unscrew the connecting piece of the curtain clipper using the Square #0 screwdriver.
- Remove the curtain clipper from the wall and the curtain rail.
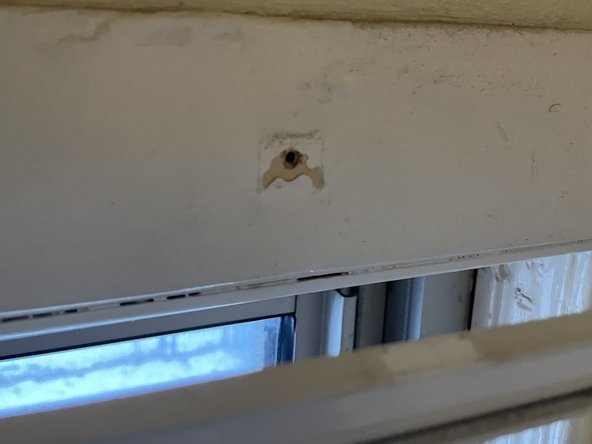
- Position the new curtain clipper directly over the opening the faulty clipper was installed in.
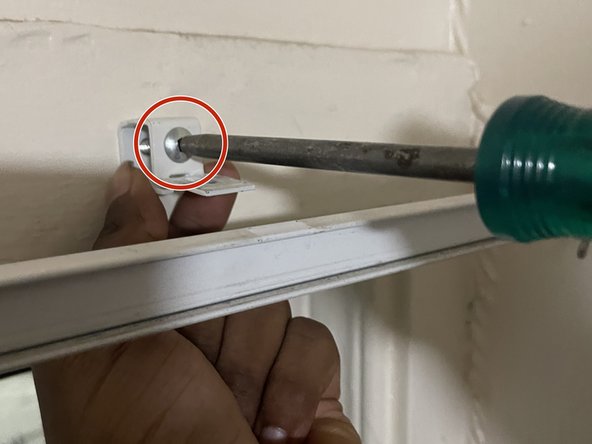
- Screw in the new curtain clipper using the Square #0 screwdriver and 40 mm square head screw into the wall.
- Make sure you are screwing the clipper into the preexisting hole in the wall left by the old hangar. If not you may cause damage to your wall and are mounting the clipper incorrectly.
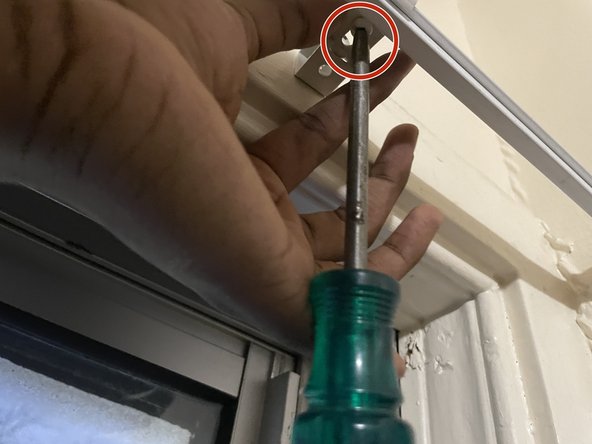
- Align the connecting piece of the curtain clipper to the clipper as well as the curtain rail.
- Screw the connecting piece to the clipper and curtain rail until fastened securely using the Square #0 screwdriver and the 4 mm square head screw.
- Hook the curtain up when the clipper is fastened to ensure it holds firmly.