How to Adjust a Buttonhole Size
ID: 140230
Description: Do you have a shirt with one button that always...
Steps:
- Steps 1-3 demonstrate how to shorten a buttonhole when the button will not stay buttoned or needs to be replaced with a smaller button.
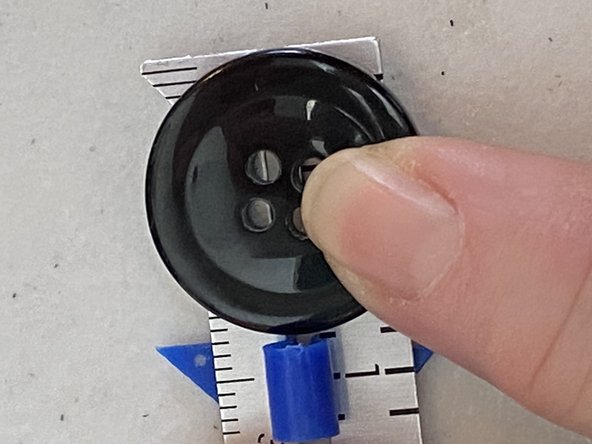
- Using the ruler, measure the button you intend to use. Add 1/8” to this measurement for ease of buttoning.
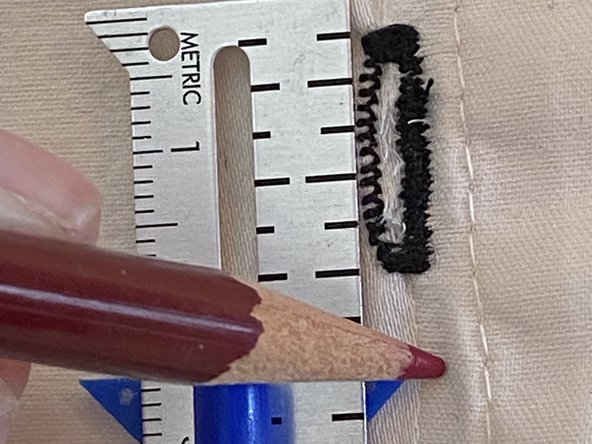
- Measure down from the top of the existing buttonhole to the length of your Step 1 measurement.
- Make a small sewing chalk mark or insert a straight pin to mark how long your adjusted buttonhole should be.
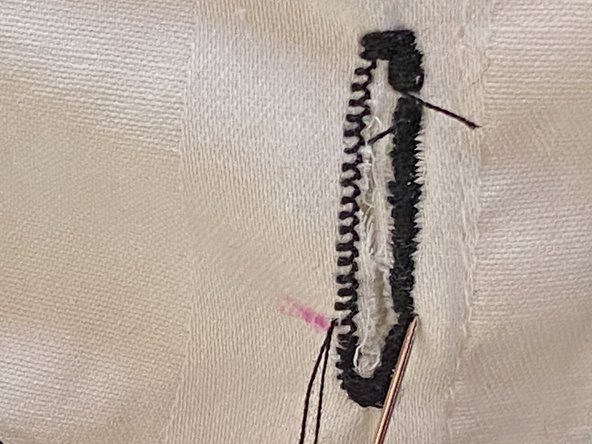
- Use either a sewing machine or needle and thread for this step.
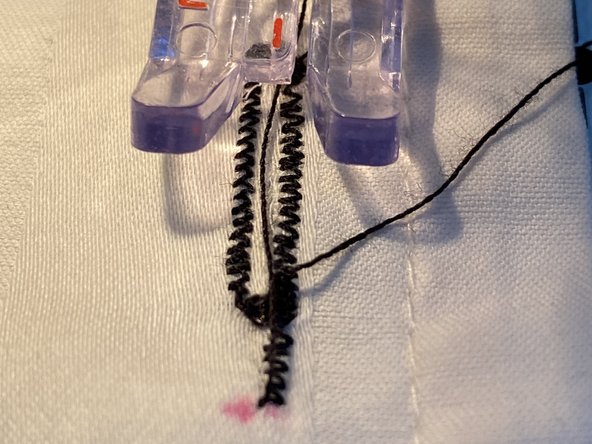
- Match the stitch width of the existing bar tack, and sew a new bar tack at the location of your chalk mark.
- A bar tack is several long, narrowly spaced stitches that form the top of a T between shorter perpendicular stitches.
- Check to make sure your button fits your adjusted buttonhole well.
- Steps 4-8 demonstrate how to lengthen a buttonhole if it is too tight for your button or if you want to sew on larger buttons.
- Using the ruler, measure the button you intend to use. Add 1/8” to this measurement for ease of buttoning.
- With the ruler, measure down from the top of the existing buttonhole to the length of your Step 4 measurement.
- Make a small sewing chalk mark or insert a straight pin on the fabric at this place.
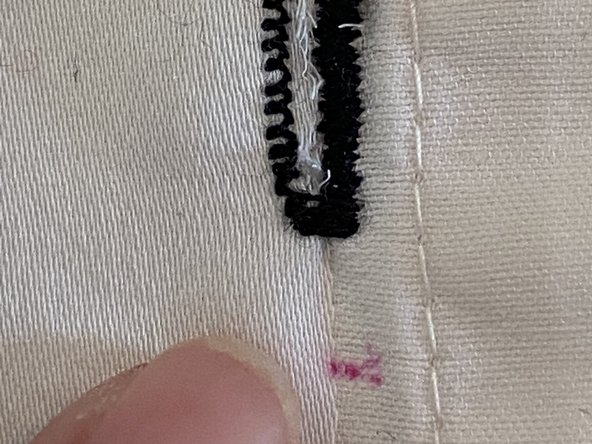
- Starting on the right of the existing buttonhole, stitch to your chalk mark or pin, matching the width of the original stitching.
- Stitch a new bar tack.
- A bar tack is several long, narrowly spaced stitches that form the top of a T between shorter perpendicular stitches.
- Stitch back on your left to just past the original bar tack.
- Tie off or backstitch your thread.
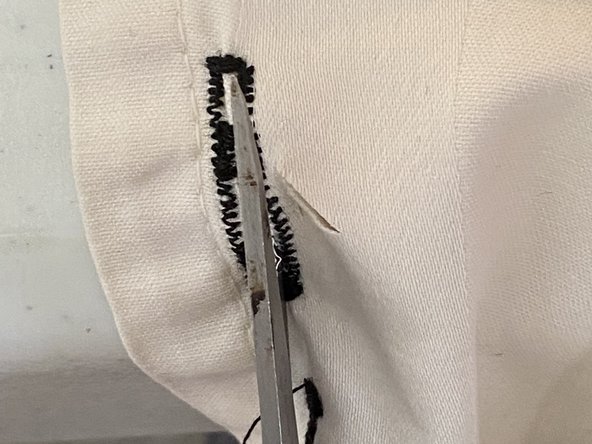
- Using the point of your scissors, cut through the original bar tack and between your new side stitching until you have reached the new bar tack.
- Do not cut through your new bar tack.
- If using the existing button, you may have to cut it off and move it slightly to be centered in the larger buttonhole and resew it on.
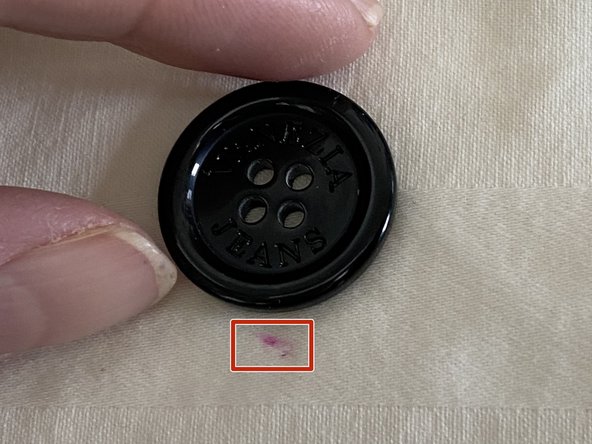
- Very near the place where your button was originally sewn on, center your button in your adjusted buttonhole. Using chalk or a pin, mark this location.
- Sew your button on.
- Check to make sure it fits through your adjusted buttonhole well.