How to replace the temperature controller of the AUX-208P1 electric kettle
ID: 140268
Description: Looking to replace your damaged temperature...
Steps:
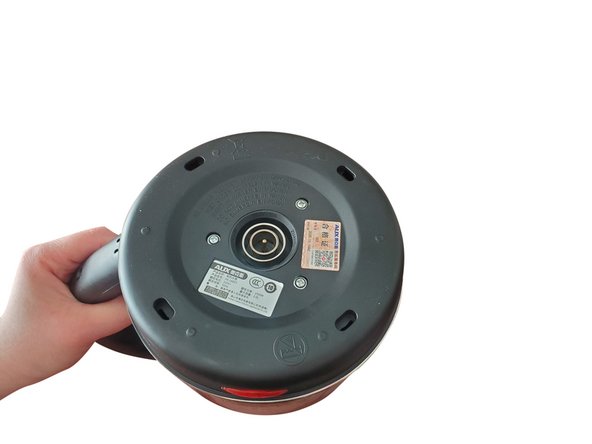
- Clean all the dirt on the bottom of the electric kettle.
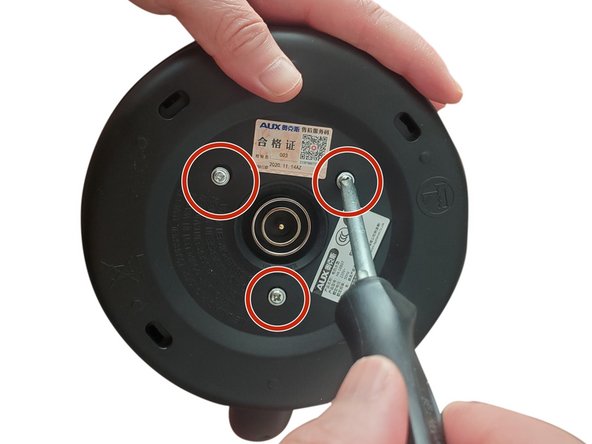
- Use a Phillips screwdriver to unscrew the 3/4 in. Phillips Truss-Head Self-Drilling Screws at the bottom of the electric kettle counterclockwise.
- Remove the base of the electric kettle.
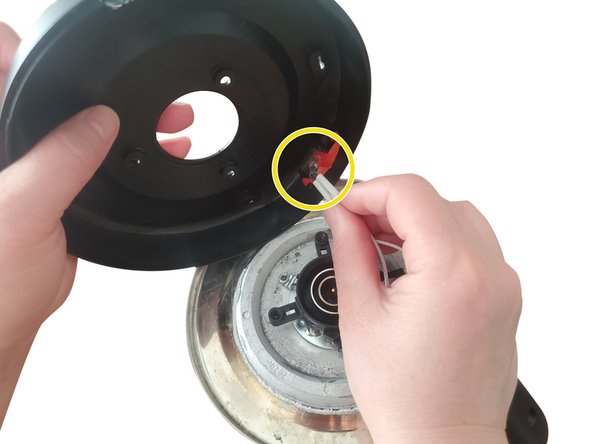
- Remove the LED indicator buckled on the base.
- It is recommended to put the removed screws in the storage box to prevent loss.
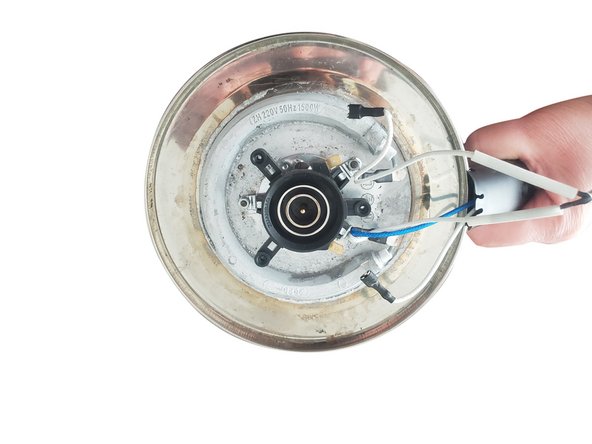
- Use long-nose pliers to clamp the connection between the electric kettle line and the old temperature controller to create a gap, and pull it off.
- Don't use too much force to avoid damage to the line!
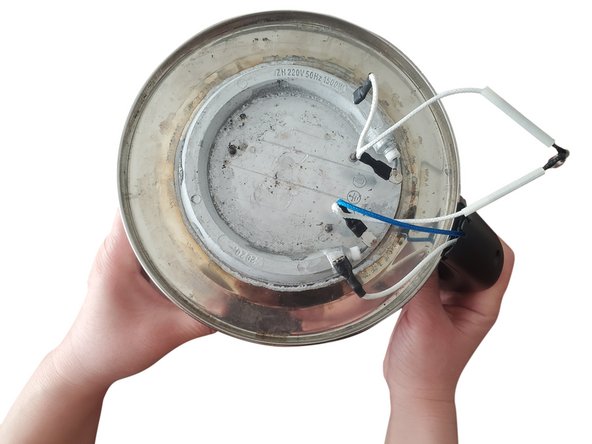
- Use long-nose pliers to clamp the three nuts used to fix the old temperature controller, and twist them counterclockwise.
- Remove the broken temperature controller.
- Align the socket on the bottom of the new temperature controller with the protrusion on the bottom of the electric kettle to assemble.
- Use long-nose pliers to tighten the nut clockwise to fix the temperature controller.
- Fasten the electric kettle circuit to the interface of the new temperature controller.
- Gently pull the interface to ensure a firm installation.
- Re-buckle the removed LED indicator back to the base.
- Buckle the base back to the bottom of the electric kettle.
- Use a Phillips screwdriver to tighten the bottom 3/4 in. Phillips Truss-Head Self-Drilling Screws in a clockwise direction.