Sony VAIO SVE171C11L RAM Replacement
ID: 140288
Description: RAM is a vital part of any computer, and if...
Steps:
- Ensure the workplace is dust-free and clear of clutter to prevent dust from entering your laptop.
- Power off your laptop and remove the power cable and/or battery.
- Flip the laptop over so the label on the bottom side is right side up.
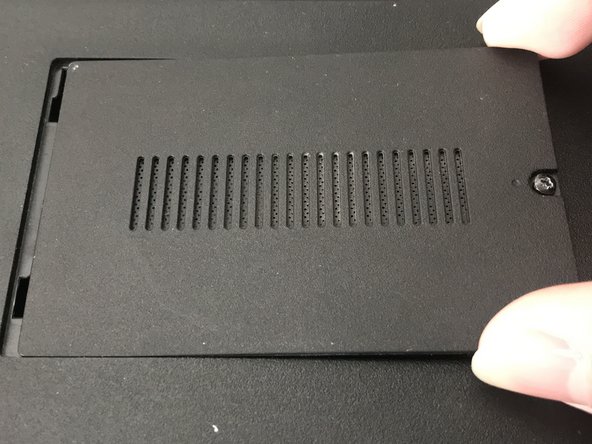
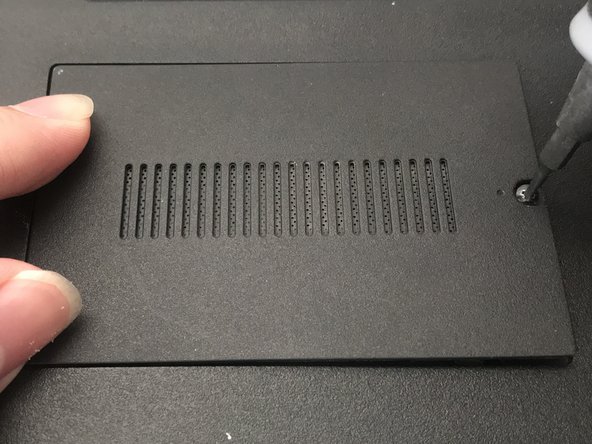
- Locate the panel near the middle of the laptop with grates and a single screw.
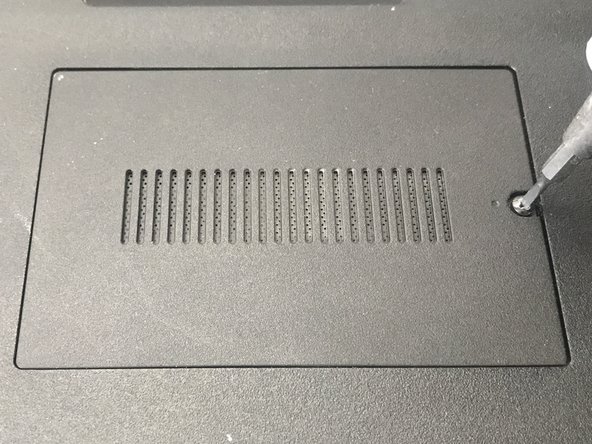
- Use a 1.5 mm flathead screwdriver to turn the screw until the panel begins to pop off.
- Once the side of the panel with the screw is no longer being held down, stop. Make sure to not remove the screw.
- Carefully pull the loose end of the panel up until it pops up, but do not try to remove yet.
- Slide the panel to the right until the hinges show.
- Lift the panel up to remove it.
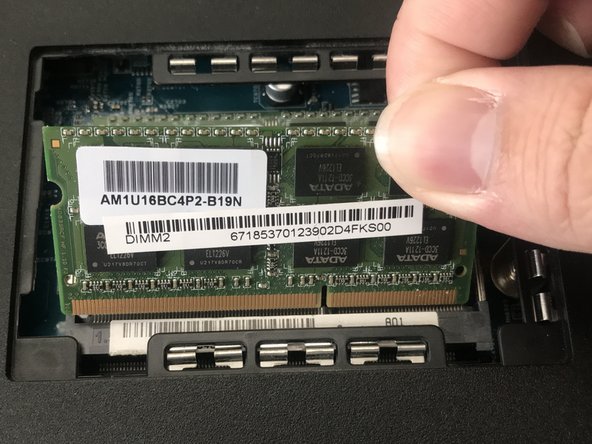
- Choose which RAM you wish to replace.
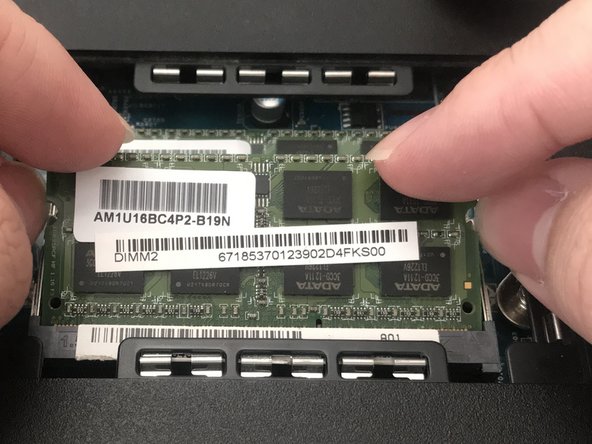
- Move the pins holding the RAM outwards and the RAM will pop up.
- Carefully slide the RAM out to remove. Make sure to hold the RAM by its edges, never by its electrical components.
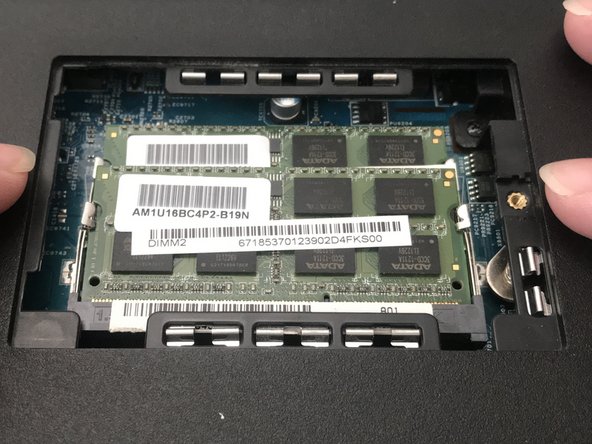
- Repeat this step if you want to replace the second RAM that is behind the first.
- Push the new RAM into the slot marked with silver stripes.
- Once pushed in, it will stand on its own and be secured in place.
- Move the pins outward and push the RAM downwards past the pins.
- Release the pins and move them over the RAM.
- Slide the panel hinge back into place.
- Push down on the panel so it pops into place.
- Screw the panel clockwise back on while pushing the panel downwards.
- Continue to turn until the screw tightens in place.