Wacker Pump PG1 2014 Carburetor Replacement
ID: 141887
Description: Use this guide to replace the carburetor on a...
Steps:
- Before beginning repairs, disconnect and remove all hoses.
- Flip the motor ignition switch into the OFF position.
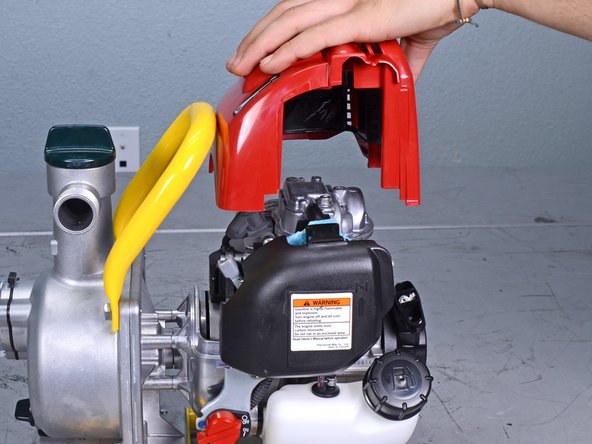
- Use a 4 mm hex key to remove the bolt securing the engine cover.
- Lift up to remove the engine cover.
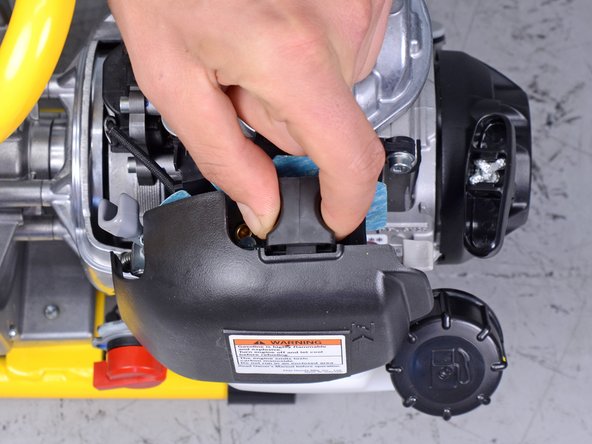
- Use your fingers to pinch the locking tab on the top of the air box cover.
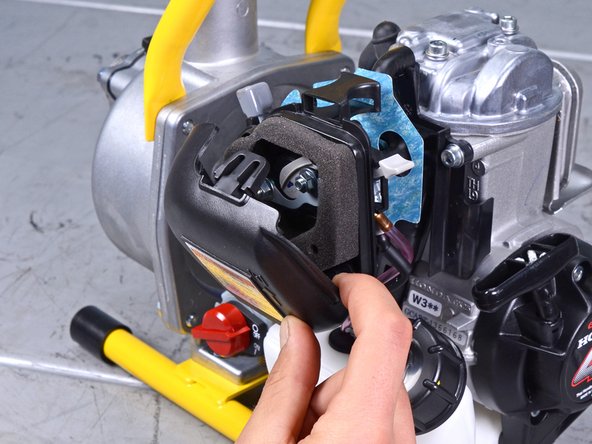
- Tilt the unlocked air cleaner cover down and pull it away from the air box to unhook it.
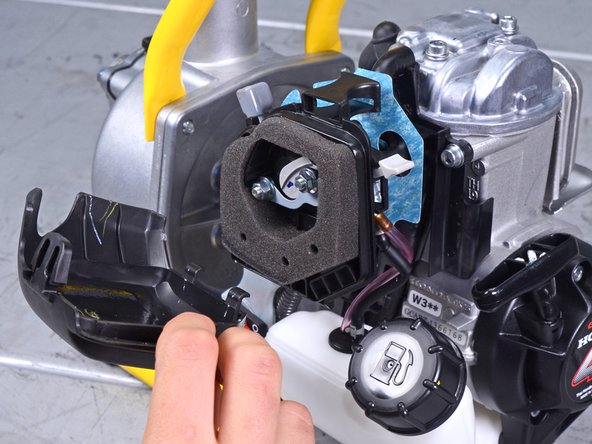
- Remove the air box cover.
- Use a 6 mm socket to remove the two nuts securing the air box.
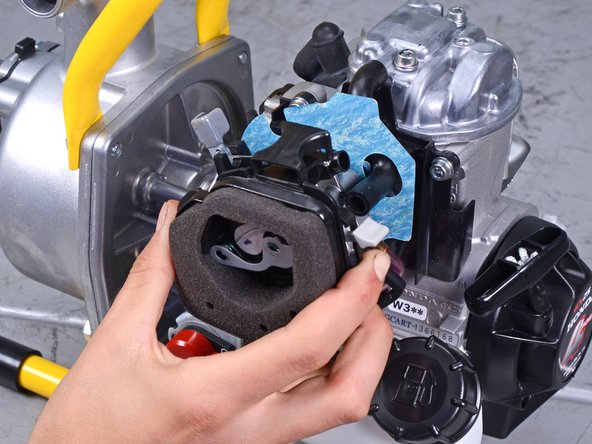
- Pull the air box directly away from the motor to remove it.
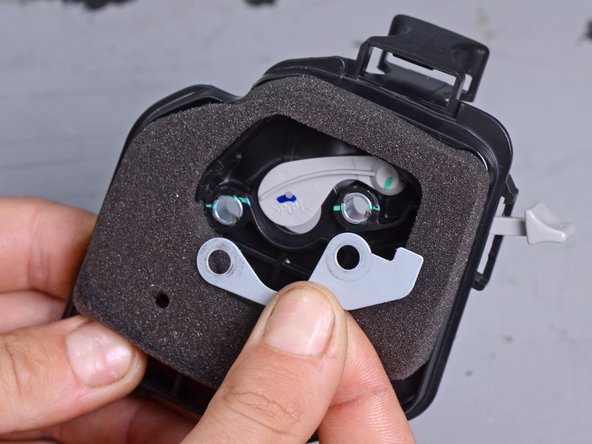
- Once removed, the metal bracket inside of the air box will become loose. Don't lose it.
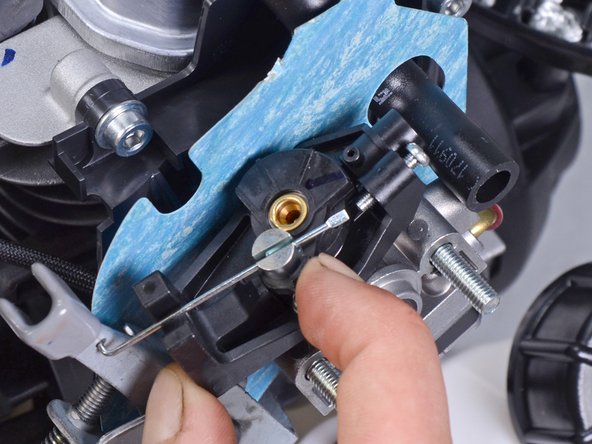
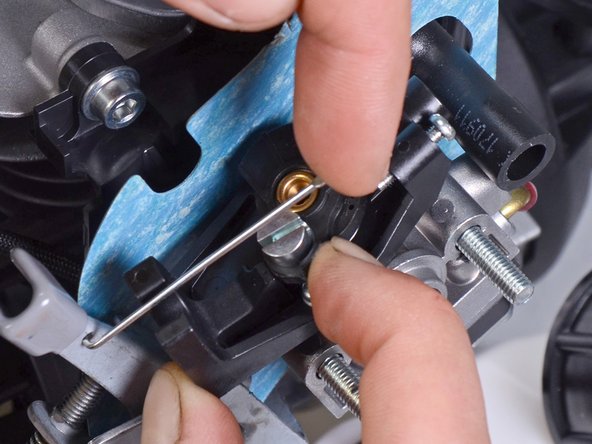
- Use your finger to pull down the spring-loaded throttle pulley.
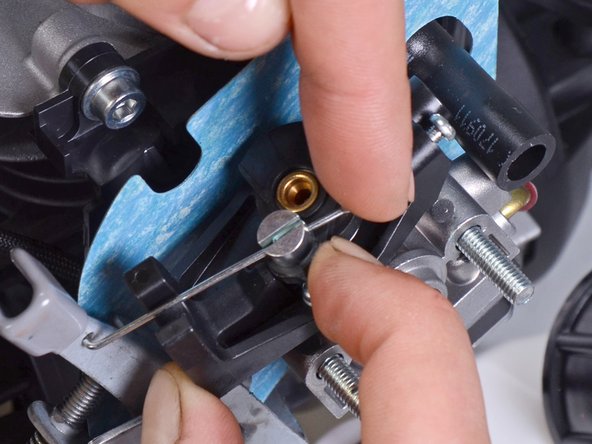
- While pulling down on the throttle pulley, use your finger to lift the throttle linkage out of its slot on the pulley.
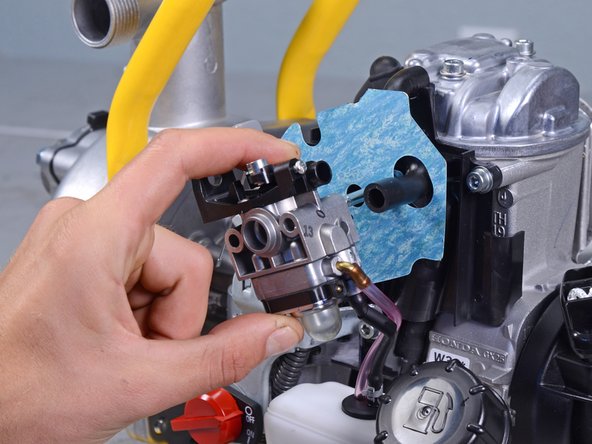
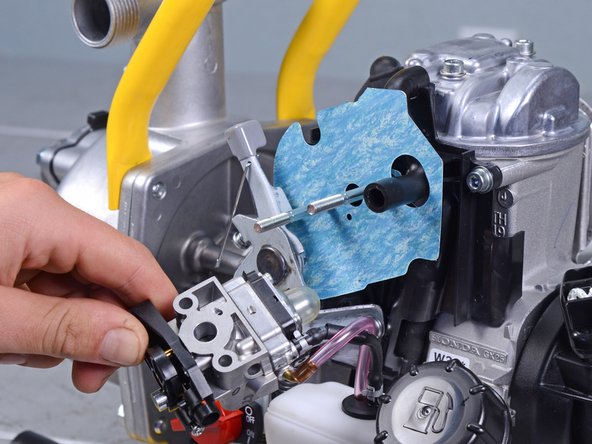
- Pull the carburetor off of the two threaded shafts.
- The carburetor is still attached to fuel lines, so don't attempt to completely remove it yet.
- Don't let the carburetor put tension on the fuel lines—hold onto it and continue to the next step.
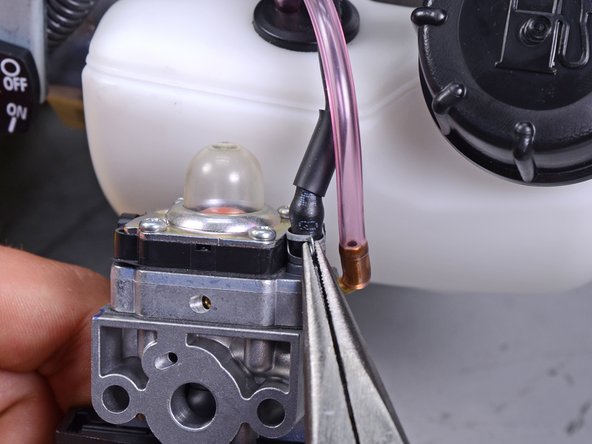
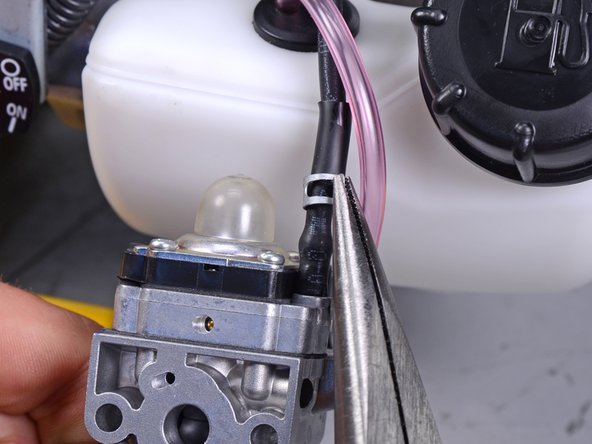
- Use a pair of needle nose pliers to compress the two hose clamp tabs on the black hose.
- While compressing the tabs, slide the hose clamp up and off of the carburetor nipple.
- Residual fuel in the carburetor or hoses may leak out during the following steps. Have shop towels or rags handy to catch any drips.
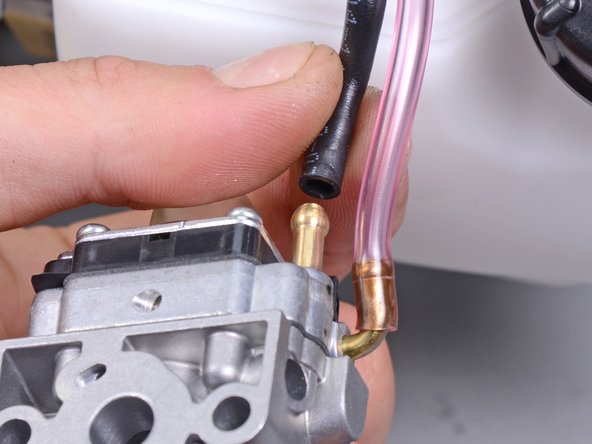
- Use your fingers to pull the black hose off of the straight carburetor nipple.
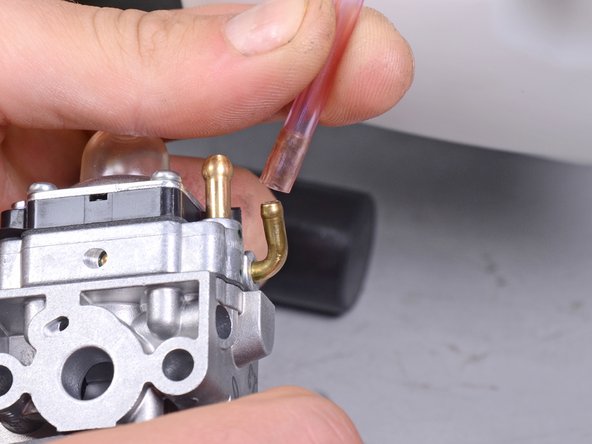
- Use your fingers to pull the pink hose off of the angled carburetor nipple.
- Only the carburetor remains.